D14041.02 January 2008 | TANDBERG FieldView Device User Guide |
2.FieldView Device Basic Operation
2.1. Charging the Battery
New batteries should be charged prior to first use. To do this, plug in the external power adapter and allow the battery to charge until the orange battery indicator extinguishes (up to eight hours). The internal battery charger will shut itself off to prevent overcharging once the battery is fully charged.
Note that the FieldView Device shuts itself off when battery power is low.
•If the unit is on, and an Operator is using it in an active call, a warning message appears so that the Operator has time to plug the FieldView Device in to the external power adapter, or end the call before the FieldView Device shuts off.
•If the unit is in Standby, it simply shuts itself off.
•If the unit is off, it cannot be started when the battery is low.
To check current battery levels, press the Display button once and check the Session information at the bottom of the Viewfinder. See page 14 for more information on Viewfinder and Display modes.
2.2. Inserting or Replacing the Battery
Important: Before using this device for the first time you must install and charge the battery. Here’s how (refer to figures at right):
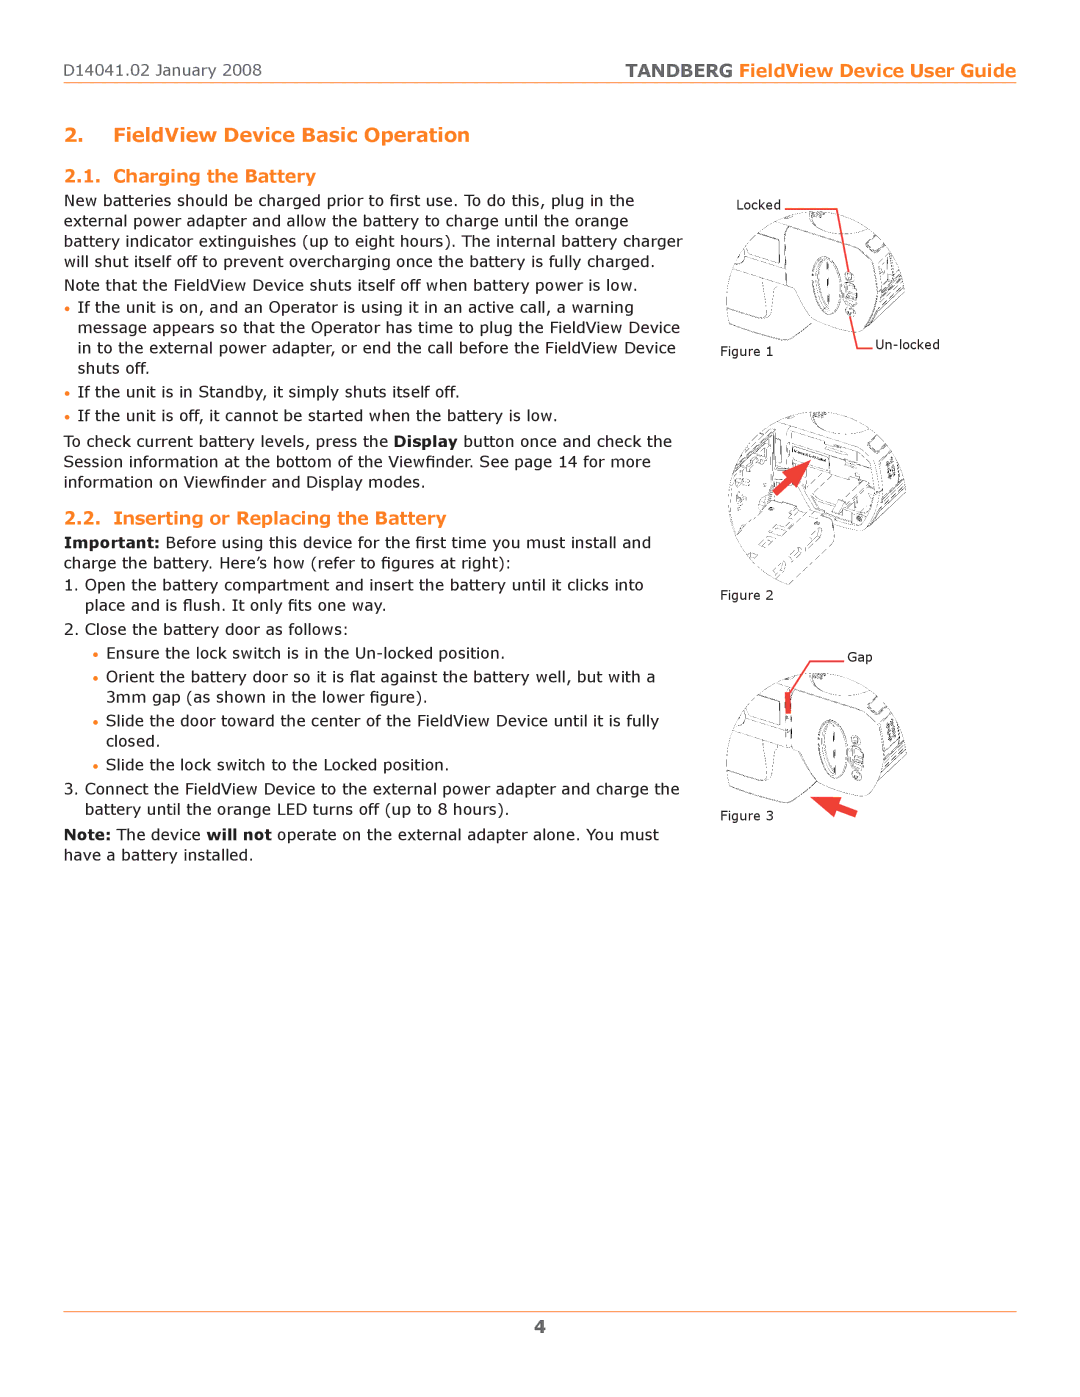
1.Open the battery compartment and insert the battery until it clicks into place and is flush. It only fits one way.
2.Close the battery door as follows:
•Ensure the lock switch is in the
•Orient the battery door so it is flat against the battery well, but with a 3mm gap (as shown in the lower figure).
•Slide the door toward the center of the FieldView Device until it is fully closed.
•Slide the lock switch to the Locked position.
3.Connect the FieldView Device to the external power adapter and charge the battery until the orange LED turns off (up to 8 hours).
Note: The device will not operate on the external adapter alone. You must have a battery installed.
Locked
Figure 1 | |
|
Figure 2
Gap
Figure 3
4