D14041.02 January 2008 | TANDBERG FieldView Device User Guide | ||
2.3. Calibrating the Integrated Touch Panel |
|
| |
The Viewfinder display on the back of the FieldView Device includes an |
|
| |
integrated touch panel designed for use with the stylus that has been included |
| ||
with the FieldView Device. The Viewfinder touch panel allows control of many |
| ||
FieldView Device features, including menu selection, configuration, text entry |
| ||
(via on screen keyboard) and on screen button selection. In addition, the touch |
| ||
panel can be used to draw over images and video. See Telestration on page |
| ||
12. |
|
| |
Important: When you are using the Viewfinder screen, always use the stylus |
| ||
provided with the FieldView Device. Do not use other objects, as this could |
| ||
damage the Viewfinder screen. Tap the screen lightly. Do not press hard or |
| ||
strike the screen. |
|
| |
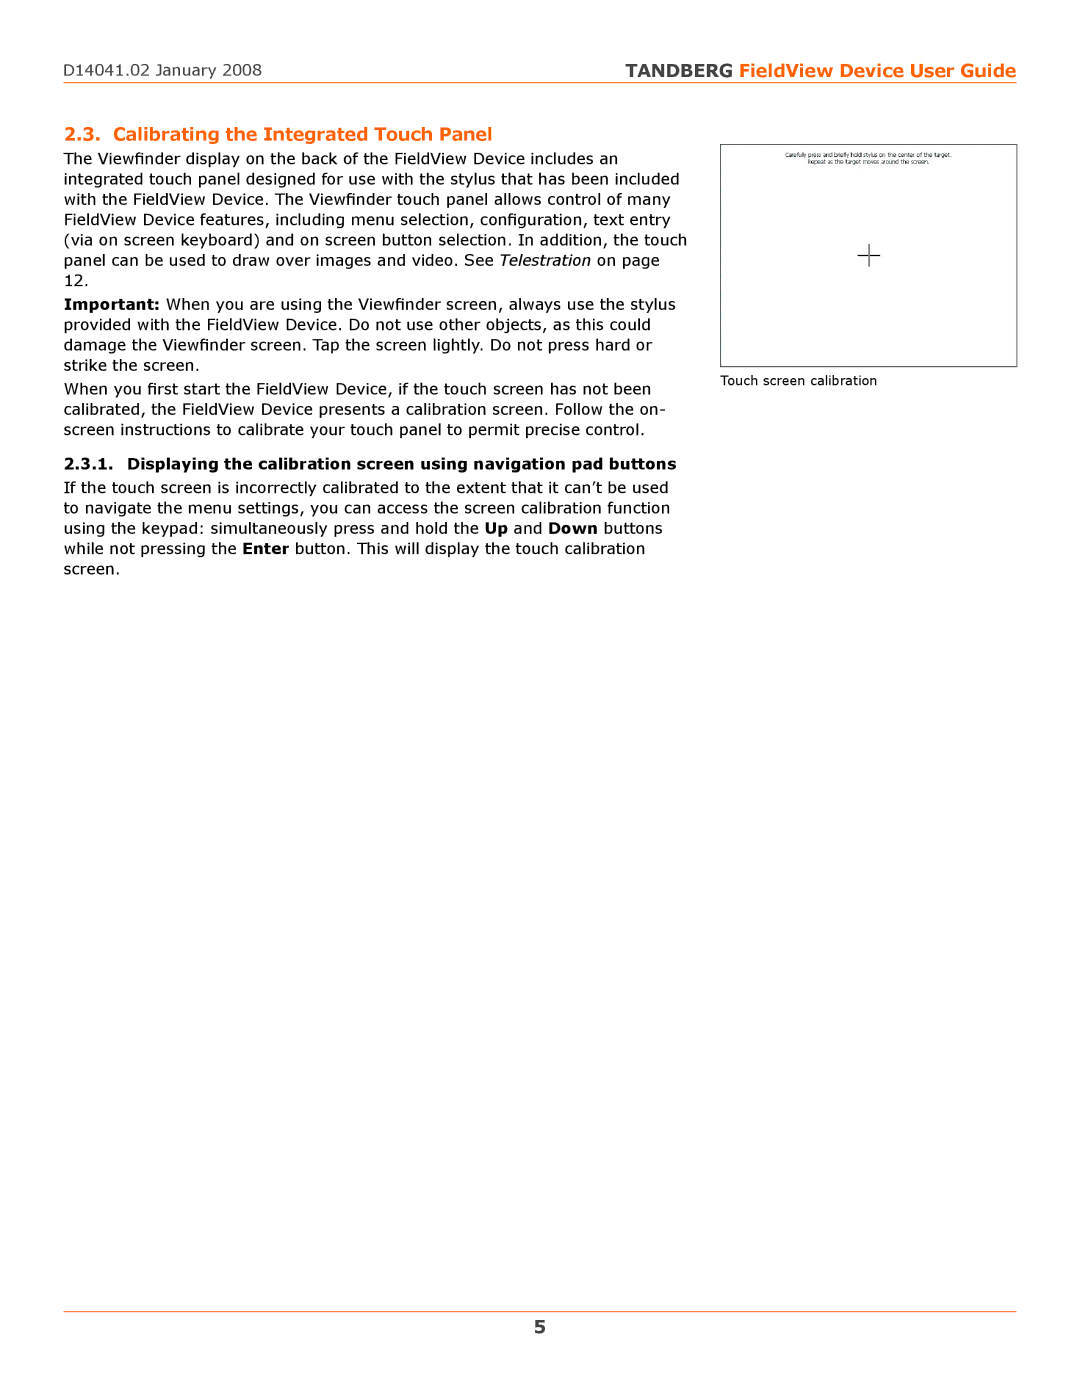
| Touch screen calibration | ||
When you first start the FieldView Device, if the touch screen has not been | |||
| |||
calibrated, the FieldView Device presents a calibration screen. Follow the on- |
| ||
screen instructions to calibrate your touch panel to permit precise control. |
| ||
2.3.1. Displaying the calibration screen using navigation pad buttons |
| ||
If the touch screen is incorrectly calibrated to the extent that it can’t be used |
| ||
to navigate the menu settings, you can access the screen calibration function |
| ||
using the keypad: simultaneously press and hold the Up and Down buttons |
| ||
while not pressing the Enter button. This will display the touch calibration |
| ||
screen. |
|
| |
5
