Step-By-Step-Operation Guide
9Monitor selection
‘
Press the MONITOR
10Monitor level
Turn the MONITOR level control up to the 12 o'clock position.
11TRIM adjustment
While speaking into the microphone, slowly push the TRIM control in channel 1. You will hear your voice on the left side in the headphones.
When using a line level source (such as electronic instruments) instead of a microphone, the TRIM does not need to be pushed up very far, if at all.
16
How to Record on Track 1
As a trial, let's record your voice on tape.
1Have in hand a new cassette tape (Type II,
2Loading a cassette
Pull the cassette door open. Insert your cassette tape. Close the door.
3Getting past the leader tape
‘ ‘
Press PLAY and allow the tape to run for about 5 seconds. This will run the tape leader onto the
4Resetting the counter
![]()
![]() ‘
‘
Reset the tape counter to 000 by pressing the adjacent button.
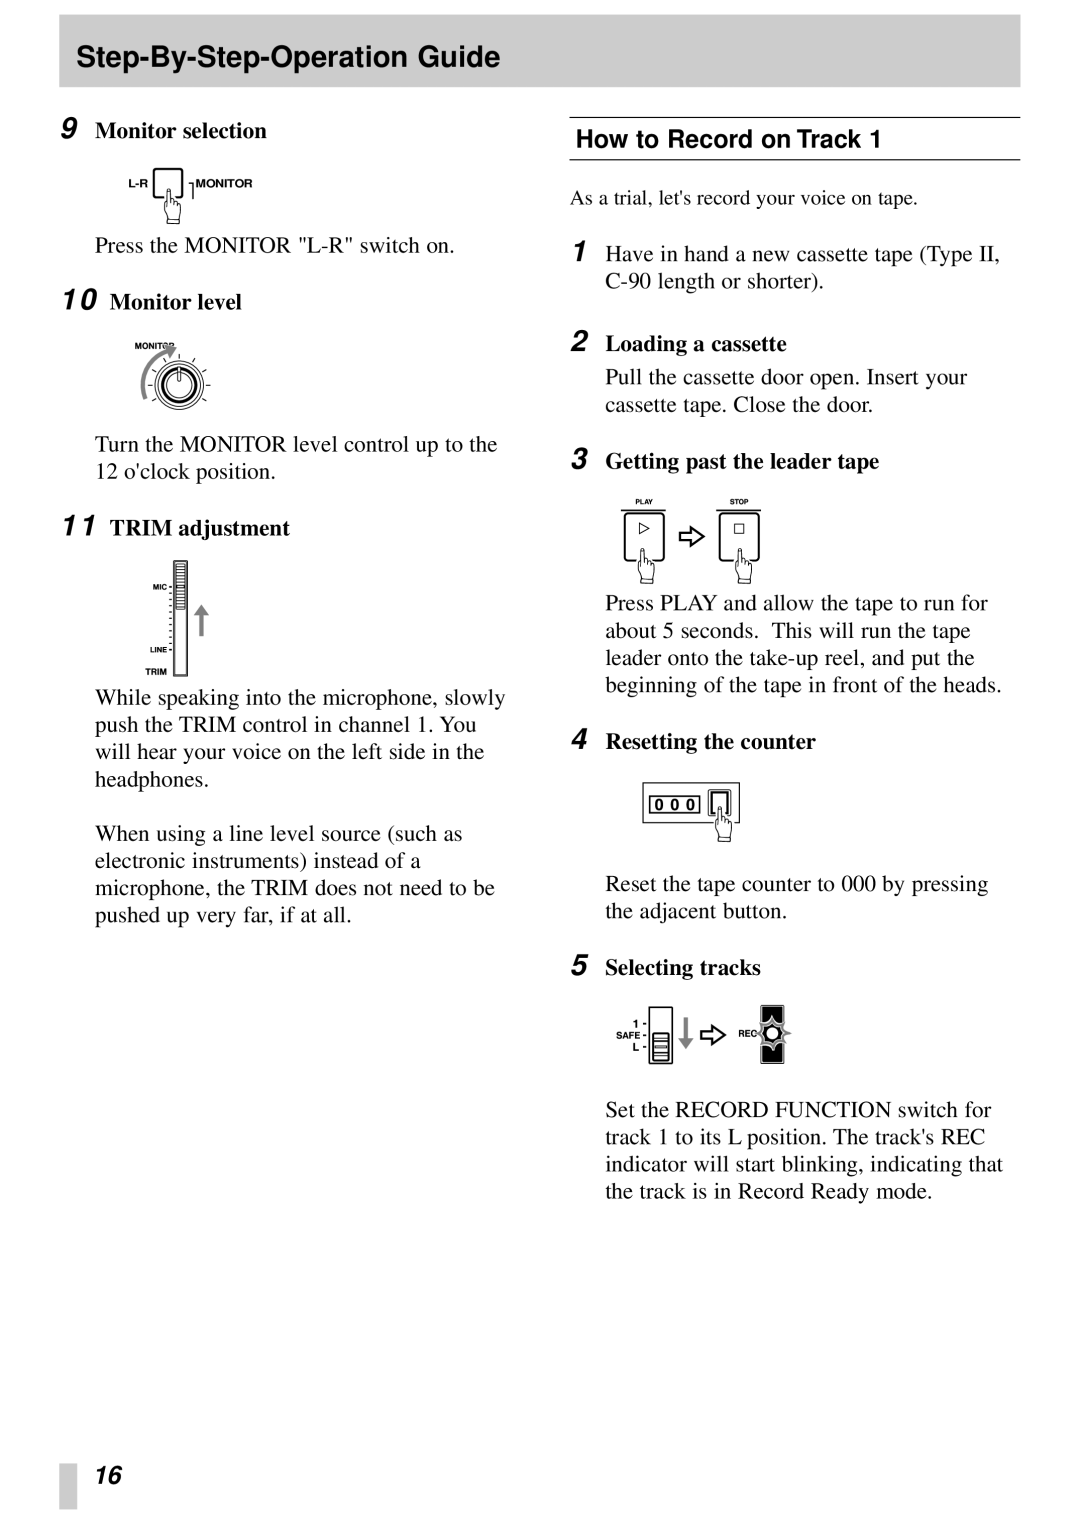
5Selecting tracks
Set the RECORD FUNCTION switch for track 1 to its L position. The track's REC indicator will start blinking, indicating that the track is in Record Ready mode.