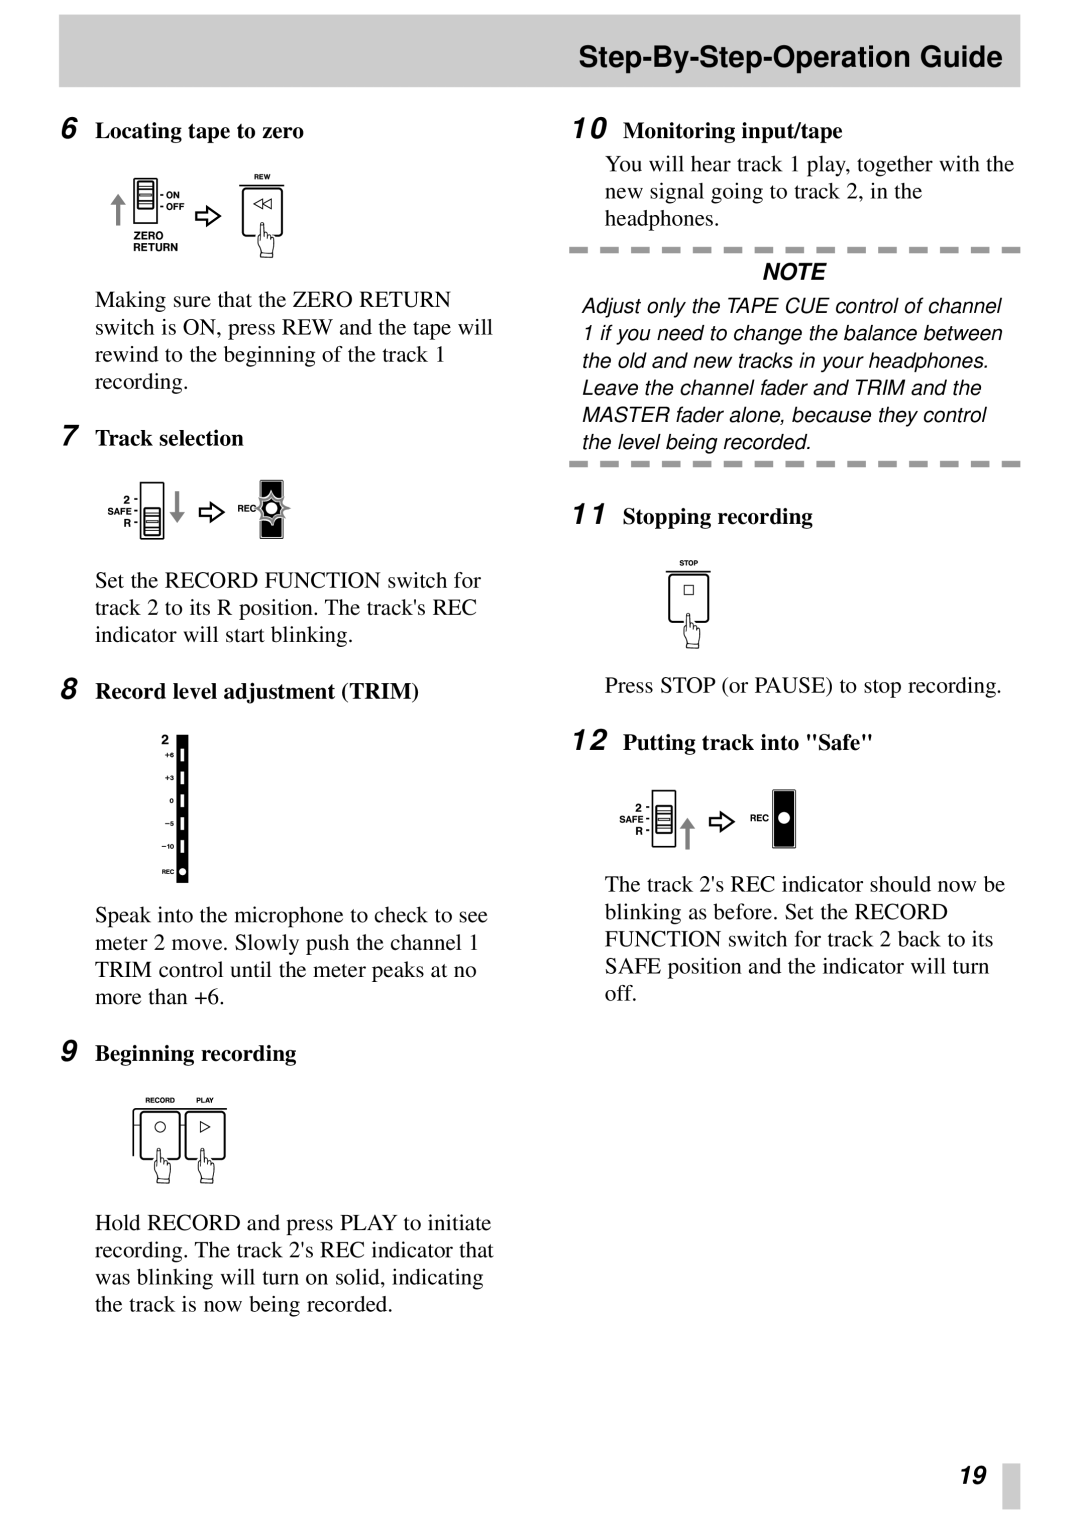
6Locating tape to zero
‘
Making sure that the ZERO RETURN switch is ON, press REW and the tape will rewind to the beginning of the track 1 recording.
7Track selection
Set the RECORD FUNCTION switch for track 2 to its R position. The track's REC indicator will start blinking.
8Record level adjustment (TRIM)
Speak into the microphone to check to see meter 2 move. Slowly push the channel 1 TRIM control until the meter peaks at no more than +6.
9Beginning recording
Step-By-Step-Operation Guide
10Monitoring input/tape
You will hear track 1 play, together with the new signal going to track 2, in the headphones.
NOTE
Adjust only the TAPE CUE control of channel 1 if you need to change the balance between the old and new tracks in your headphones.
Leave the channel fader and TRIM and the MASTER fader alone, because they control the level being recorded.
11Stopping recording
‘
Press STOP (or PAUSE) to stop recording.
12Putting track into "Safe"
The track 2's REC indicator should now be blinking as before. Set the RECORD FUNCTION switch for track 2 back to its SAFE position and the indicator will turn off.
‘ ‘
Hold RECORD and press PLAY to initiate recording. The track 2's REC indicator that was blinking will turn on solid, indicating the track is now being recorded.
19
