PUNCH-IN or INSERT Recording
Punch-in Procedure
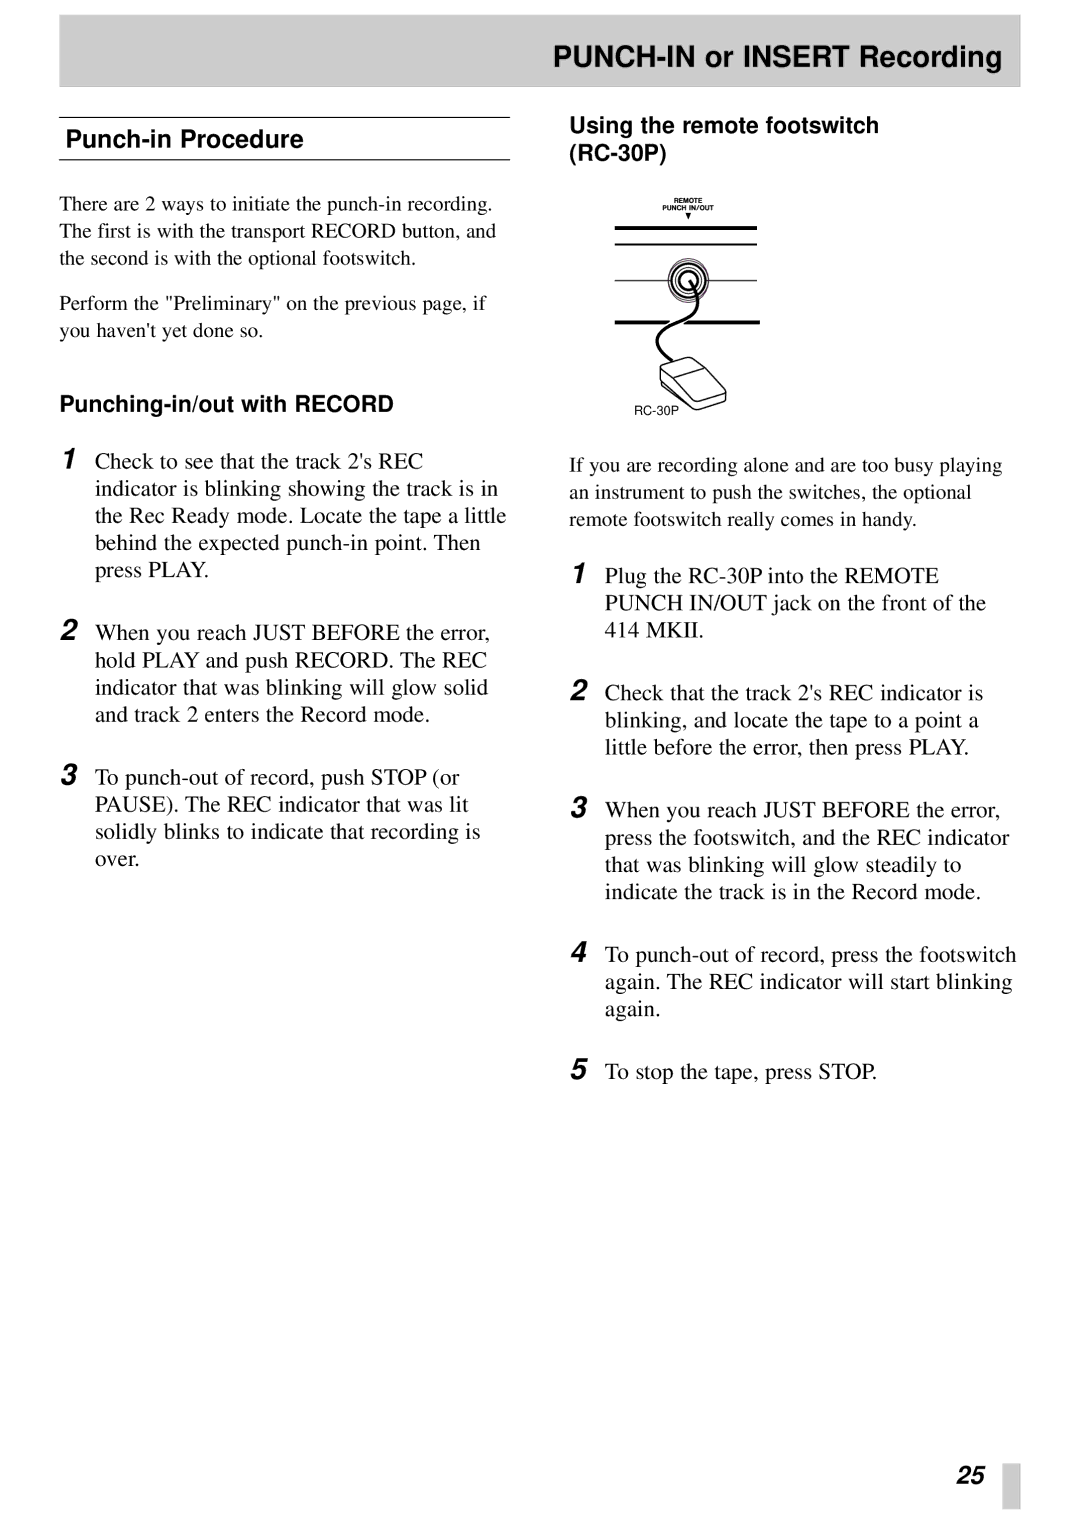
Using the remote footswitch (RC-30P)
There are 2 ways to initiate the
Perform the "Preliminary" on the previous page, if you haven't yet done so.
Punching-in/out with RECORD
1Check to see that the track 2's REC indicator is blinking showing the track is in the Rec Ready mode. Locate the tape a little behind the expected
2When you reach JUST BEFORE the error, hold PLAY and push RECORD. The REC indicator that was blinking will glow solid and track 2 enters the Record mode.
3To
If you are recording alone and are too busy playing an instrument to push the switches, the optional remote footswitch really comes in handy.
1Plug the
2Check that the track 2's REC indicator is blinking, and locate the tape to a point a little before the error, then press PLAY.
3When you reach JUST BEFORE the error, press the footswitch, and the REC indicator that was blinking will glow steadily to indicate the track is in the Record mode.
4To
5To stop the tape, press STOP.
25