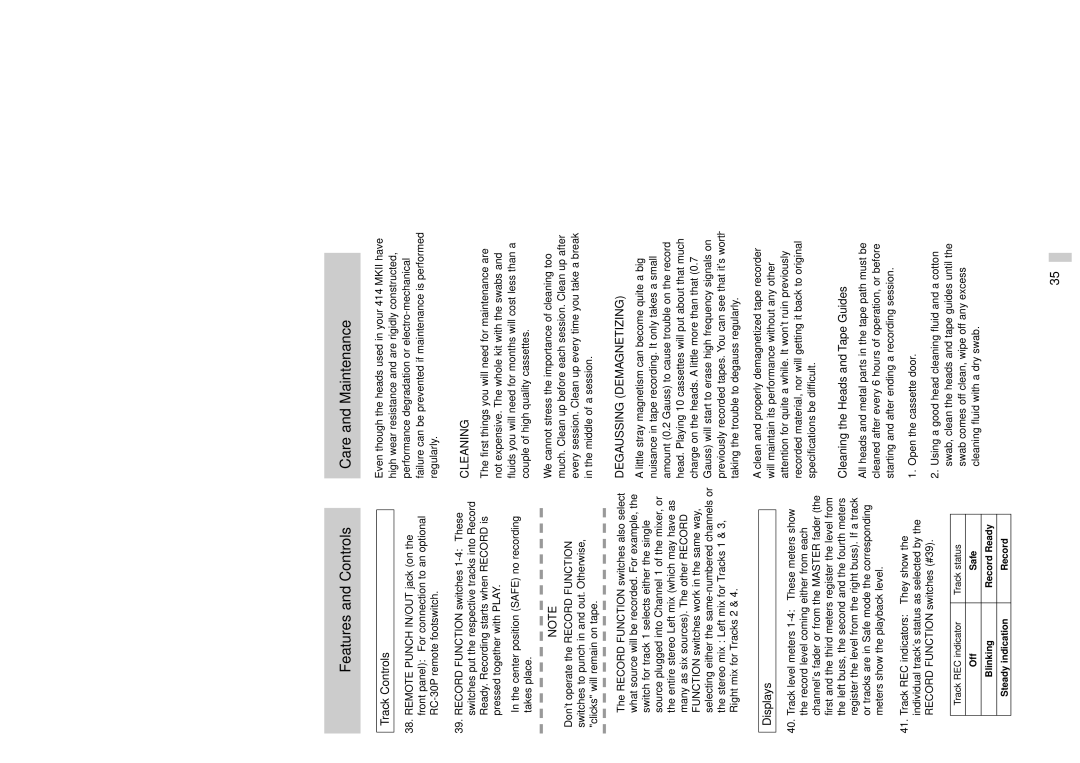
Features and Controls
Track Controls
38.REMOTE PUNCH IN/OUT jack (on the front panel): For connection to an optional
39.RECORD FUNCTION switches
In the center position (SAFE) no recording takes place.
NOTE
Don't operate the RECORD FUNCTION switches to punch in and out. Otherwise, "clicks" will remain on tape.
The RECORD FUNCTION switches also select what source will be recorded. For example, the switch for track 1 selects either the single source plugged into Channel 1 of the mixer, or the entire stereo Left mix (which may have as many as six sources). The other RECORD FUNCTION switches work in the same way, selecting either the
Displays
40.Track level meters
41.Track REC indicators: They show the individual track's status as selected by the RECORD FUNCTION switches (#39).
Track REC indicator | Track status |
|
|
Off | Safe |
|
|
Blinking | Record Ready |
|
|
Steady indication | Record |
Care and Maintenance
Even though the heads used in your 414 MKII have high wear resistance and are rigidly constructed, performance degradation or
CLEANING
The first things you will need for maintenance are not expensive. The whole kit with the swabs and fluids you will need for months will cost less than a couple of high quality cassettes.
We cannot stress the importance of cleaning too much. Clean up before each session. Clean up after every session. Clean up every time you take a break in the middle of a session.
DEGAUSSING (DEMAGNETIZING)
A little stray magnetism can become quite a big nuisance in tape recording. It only takes a small amount (0.2 Gauss) to cause trouble on the record head. Playing 10 cassettes will put about that much charge on the heads. A little more than that (0.7 Gauss) will start to erase high frequency signals on previously recorded tapes. You can see that it's worth taking the trouble to degauss regularly.
A clean and properly demagnetized tape recorder will maintain its performance without any other attention for quite a while. It won't ruin previously recorded material, nor will getting it back to original specifications be difficult.
Cleaning the Heads and Tape Guides
All heads and metal parts in the tape path must be cleaned after every 6 hours of operation, or before starting and after ending a recording session.
1.Open the cassette door.
2.Using a good head cleaning fluid and a cotton swab, clean the heads and tape guides until the swab comes off clean, wipe off any excess cleaning fluid with a dry swab.
35
