Operation |
| |
|
|
|
2.1.1 Sensor Installation or Replacement
Note: The R17MED oxygen sensor must be installed before the oxygen analyzer/monitor can be operated
1.Remove the new sensor from its protective bag. Inspect the sensor for damage or electrolyte leakage. If the sensor is damaged, obtain a replacement. Do not use the defective sensor as it may damage the unit.
WARNING: THE SENSOR ELECTROLYTE IS CAUSTIC. DO NOT LET IT COME IN CONTACT WITH SKIN. IF IT DOES, FLUSH AFFECTED AREA WITH WATER. DO NOT ATTEMPT TO OPEN OR REPAIR THE SENSOR.
WARNING: THE SENSOR ALSO CONTAINS LEAD. LEAKING OR EXHAUSTED SENSORS SHOULD BE HANDLED AND DISPOSED OF IN ACCORDANCE WITH LOCAL REGULATIONS. CONTACT TELEDYNE FOR THE MATERIAL SAFETY DATA SHEET
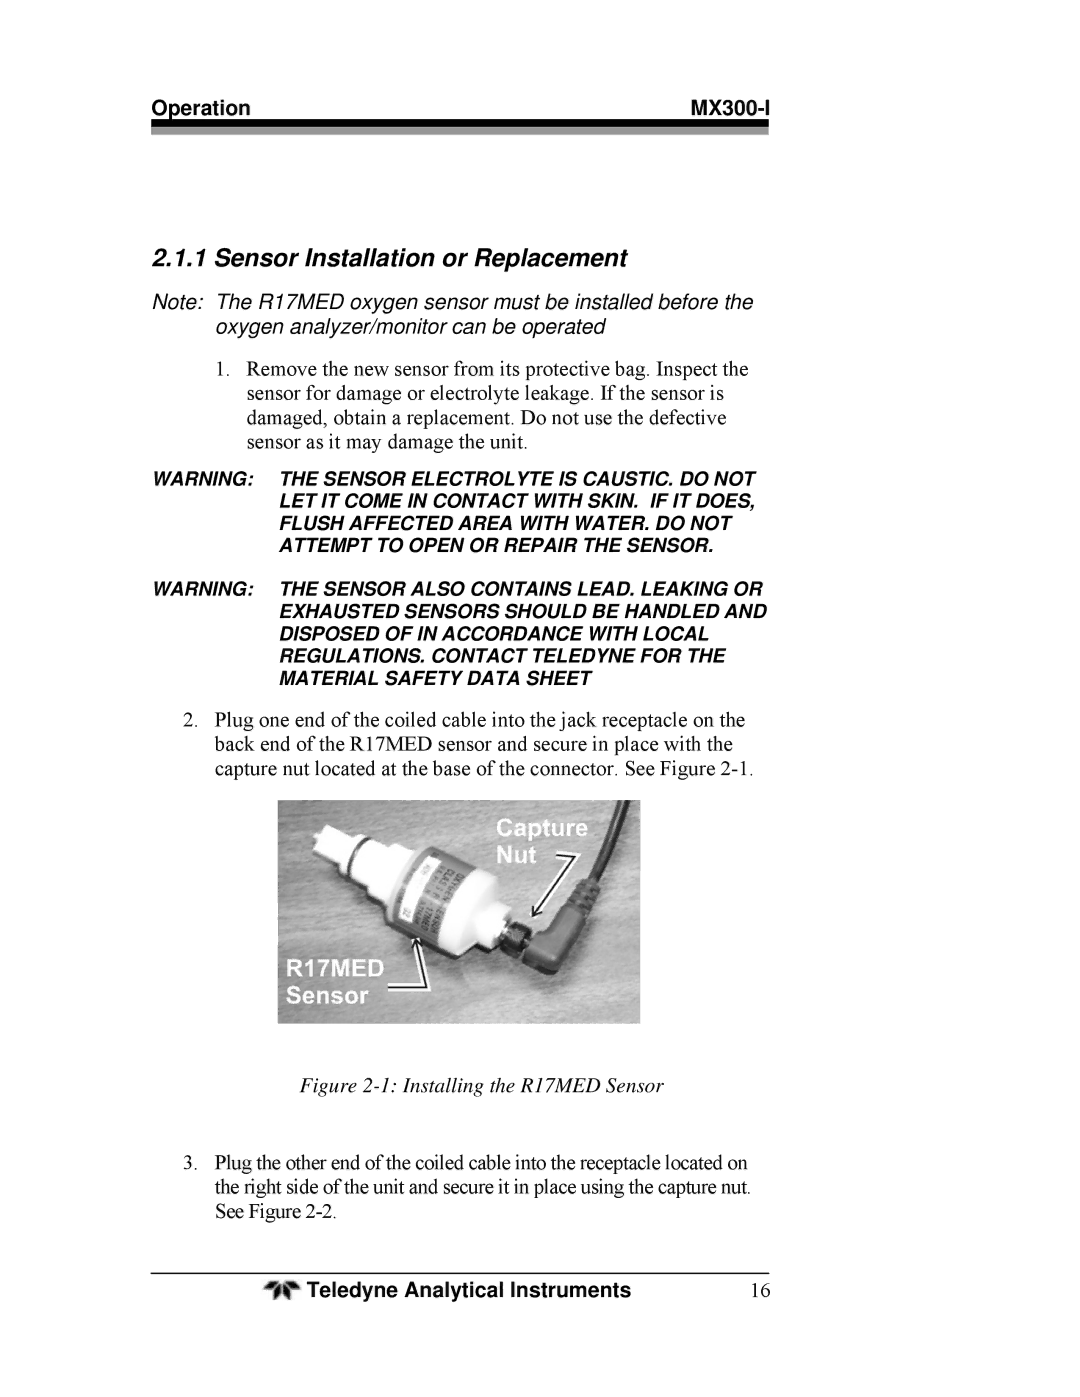
2.Plug one end of the coiled cable into the jack receptacle on the back end of the R17MED sensor and secure in place with the capture nut located at the base of the connector. See Figure
Figure 2-1: Installing the R17MED Sensor
3.Plug the other end of the coiled cable into the receptacle located on the right side of the unit and secure it in place using the capture nut. See Figure
Teledyne Analytical Instruments | 16 |
