8.4 Accessing the FTP server 87
8.4Accessing the FTP server
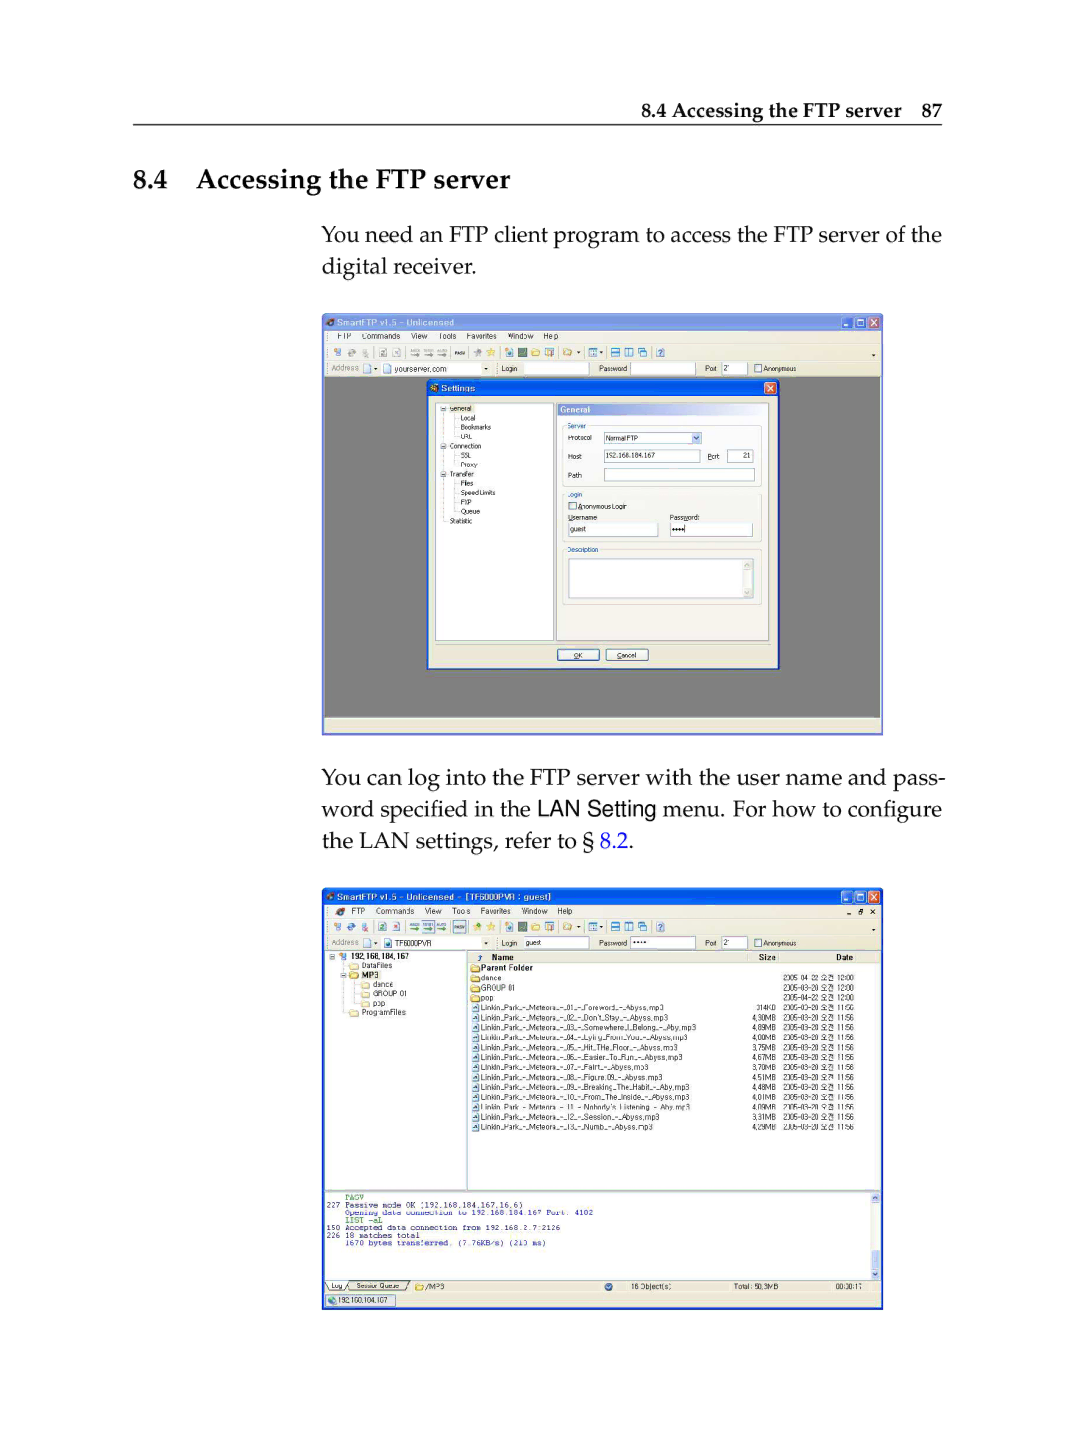
You need an FTP client program to access the FTP server of the digital receiver.
You can log into the FTP server with the user name and pass- word specified in the LAN Setting menu. For how to configure the LAN settings, refer to § 8.2.