Function setup
 Customizing the Function Settings
Turning parental control on or off
1. | In the main menu of Settings, press , then press / | ||
| to select Parental, and then press OK. | ||
2. | Press | / | to select Parental Control, then press OK. |
3. | Press | / | to select On or Off, then press OK. |
4. | Press | to go to the previous menu. | |
Setting the parental control level
1. In the main menu of Settings, press , then press / to select Parental, and then press OK.
2. | Press | / to select Parental Level, then press OK. |
3. | Press | / to select the rating level you want to block, |
| then press OK. The rating and all higher ratings will be | |
| blocked. You can select: | |
• 1 [Kid Safe] — Suitable for all children.
• 2 [G] — General audiences.
• 3 [PG] — Parental guidance suggested.
• 4
• 5
• 6 [R] — Not suitable for anyone under 17 unless supervised by a parent or adult guardian.
• 7
• 8 [Adult] — All DVDs can be played.
Note: These ratings are only for DVDs.
4. Press to go to the previous menu.
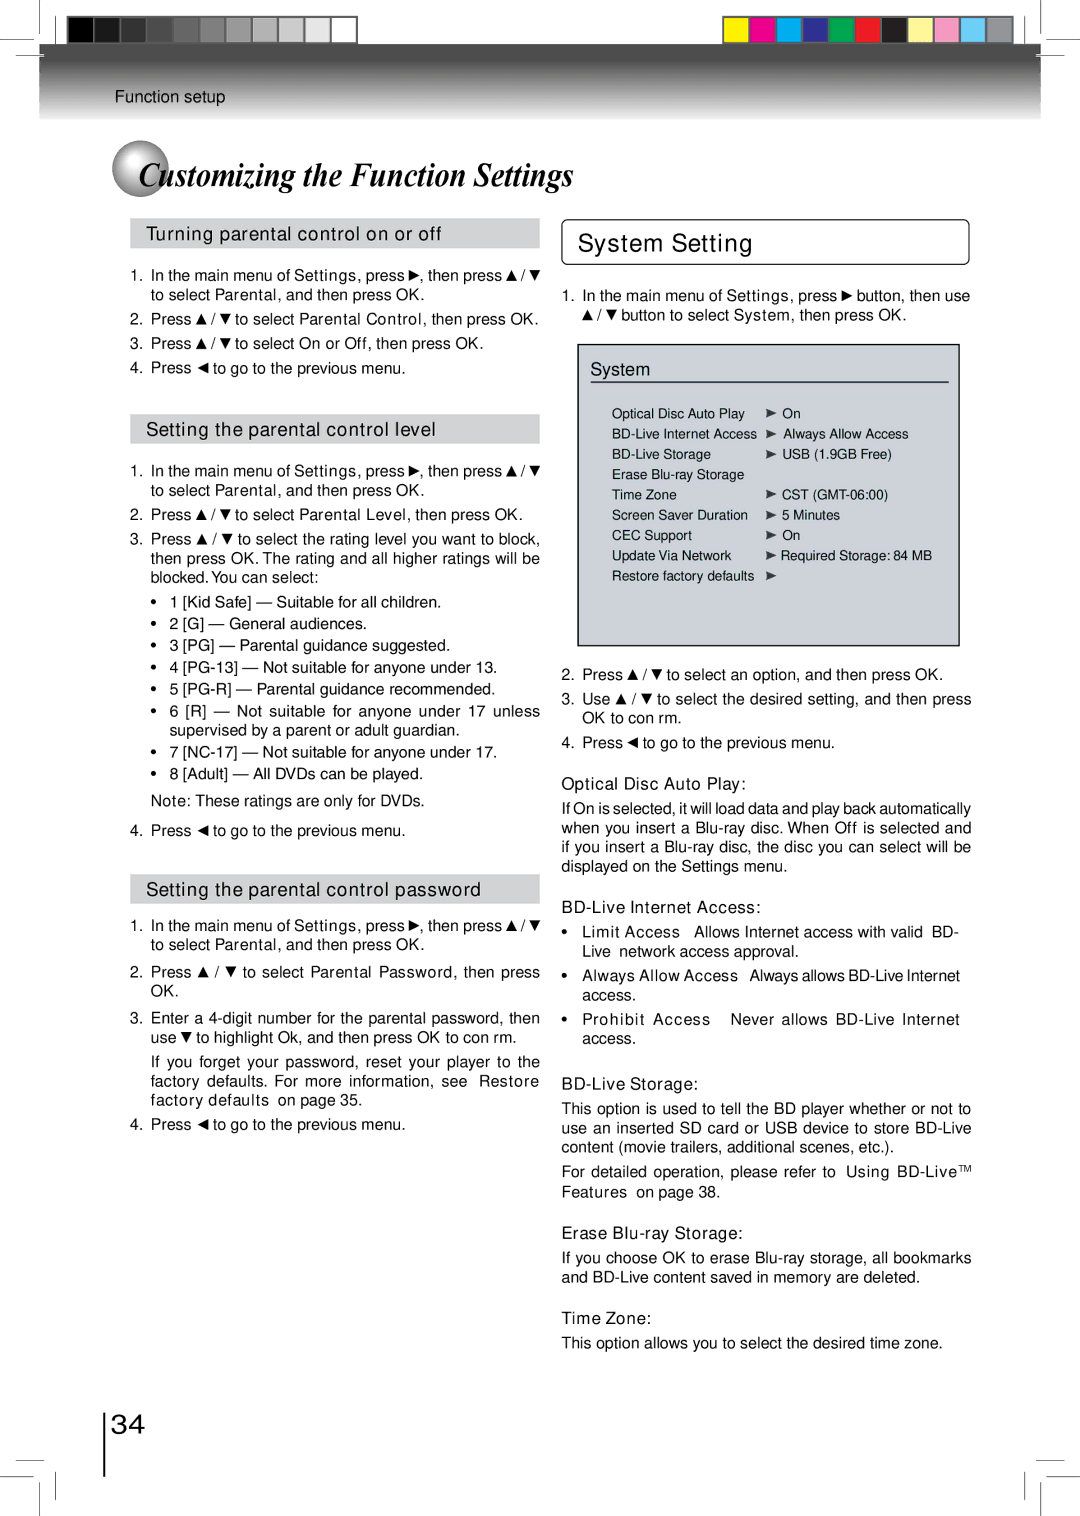
System Setting
1.In the main menu of Settings, press ![]() button, then use
button, then use ![]() /
/ ![]() button to select System, then press OK.
button to select System, then press OK.
System
Optical Disc Auto Play | On |
Always Allow Access | |
USB (1.9GB Free) | |
Erase |
|
Time Zone | CST |
Screen Saver Duration | 5 Minutes |
CEC Support | On |
Update Via Network | Required Storage: 84 MB |
Restore factory defaults |
|
2. | Press | / to select an option, and then press OK. |
3. | Use / | to select the desired setting, and then press |
| OK to confirm. | |
4. | Press | to go to the previous menu. |
Optical Disc Auto Play:
If On is selected, it will load data and play back automatically when you insert a
Setting the parental control password
1. | In the main menu of Settings, press , then press / | |
| to select Parental, and then press OK. | |
2. | Press | / to select Parental Password, then press |
| OK. |
|
3. | Enter a | |
| use | to highlight Ok, and then press OK to confirm. |
| If you forget your password, reset your player to the | |
| factory defaults. For more information, see “Restore | |
| factory defaults” on page 35. | |
4. | Press | to go to the previous menu. |
BD-Live Internet Access:
•Limit Access — Allows Internet access with valid “BD- Live” network access approval.
•Always Allow Access — Always allows
•Prohibit Access — Never allows
BD-Live Storage:
This option is used to tell the BD player whether or not to use an inserted SD card or USB device to store
For detailed operation, please refer to “Using
Erase Blu-ray Storage:
If you choose OK to erase
Time Zone:
This option allows you to select the desired time zone.
34
