8.3 On Screen ADVANCED MAIN menu (DIP3 and DIP4 ON)
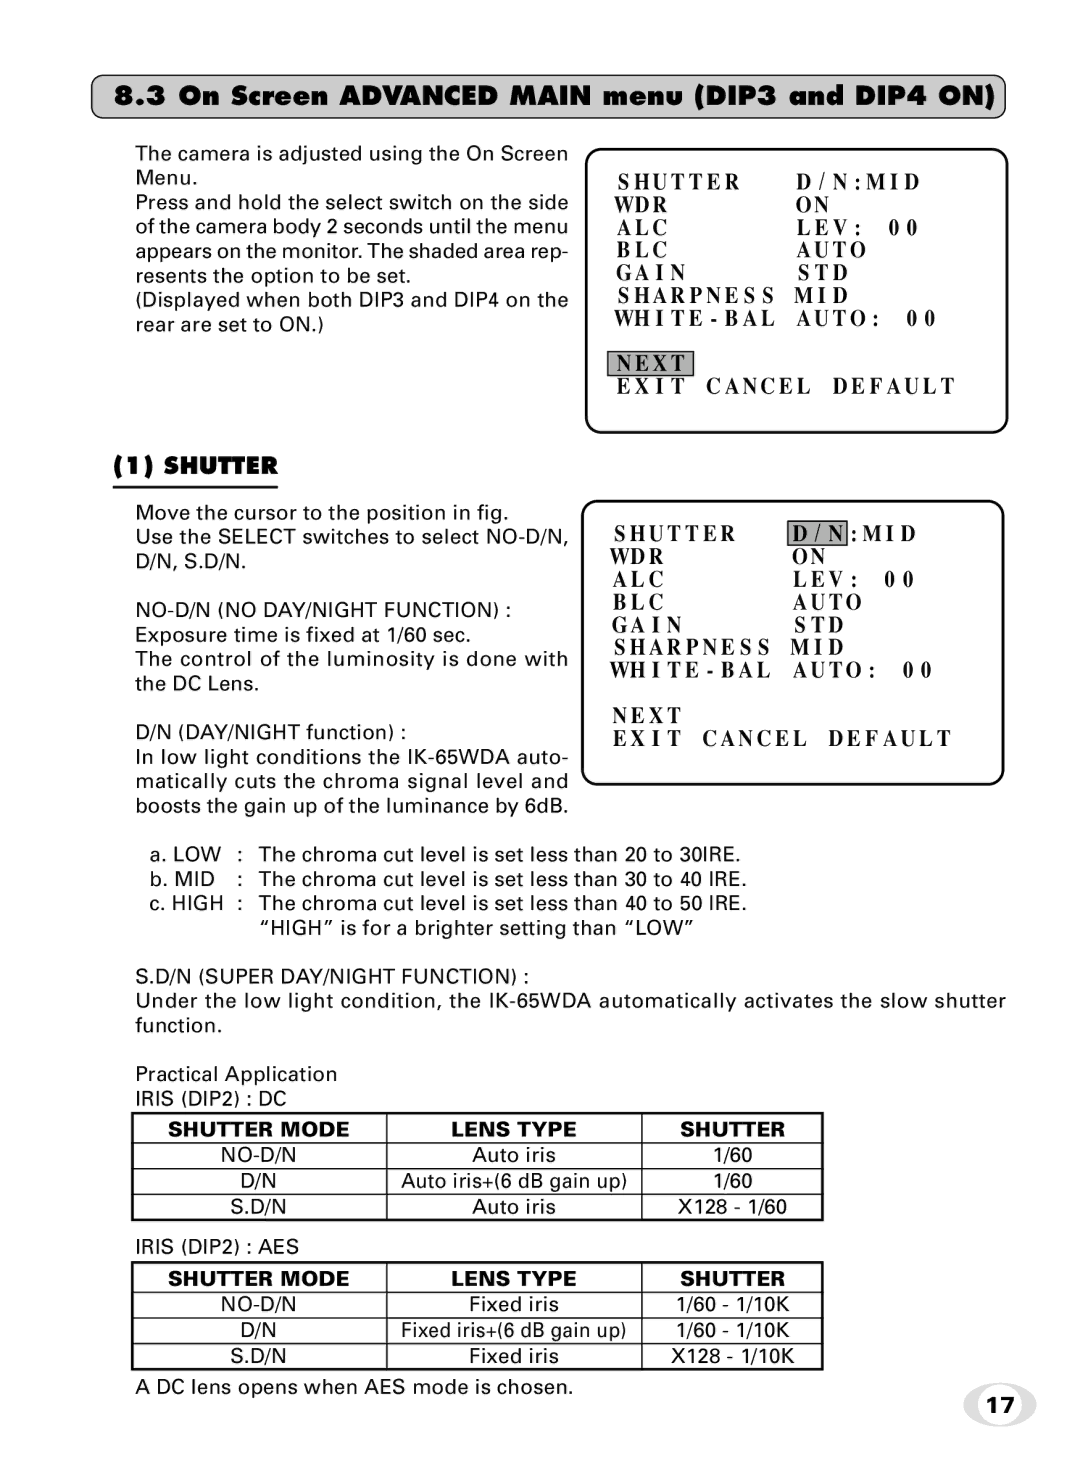
The camera is adjusted using the On Screen Menu.
Press and hold the select switch on the side of the camera body 2 seconds until the menu appears on the monitor. The shaded area rep- resents the option to be set.
(Displayed when both DIP3 and DIP4 on the rear are set to ON.)
(1) SHUTTER
S H U T T E R | D / N : M I D |
WD R | O N |
A L C | L E V : 0 0 |
B L C | A U T O |
G A I N | S T D |
S H A R P N E S S M I D
WH I T E - B A L A U T O : 0 0
N E X T
E X I T C A N C E L D E F A U L T
Move the cursor to the position in fig.
Use the SELECT switches to select
The control of the luminosity is done with the DC Lens.
S H U T T E R WD R
A L C
B L C
G A I N
S H A R P N E S S WH I T E - B A L
D/ N : M I D O N
L E V : 0 0
A U T O S T D M I D
A U T O : 0 0
D/N (DAY/NIGHT function) :
In low light conditions the
N E X T
E X I T C A N C E L D E F A U L T
a. LOW : The chroma cut level is set less than 20 to 30IRE.
b. MID : The chroma cut level is set less than 30 to 40 IRE.
c. HIGH : The chroma cut level is set less than 40 to 50 IRE. “HIGH” is for a brighter setting than “LOW”
S.D/N (SUPER DAY/NIGHT FUNCTION) :
Under the low light condition, the
Practical Application
IRIS (DIP2) : DC
SHUTTER MODE | LENS TYPE | SHUTTER |
Auto iris | 1/60 | |
D/N | Auto iris+(6 dB gain up) | 1/60 |
S.D/N | Auto iris | X128 - 1/60 |
IRIS (DIP2) : AES |
|
|
SHUTTER MODE | LENS TYPE | SHUTTER |
Fixed iris | 1/60 - 1/10K | |
D/N | Fixed iris+(6 dB gain up) | 1/60 - 1/10K |
S.D/N | Fixed iris | X128 - 1/10K |
A DC lens opens when AES mode is chosen.
17
