RAS-10JAVP-E, RAS-10JKVP-E, RAS-13JKVP-E, RAS-13JAVP-E specifications
Toshiba is renowned for its advanced air conditioning systems that offer reliable performance and innovative features tailored for diverse environments. The Toshiba RAS-13JAVP-E, RAS-13JKVP-E, RAS-10JKVP-E, and RAS-10JAVP-E models exemplify the brand's commitment to quality and efficiency.These units are equipped with cutting-edge inverter technology, allowing them to adjust their compressor speed according to the cooling or heating demands of the space, resulting in significant energy savings and stable temperature control. With their ability to operate on low power while maintaining efficiency, these models contribute to lower electricity bills, making them an eco-friendly choice for homeowners and businesses alike.
The RAS-13JAVP-E and RAS-13JKVP-E cater to larger areas with a cooling capacity of 13,000 BTU, while the RAS-10JKVP-E and RAS-10JAVP-E are designed for slightly smaller spaces with a 10,000 BTU output. This versatility makes these units suitable for various installations, from residential spaces to small commercial settings.
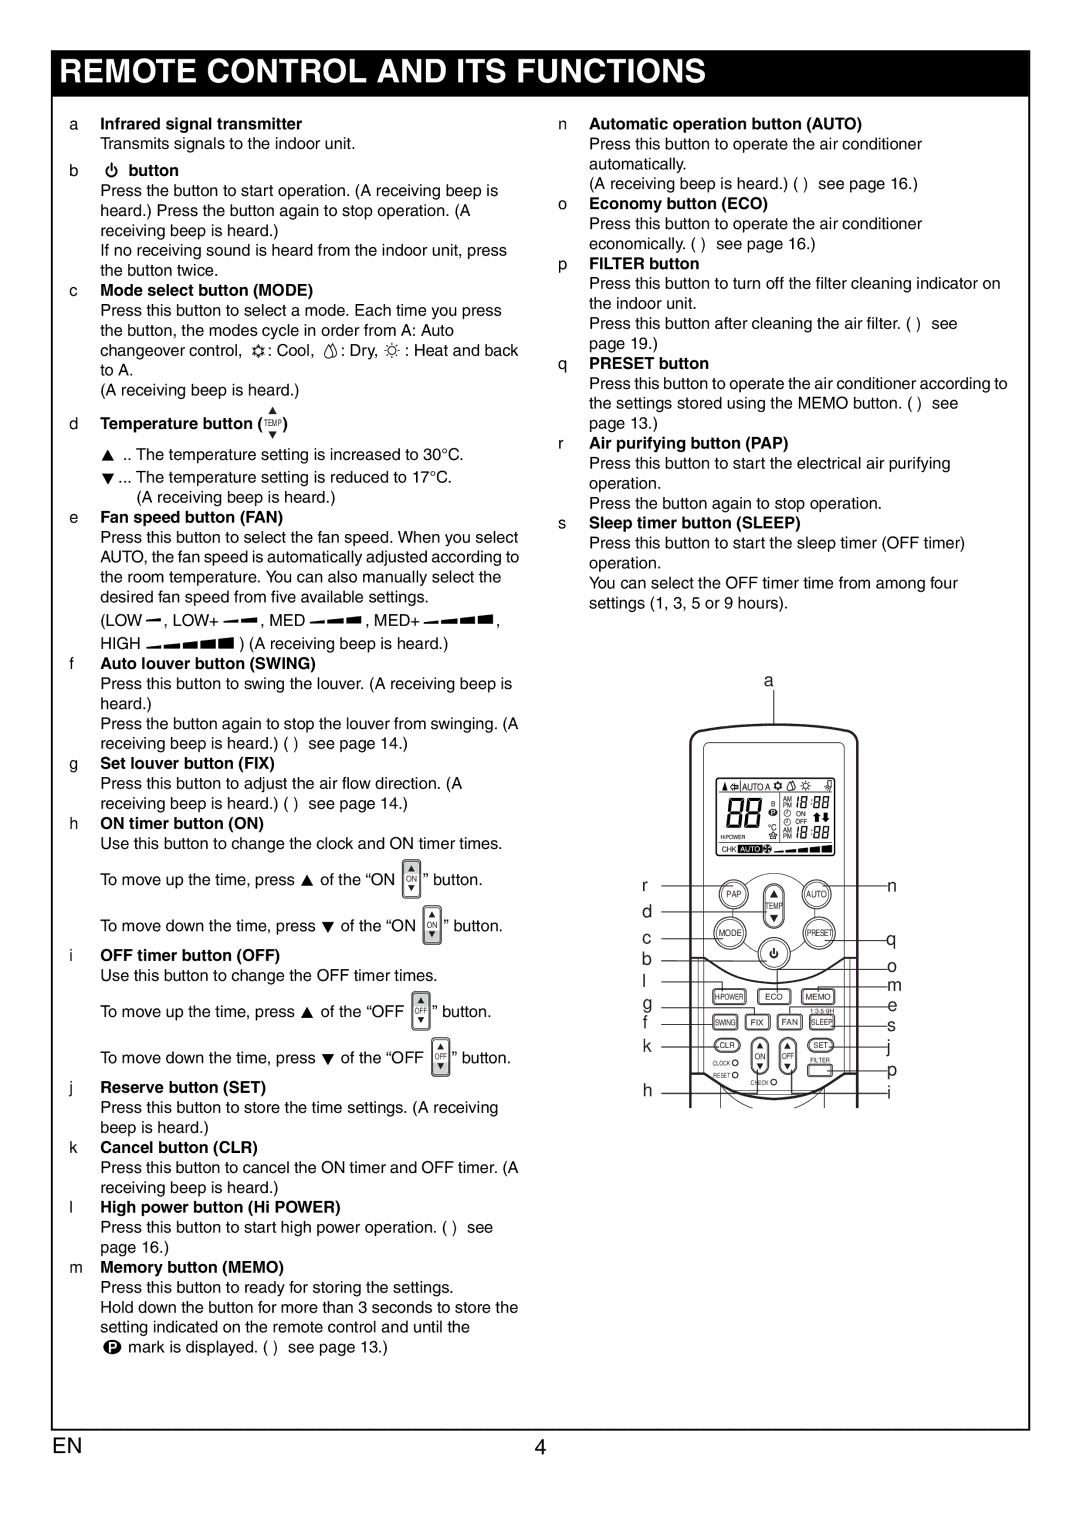
Additionally, all four models feature a sleek and modern design, blending seamlessly with contemporary interiors. The user-friendly interface, complete with a remote control, allows for easy operation and program settings, enhancing the overall user experience.
Another key characteristic of these Toshiba units is their advanced air purification technology. Equipped with a high-performance filter system, they effectively remove dust, allergens, and pollutants from the air, ensuring a cleaner and healthier environment for occupants.
Moreover, the units boast a quiet operation mode, making them ideal for bedrooms and offices where noise sensitivity is a concern. The indoor noise level is minimized without compromising performance, allowing for undisturbed relaxation or productivity.
Durability is another hallmark of Toshiba air conditioning systems. These models are built with high-quality materials, designed to withstand varying climates and ensure longevity.
In conclusion, the Toshiba RAS-13JAVP-E, RAS-13JKVP-E, RAS-10JKVP-E, and RAS-10JAVP-E air conditioners represent a perfect blend of efficiency, comfort, and reliability. Their innovative technologies, energy-saving attributes, and superior air quality features make them standout options for anyone looking to enhance their indoor environment.

