PM0016170012
RD-XS32SC
Table of contents
Others
Function Setup
Canadian Warranty Information
Library
Introduction
Some differences
About this product
DVD-RAM discs for your personal library
For recording / playback Disc Mark Specification Remarks
Compatible discs
Introduction Recording
For playback only Disc Mark Specification Remarks
Recommended discs
To protect recorded contents
Introduction Compatible discs
DVD-RAM discs with cartridges are recommended for recording
Tested discs
Standards
Recording conditions
Recommended discs
Yes No
Yes
Discs and purposes
Index to Parts and Controls
HDD indicator
Three mode indicator page 32, 55
Media indicator
Operation Status Indicator HDD
Digital Audio Output BITSTREAM/PCM
Installation Guide
OUTPUT1/OUTPUT2 jacks page 15, 17, 20 in Installation Guide
Remote control
Installation Guide
Title indicator
PBC indicator
Program recording indicator
Bit rate indicator
Multi display
Switching the display
Channel indicator
Dimming the display
Before operating this recorder
Double sided
Turning the power off
Disc tray lock
Single sided
VCD CD Track number
Open Close
Item selection
Easy Navi
Operating the finder For the HDD, DVD-RAM discs, DVD-R/RW
Discs recorded on this recorder and not finalized yet
To exit the Quick Menu
Opening a Quick Menu
Recording
Disc initializing
Before recording
Recording
Is your recorder ready?
To check space remaining on a disc Press the Remain button
When HDD recording is not possible due to... appears
When the programmed settings overlap
See
Recording Before recording
Initializing a DVD-RAM/RW disc Logical Format
To execute
DVD-RAM physical format
Press
Press To select DVD-RAM Physical Format, then press Enter
Language
Enters a symbol
Cursor
An entered character Will appear here
Erasing characters
HDD To record on the HDD
Recording a TV program
Press HDD or DVD to select a media to record on
Press Input Select repeatedly to select a recording source
Quality, skip to step
Press the number buttons to select a channel to record
Press / to select AV record quality, then press Enter
Open the lid
Recording Recording a TV program
Selecting the recording mode
Press Enter
Press REC
To view a TV program while recording another
To stop recording
To pause recording to omit an unnecessary portion
To change a TV channel to be recorded
HDD DVD-RAM
To video To audio Output jack
Using the input jacks on the front of the recorder
Recording an external source
Recording Recording an external source
When recording is completed, press Stop
Press HDD or DVD to select a recording media
Check the condition of the source equipment before playing
When recording from a camcorder
Clear
When complete, press Enter
During stop, press REC Menu
Press REC Menu to exit
To fill the disc
Setting items
Suggestions for the picture quality setting
When you record on a DVD-RAM/RW/R disc Media
Press Quick Menu at on page 40. The Quick Menu is displayed
Setting the details for every timer program
You can specify detail items for each of your timer program
Recording Programming a recording REC Menu
Shifting a time period of a recording Time Shift
Adding a timer program
Deleting a timer program
Correcting a timer program
Press REC Menu to exit the GUI
Remaining volume
Press / to select a program, then press
Press / to select a program to delete
To stop a programmed recording
For cable box or satellite receiver users
Open the lid of the remote control, and press VCR Plus+
VCR Plus+ Recording
Press the appropriate number buttons to enter the PlusCode
RecordingPlayback
After completing all your entries, press REC Menu
Recording HDD DVD-RAM
Others
Relay Recording HDD DVD-RAM
Reservation Disc
Not recorded
HDD
Alternate method
To delete recorded content
To protect recorded content
Important note
M1, D /M2
About picture quality SP, LP, Auto, Manual mode
Technical Information
About recording time
Page
Playback
Play your favorite contents
To play a DVD-R/RW disc
Information on playback
Playback
To play a DVD video disc
Playing recorded contents Content Menu
Playing the digest Skip Search
To pause playback still playback
Press / to select Play all ORG titles, then press Enter
Viewing the first scenes of titles Original Intro scan
Playing all titles original/playlist in a disc
Playing all titles original in a disc Play All ORG Titles
Changing the order of the titles
Checking the background information on a selected title
Specified page appears
Playing a DVD-RW disc recorded in DVD-VR mode
Jumping to a specified
To clear the number, press the Clear button
Stop Pause
Playing a DVD video disc
Press DVD
Press Play
Press TOP Menu
Locating a title using the top menu
Slow Time BAR
Press Timeslip to exit this mode
Frame
Slow Picture Search
Go back to the beginning of the TV program using Skip
Press Timeslip to exit
Pause Time BAR Frame
Instant Replay
Playing at various speeds
During normal playback, press Picture Search
Reverse slow-motion
Press Slow during playback
Play
Forward slow-motion
Playback Playing at various speeds
Playing frame by frame
During playback, press Pause
Press Frame
Press the number buttons to enter a number of the section
If you are using a Video CD/audio CD, skip step
Locating by entering the number of a desired section
Press T.SEARCH
Hour Minute Second
Playback Locating by entering the number
To enter 1 hour, 25 minutes, and 30 seconds
→ 1 → → 2 → 5 → → 3 →
Sub window program on the air or on the recording appears
During playback, press P in P
Press / / / to select the position of the sub window
Channel
Total number of angles Current selection
Selecting the camera angle
To turn off the angle icon
Angle icon
To turn the subtitles on or off
Setting number and language
Selecting Subtitles
Select a zoom point and magnification level
To cancel the zoom
Zooming a picture
Press Zoom
Menu
Selecting the sound
Press Audio during playback or while
Playback Selecting the sound Recorded sounds
Disc
Output sound conversion table
Load a CD that contains Jpeg files
Viewing Jpeg files
To change the playback order
On the Content Menu Picture List
Jpeg files compatibility
Viewing a specified photo single view
Load a CD that contains MP3/WMA files
Playing MP3/WMA files
32 kHz, 44.1 kHz, 48 kHz / 32-320 kbps
Playable files
Press / / / to select a track or folder
Pressing the Picture Search / button turns the pages
Press Display again
Operational status and setting details
You can confirm operational status and setting details
Press Display
Turning off the time bar
Using the time bar
During playback or recording, press
Changing the location of the time bar
Press Enter at the end of the segment point B
Functions in the Quick Menu
To play in random order Random play
Press / to select the next box, then perform step
To play in favorite order Memory playback
To turn off the bit rate display, select this item again
To check information on a title
Editing
Be sure to read before performing any editing
Before editing
For better use the HDD of this recorder
Editing
Editing
Editing on this recorder
Editing Before editing
Title
Make the compiled chapters into a title Original. Dubbing
Press Quick Menu
Creating chapters
During stop, playback or recording, press
Press / / / to select a title
Slow
Press / to select Chapter function, then press Enter
Press Play to start playback
Editing Creating chapters
When all chapter divisions have been made, press
Press / / / to select Divide, then press
Repeat steps 6 to
Editing chapter break
Creating chapters automatically when recording
Naming a chapter
Editing Creating chapters Merging chapters
Sub menu appears
Press / to select Edit function, then press Enter
Edit Menu Playlist editing appears
Press / to select Playlist editing, then press Enter
Press / / / to select a title or chapter
Editing Playlist editing
Press To select a point where you want to
Confirming the title information
Editing Playlist editing Canceling selection of a part
Using a part in a Playlist also in another Playlist
Naming a title Playlist
Press / to select the item. PlaylistMon-Fri
From the Content Menu Title List, press
This will help to sort serials
Press / to select Edit function, then press
100
Content Menu Title List appears
Cntent Menu Create Thumbnail display appears
101
Picture Search Frame Skip Slow
Editing Creating thumbnails
102
Dubbing operations
Before dubbing
103
Move
104
Editing Before dubbing Copy and Move
Copy
DVD HDD
105
Recording and playback during a dubbing
HDD DVD
Appears
During playback or stop, press Content Menu
Adjust Picture Search
106
Same Disc
To cancel copying halfway through the operation
107
Press / to select Copy, Move or Same Disc
Edit Menu Dub Selected Items appears
108
During playback or stop, press Edit Menu
Press / to select Dub Selected Items
Chapter to copy
109
Press To select a part a title or
Repeat steps 4 to
110
Changing the position of an item
Cancelling selection of an item
Cancelling during dubbing
111
Perform steps 1 and 2 on Press Quick Menu
Content Menu Rate Conversion Dub appears
112
Rate Conversion Dubbing for Part by Part
Quick Menu
113
Press / to select Copy or Same Disc
Confirm picture and sound rates
Check the rate for picture and sound quality
To change the setting, perform the following steps
114
Rate Conversion Dubbing for multiple parts
Press / to select Start, and select Yes, then press Enter
Cancelling dubbing during rate conversion dubbing
Turning off the power automatically after dubbing
115
Start playing
116
Press Input Select or Channel repeatedly to select LineU
Press HDD
Recording stops
117
Press Stop
Playing stops, and a black screen returns
Edit Menu Del Selected Items appears
118
Press / to select Del Selected Items
119
Edit Menu Combine ORG Title display appears
120
Press / to select Combine ORG Title, then press Enter
Press / to select the first title to merge
Combining process starts
121
Perform steps 3 to 5 and select the second title
DVD-RW DVD-R
122
Edit Menu DVD-Video Create Selected Items appears
123
Press / to select DVD-Video Creation, then press Enter
Edit Menu Main Menu appears
Quick Menu Picture Search
Editing Creating a DVD-Video using DVD-R/RW Confined
124
Repeat steps 3 to
Press / to select Next, then press
125
Press / to select Start, then press
Press To set the items
12Press / / / to select the chapter menu
126
10Press to select Next, then press Enter
11Press / / / to select the menu, then press Enter
Confirmation message is displayed
127
14Press / to select Yes, then press Enter
Selecting the items displayed on the menu
128
Selecting color options on menus
Using a favorite scene as a menu
129
130
Canceling selection of an item
Confirming the content in the lower area
Canceling dubbing process
If a message appears while selecting a part
131
Playing a created DVD-Video
Press / to select DVD-Video Finalizing
Display of option settings appears
DVD-Video finalizing process
132
Press to select Next, then press Enter
133
Press / / / to select
Press / to select Yes or No then press
134
Press / / / to select the title menu, then press Enter
Press / / / to select the chapter menu
135
To cancel the finalize process DVD-RW
Press / to select DV Recording
136
Press / / / to select Next, then press
Press / / / to make the settings
Adjust
137
Editing DV Recording Recording from a digital video camera
138
To facilitate your collecting
Library
Press Library
Using Library data
140
Basic operation of the Library system
Searching
Searching for a desired title
141
Changing the listing order
Library Searching for a desired title
142
Jumping
Viewing disc information
Viewing Library data
143
Viewing title information
Registering a disc manually
Maintenance of Library data
144
Library Viewing Library data
Forced deletion of disc numbers
145
Erasing unnecessary data
Deleting all the Library information only
146
Re-installing the backup data
Viewing a number and space of a disc
Press Adjust and select the setting Press Enter
Checking remaining space
147
Page
Function Setup
150
During stop, press Setup
Press Setup
Function Setup
151
Library Function setup Others
152
Function Setup Customizing the function settings
153
154
DVD player settings
155
Code
156
PBC
157
Picture/Audio settings
SAP
158
3D-DNR
PCM
Display settings
160
Operational settings
DVD recorder operation
161
162
HDD auto stop
Management settings
Genre setting
163
HDD Format
Setting of picture and sound quality for recording
164
All HDD titles delete
Others
Connection to your TV
Before calling service personnel
Power Playback
166
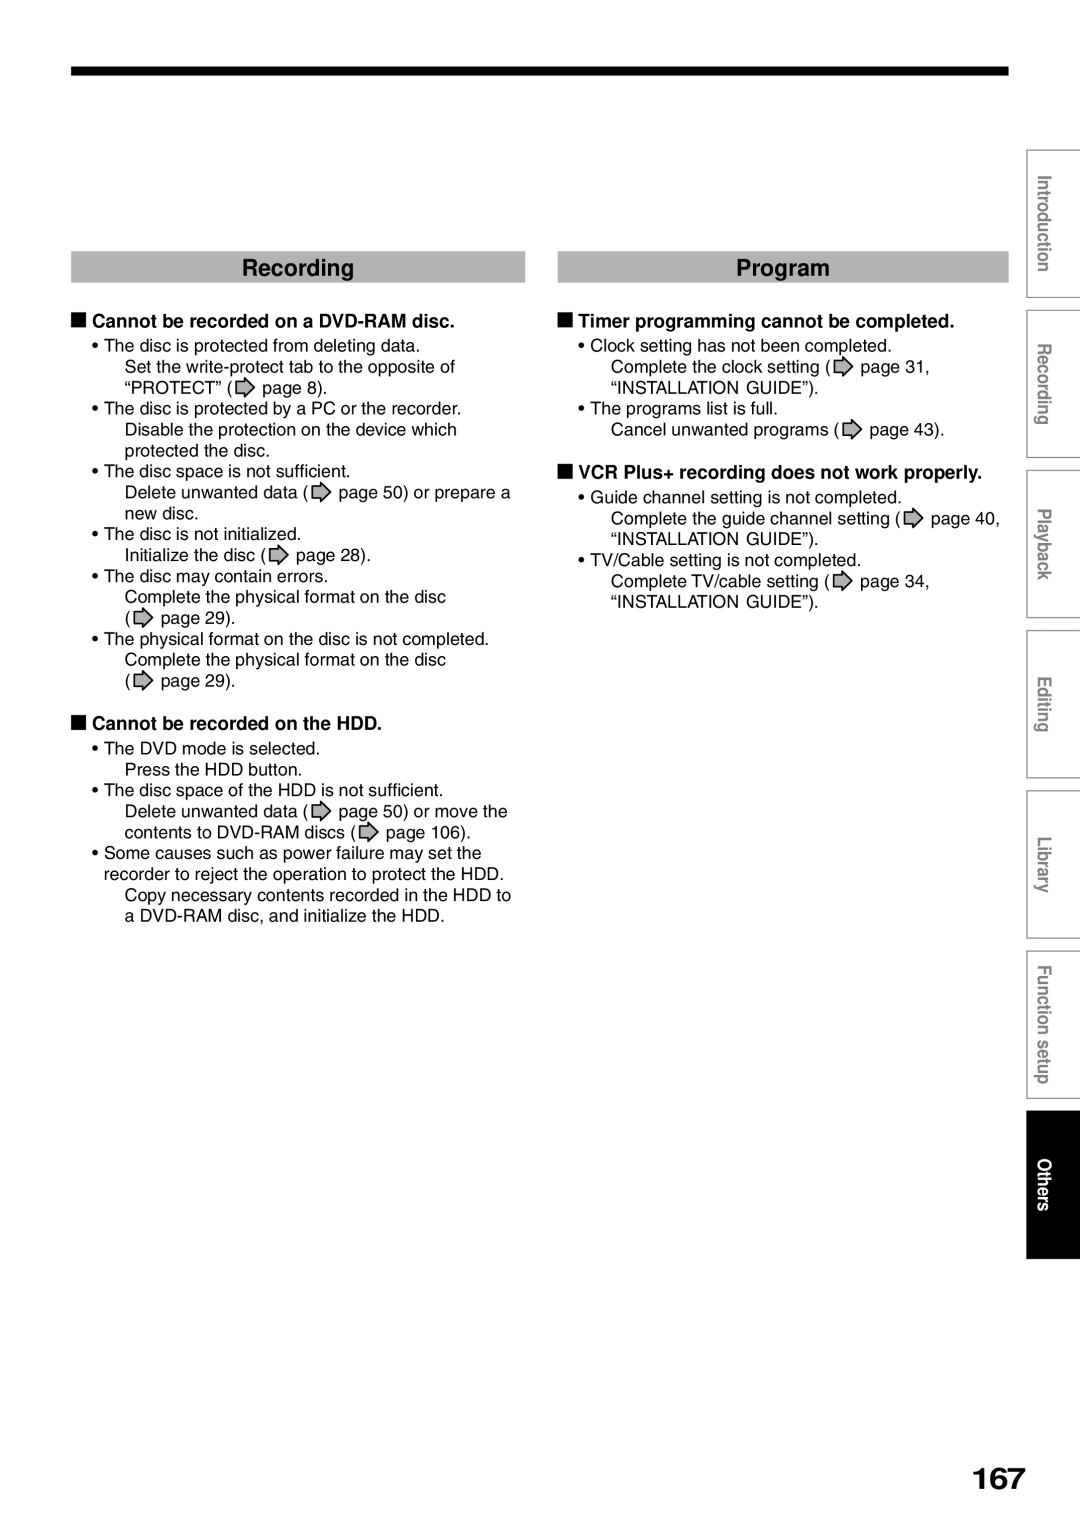
Program
167
Recording
Clock
Remote control
168
169
M1192kbps M2384kbps
Recording duration
170
Bengali, Bangla
Language Code List
171
Abbreviation Language
172
Specification
Hour digital display
Wireless remote control SE-R0125
Temperature 41F ~ 95F 5C ~ 35C Position Horizontal
173
174
Time for Taking Action
How to Obtain Warranty Services
HOW State LAW Relates to Warranty
175
176
Canadian Warranty Information Garantie Canadienne
177
178
179