Installing the Print Server
Follow these steps for a
1.Confirm proper operation of the printer to be connected to the print server.
2.When you have confirmed proper operation of the printer, turn off the power.
3.Confirm that your network is operating normally.
4.Connect the print server to the network (through the
5.While the printer is powered off, connect the print server to the printer’s USB or Parallel port.
6.Turn on the printer’s power.
7.Connect the DC end of the AC Power adapter to the DC power input socket of the print server and the AC end to the wall outlet. This will supply power to the print server immediately.
NOTE:![]() This print server is built with a default IP Address. To prevent from any conflict in your network, it is recommended to use the
This print server is built with a default IP Address. To prevent from any conflict in your network, it is recommended to use the
- 11 -
3
USING THE UTILITIES
This chapter describes the software utilities for the print server, including how to set up your print server with these utility. The PS- Utility and PS Wizard are designed with a
Auto-Run Installation
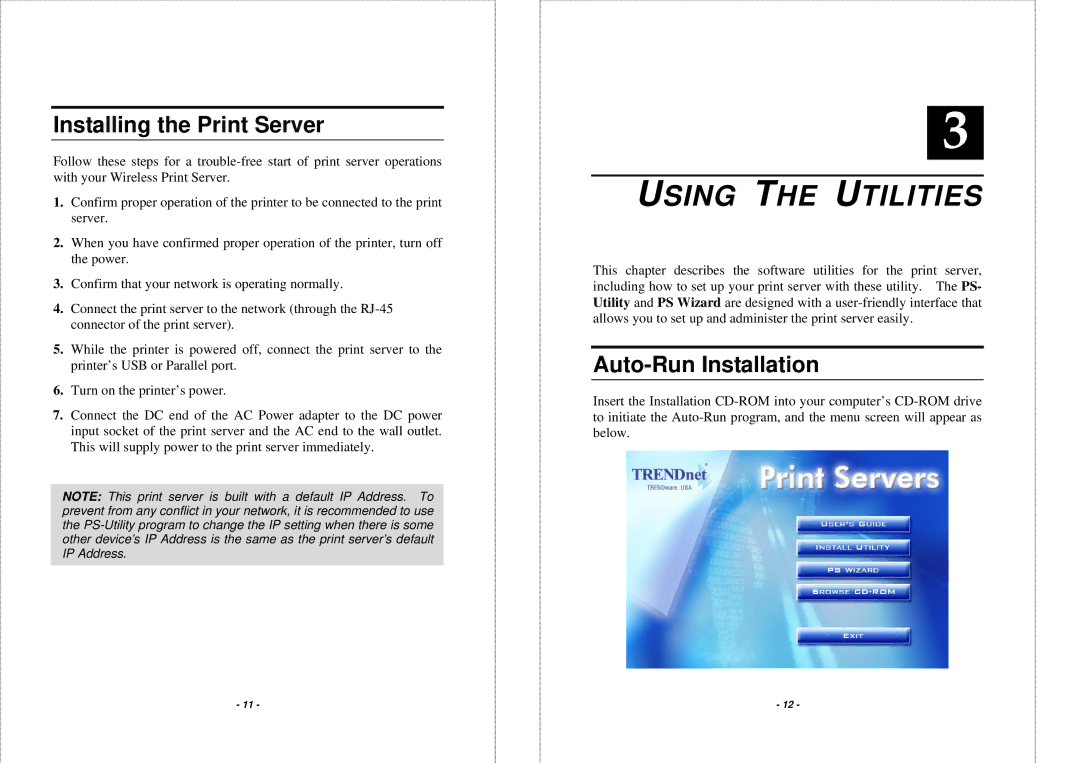
Insert the Installation
- 12 -
