3.The InstallShield Wizard starts to install the software, and the Progress bar indicates the installation is proceeding.
4.When completed, click Finish.
After installing the utility, the application program for the print server is automatically installed to your computer, and creates a folder in
Using PS-Utility
This section describes the operation of
1.Click Start
- 15 -
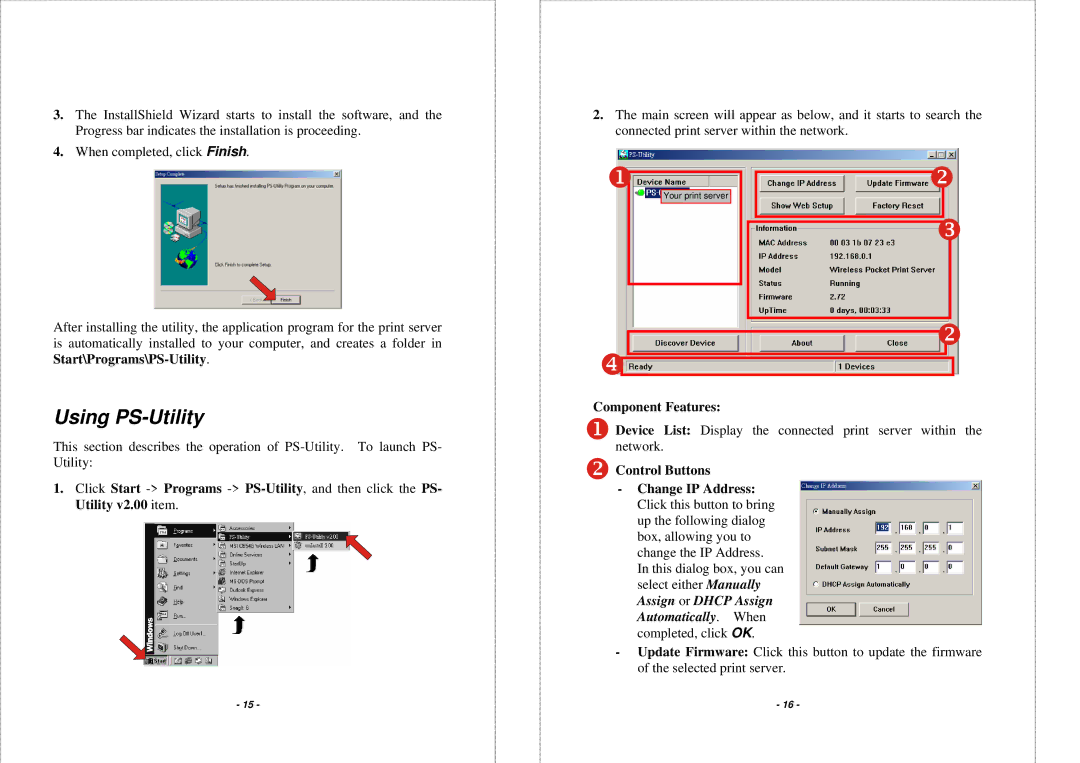
2.The main screen will appear as below, and it starts to search the connected print server within the network.
Your print server
Component Features:
Device List: Display the connected print server within the network.
Control Buttons
-Change IP Address: Click this button to bring up the following dialog box, allowing you to change the IP Address.
In this dialog box, you can select either Manually Assign or DHCP Assign Automatically. When completed, click OK.
-Update Firmware: Click this button to update the firmware of the selected print server.
-16 -