Installation
Mounting the PDU
Note: The illustrations may differ somewhat from your PDU model. Regardless of configuration, the user must determine the fitness of hardware and procedures before mounting. The PDU and included hardware are designed for common rack and rack enclosure types and may not be appropriate for all applications. Exact mounting configurations may vary. Screws for attaching the mounting brackets and cord retention shelf to the PDU are included. Use only the screws supplied by the manufacturer, or their exact equivalent
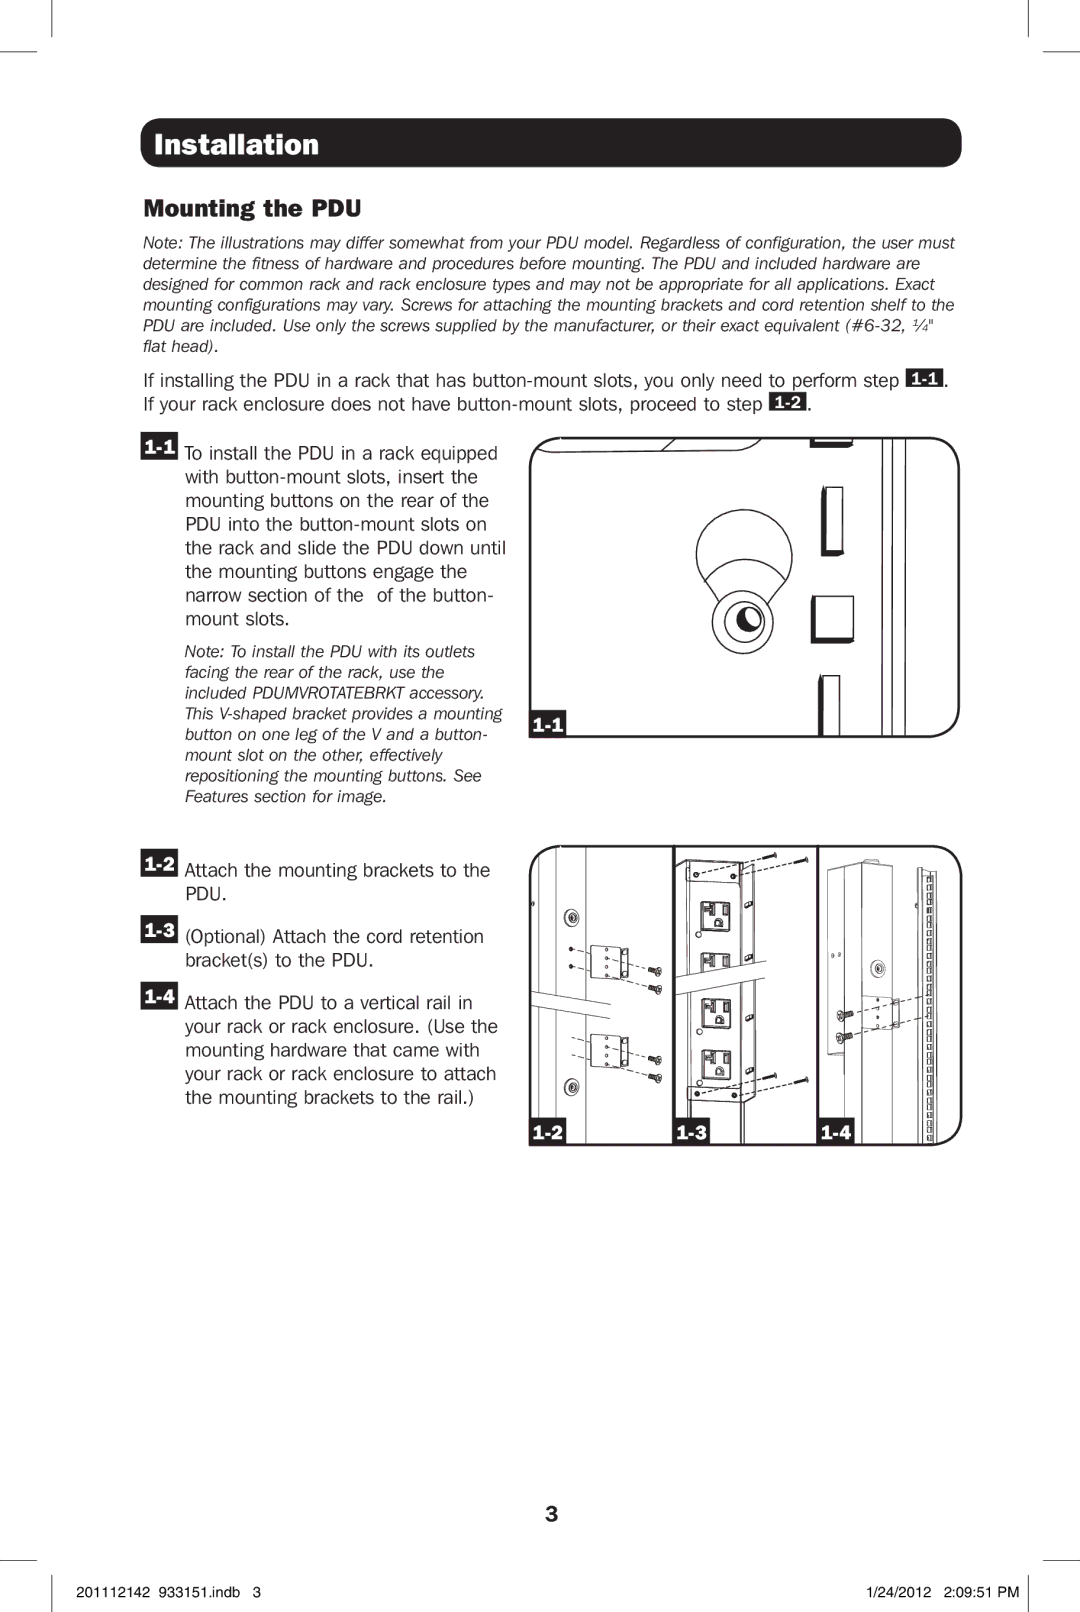
If installing the PDU in a rack that has
Note: To install the PDU with its outlets facing the rear of the rack, use the included PDUMVROTATEBRKT accessory. This
button on one leg of the V and a button-
Attach the mounting brackets to the PDU.
(Optional) Attach the cord retention bracket(s) to the PDU.
Attach the PDU to a vertical rail in your rack or rack enclosure. (Use the mounting hardware that came with your rack or rack enclosure to attach the mounting brackets to the rail.)
3
201112142 933151.indb 3 | 1/24/2012 2:09:51 PM |