Montaje

Sección

3

MONTAJE

IMPORTANTE: Lea totalmente el Manual del Operario antes que intente ensamblar u operar su lavador a alta presión.

Remueva el Lavador a Presión del Empaque

1.Remueva la bolsa con las piezas, accesorios y las adiciones incluidas con el lavador de presión.

2.Corte dos esquinas en los extremos del cartón desde la parte superior hasta la parte inferior, de tal manera que el pánel pueda ser doblado en forma plana.

3.Remueva el lavador a presión del la caja.

Contenido de la Caja

Los Artículos que se Encuentran en la Caja Son:

Unidad principal

Manubrio

Manguera de alta presión

Pistola rociadora

Extensión de la boquilla con las piezas de conexión rápida

Gafas de seguridad

Botella de aceite para motor

Boquilla a chorro de conexión rápida

Cepillo giratorio

Cepillo utilidad

Bandeja accesoria

Bolsa de accesorios (incluye lo siguiente):

Manual del operario

Manual del operario del motor

Tarjeta de registro del propietario

Bolsa con 4 boquillas de conexiones rápidas multicolores

Piezas para la manubrio (incluye lo siguiente):

Perno del soporte (2)

"L" Perno

Perilla plástica (3)

Pinzas de árbol (4)

PREPARANDO EL LAVADORA ALTA PRESIÓN PARA SU USO

Si usted tiene un problema al ensamblar la unidad o si hacen falta algunas piezas o se encuentran dañadas, llame a la línea directa del lavador a alta presión, al 1-888-611-6708. Si llamar para la ayuda, tiene por favor el modelo, la revisión, y el número de serie de la etiqueta de datos disponible.

A prepara su arandela de la presión para la operación, usted necesitará a realiza estas tareas:

1.Llene y mande en tarjeta de matrícula.

2.Conecte manubrio a unidad principal, entonces conecte bandeja accesoria a manubrio.

3.Añada aceite al motor.

4.Añada gasolina al tanque de combustible.

5.Conecte manguera a alta presión a pistola rociadora y a bomba.

6.Conecte el suministro de agua a bomba.

7.Conecte boquilla la extensión al pistola rociadora.

8.Seleccione una boquilla ProjectPro™ con conector rápido y conéctela al prolongador de la boquilla.

Conecte el Manubrio y Bandeja Accesoria

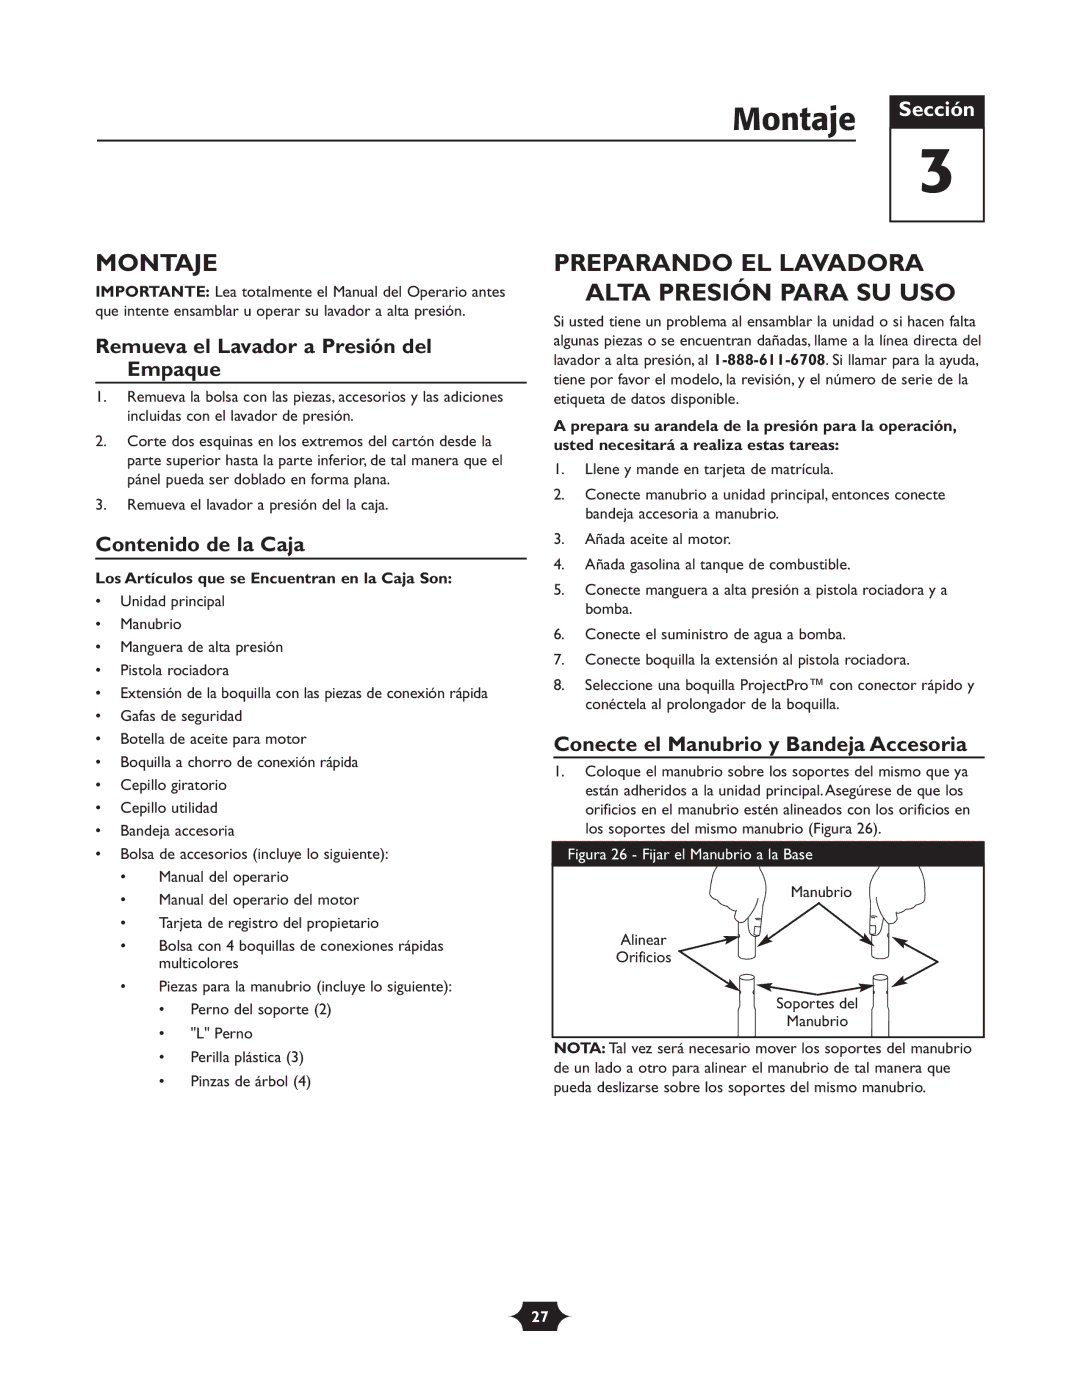
1.Coloque el manubrio sobre los soportes del mismo que ya están adheridos a la unidad principal. Asegúrese de que los orificios en el manubrio estén alineados con los orificios en los soportes del mismo manubrio (Figura 26).

Figura 26 - Fijar el Manubrio a la Base

Manubrio

Alinear

Orificios

Soportes del

Manubrio

NOTA: Tal vez será necesario mover los soportes del manubrio de un lado a otro para alinear el manubrio de tal manera que pueda deslizarse sobre los soportes del mismo manubrio.

27

Page 27
Image 27
Troy-Bilt 20240 manual Montaje, Preparando EL Lavadora Alta Presión Para SU USO

20240 specifications

The Troy-Bilt 20240 is a popular model among homeowners looking for a reliable and efficient snow thrower. Designed to tackle moderate to heavy snowfall, this snowblower boasts a range of features that enhance its performance and ease of use.

One of the standout characteristics of the Troy-Bilt 20240 is its 24-inch clearing width and 21-inch intake height, allowing it to effectively handle large amounts of snow. The powerful 243cc engine provides the necessary strength to clear driveways, sidewalks, and patios with minimal effort.

The snow thrower is equipped with a self-propelled system, enabling users to navigate through deep snow with ease. With six forward and two reverse speeds, operators can select the right speed for their working conditions, ensuring maximum efficiency and control. This versatility makes it suitable for various snow depths and terrains.

The 20240 features an adjustable chute that can rotate a full 180 degrees, allowing users to direct the snow where it is needed. This is particularly advantageous for clearing snow away from pathways or driveways without creating additional obstacles. The chute can be easily adjusted using a remote, adding to the user-friendly design of the machine.

Durability is a key aspect of the Troy-Bilt 20240. It incorporates a heavy-duty steel frame and reinforced poly skid shoes that resist wear and tear from rugged winter conditions. This robust construction ensures that the snow thrower can withstand the challenges posed by harsh weather and heavy snowfall.

Additionally, the snow blower's touch control system offers enhanced maneuverability, enabling operators to make quick adjustments on the fly. The ergonomic hand grips provide comfort during extended use, reducing fatigue and improving handling.

Another notable technology feature is the electric start, which simplifies the starting process, particularly in cold weather. This convenient option eliminates the hassle of pulling cords, making it accessible for users of all experience levels.

In summary, the Troy-Bilt 20240 combines power, durability, and advanced features, making it an excellent choice for homeowners who need an effective snow removal solution. Its impressive capabilities and user-friendly design ensure that it stands out in the competitive market of snow throwers, providing reliability and performance season after season.