TRUST 1290Z POWERC@M OPTICAL ZOOM
Item |
| Explanation | Description |
|
|
| image capturing circuitry. Make sure that the |
|
|
| lens remains free of dust and fingerprints; |
|
|
| take care not to scratch the lens. |
8 + |
| Viewfinder | The viewfinder is used to determine the |
10 |
|
| format of the photograph and its composition. |
|
|
| The actual photograph is taken through the |
|
|
| lens, not the viewfinder. The image may differ |
|
|
| when the digital zoom is used. |
|
|
|
|
9 |
| Indicator | Indicates the current camera mode. |
11 |
| Control buttons | Button to scroll through the menu, or |
|
|
| “Å” button: macro function (Section 8.4) |
|
|
| “Æ” button: automatic exposure (Section 8.3) |
|
|
| “Ç” button: mode (Section 8.2) |
|
|
| “È” button: flash settings (Section 8.5) |
12 |
| "W" button (zoom | Use the |
|
| out) | subject while in Capture mode. |
13 |
| "T" button (zoom in) | Use the |
|
|
| subject while in Capture mode. |
14 |
| Indicator | Indicates the status of the memory. |
15 |
| LCD display | Use the LCD display to preview photos. |
|
|
| In the Setup menu the LCD display can be |
|
|
| used to view the configuration. |
16 |
| “MENU” Button: | Press the “MENU” button to enter the menu. |
17 |
| “ENTER” button | Use the “ENTER” button to confirm or perform |
|
|
| a function. |
18 |
| “DISPLAY” button | Used to determine the presentation on the |
|
|
| LCD display. Turning the LCD display off will |
|
|
| save batteries. |
19 |
| Hook for the | For your convenience, attach the carrying |
|
| carrying strap | strap to the hook on the camera. |
20 |
| Battery cover | Protects the batteries. |
21 |
| Memory card cover | Protects the memory card. |
22 |
| USB connection | The USB (Universal Serial Bus) port is used |
|
|
| to connect the camera to a PC for the transfer |
|
|
| of photos. |
23 |
| Tripod socket | Use the tripod socket to fit a tripod to the |
|
|
| camera. This optional accessory is used to |
|
|
| stabilize the camera. This is ideal for |
|
|
| photography when little light is available, e.g. |
|
|
| at night. |
24 |
| Connect your | |
|
| connection / adapter | this socket to use the television to preview |
|
| connection | your images. |
|
|
| You can also connect an adapter (not |
|
|
| supplied with the camera) to this socket. |
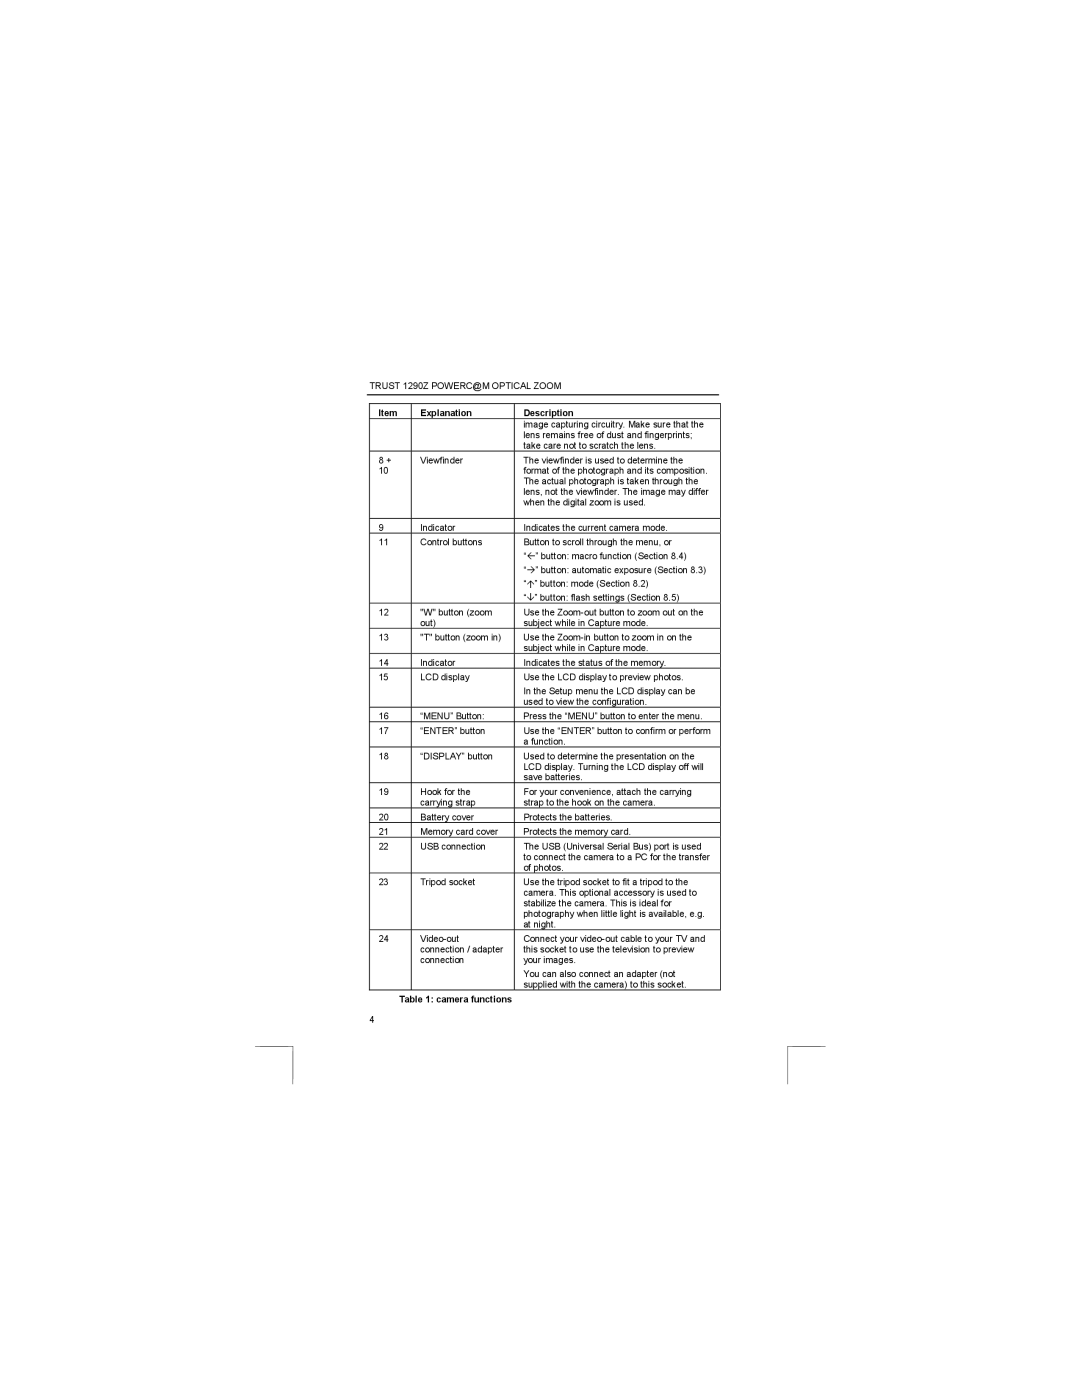
| Table 1: camera functions |
| |
4 |
|
|
|
