20 T R O U B L E S H O OT I N G
I s s u e |
| Possible Cause(s) |
| Resolution |
|
|
|
| |
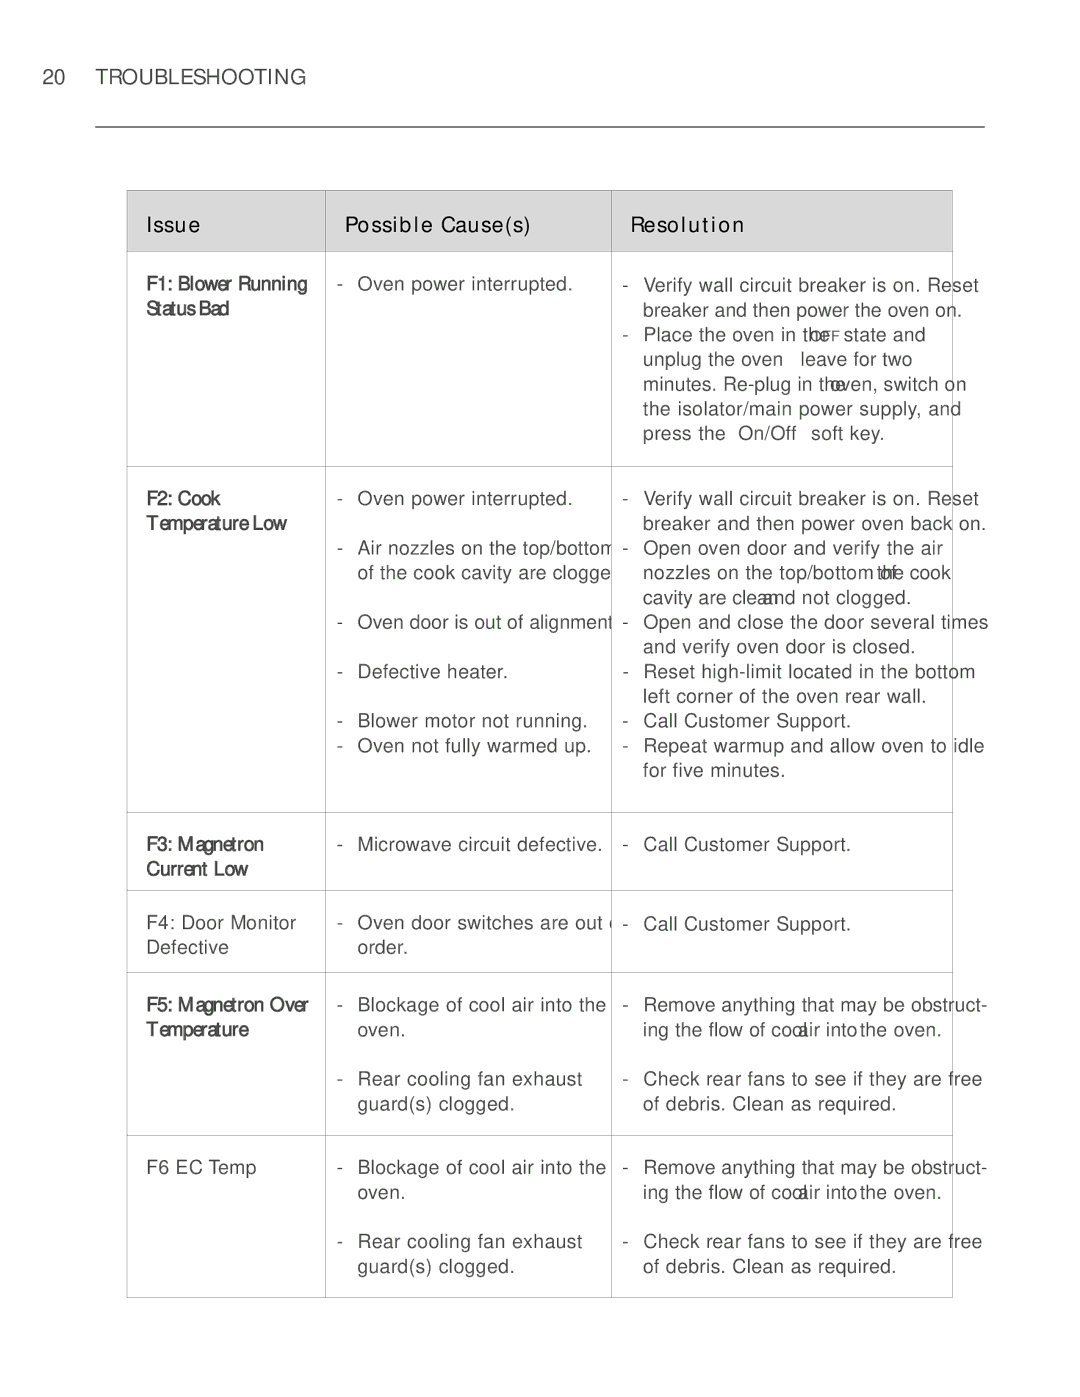
F1: Blower Running | - | Oven power interrupted. | - Verify wall circuit breaker is on. Reset | |
Status Bad |
|
|
| breaker and then power the oven on. |
|
|
| - Place the oven in the OFF state and | |
|
|
|
| unplug the oven – leave for two |
|
|
|
| minutes. |
|
|
|
| the isolator/main power supply, and |
|
|
|
| press the “On/Off ” soft key. |
|
|
|
| |
F2: Cook | - | Oven power interrupted. | - Verify wall circuit breaker is on. Reset | |
Temperature Low |
|
|
| breaker and then power oven back on. |
| - Air nozzles on the top/bottom | - Open oven door and verify the air | ||
|
| of the cook cavity are clogged. |
| nozzles on the top/bottom of the cook |
|
|
|
| cavity are clean and not clogged. |
| - Oven door is out of alignment. | - Open and close the door several times | ||
|
|
|
| and verify oven door is closed. |
| - | Defective heater. | - Reset | |
|
|
|
| left corner of the oven rear wall. |
| - Blower motor not running. | - | Call Customer Support. | |
| - Oven not fully warmed up. | - Repeat warmup and allow oven to idle | ||
|
|
|
| for five minutes. |
|
|
|
|
|
F3: Magnetron | - | Microwave circuit defective. | - | Call Customer Support. |
Current Low |
|
|
|
|
|
|
|
|
|
F4: Door Monitor | - | Oven door switches are out of | - | Call Customer Support. |
Defective |
| order. |
|
|
|
|
|
| |
F5: Magnetron Over | - | Blockage of cool air into the | - Remove anything that may be obstruct- | |
Temperature |
| oven. |
| ing the flow of cool air into the oven. |
| - Rear cooling fan exhaust | - Check rear fans to see if they are free | ||
|
| guard(s) clogged. |
| of debris. Clean as required. |
|
|
|
| |
F6 EC Temp | - | Blockage of cool air into the | - Remove anything that may be obstruct- | |
|
| oven. |
| ing the flow of cool air into the oven. |
| - Rear cooling fan exhaust | - Check rear fans to see if they are free | ||
|
| guard(s) clogged. |
| of debris. Clean as required. |
|
|
|
|
|
