12 COOKING
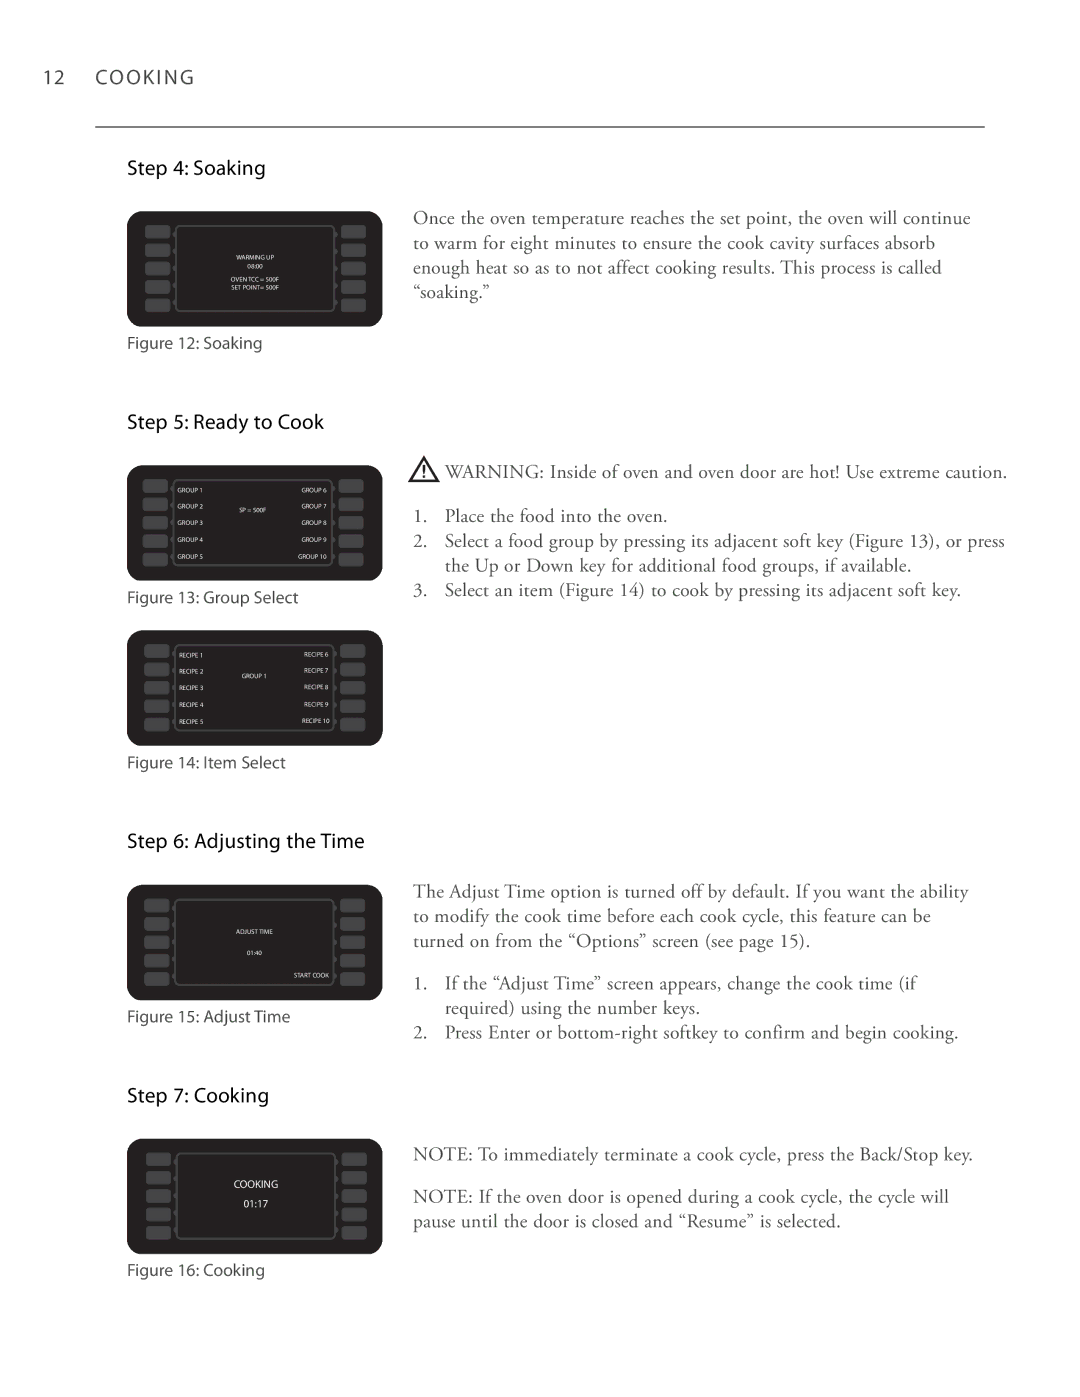
Step 4: Soaking
WARMING UP
08:00
OVEN TCC = 500F SET POINT= 500F
Once the oven temperature reaches the set point, the oven will continue to warm for eight minutes to ensure the cook cavity surfaces absorb enough heat so as to not affect cooking results. This process is called “soaking.”
Figure 12: Soaking
Step 5: Ready to Cook
GROUP 1 |
| GROUP 6 |
GROUP 2 | SP = 500F | GROUP 7 |
|
| |
GROUP 3 |
| GROUP 8 |
GROUP 4 |
| GROUP 9 |
GROUP 5 |
| GROUP 10 |
Figure 13: Group Select | ||
RECIPE 1 |
| RECIPE 6 |
RECIPE 2 | GROUP 1 | RECIPE 7 |
|
| |
RECIPE 3 |
| RECIPE 8 |
RECIPE 4 |
| RECIPE 9 |
RECIPE 5 |
| RECIPE 10 |
Figure 14: Item Select
![]() WARNING: Inside of oven and oven door are hot! Use extreme caution.
WARNING: Inside of oven and oven door are hot! Use extreme caution.
1.Place the food into the oven.
2.Select a food group by pressing its adjacent soft key (Figure 13), or press the Up or Down key for additional food groups, if available.
3.Select an item (Figure 14) to cook by pressing its adjacent soft key.
Step 6: Adjusting the Time
ADJUST TIME
01:40
START COOK
Figure 15: Adjust Time
The Adjust Time option is turned off by default. If you want the ability to modify the cook time before each cook cycle, this feature can be turned on from the “Options” screen (see page 15).
1.If the “Adjust Time” screen appears, change the cook time (if required) using the number keys.
2.Press Enter or
Step 7: Cooking
COOKING
01:17
NOTE: To immediately terminate a cook cycle, press the Back/Stop key.
NOTE: If the oven door is opened during a cook cycle, the cycle will pause until the door is closed and “Resume” is selected.
