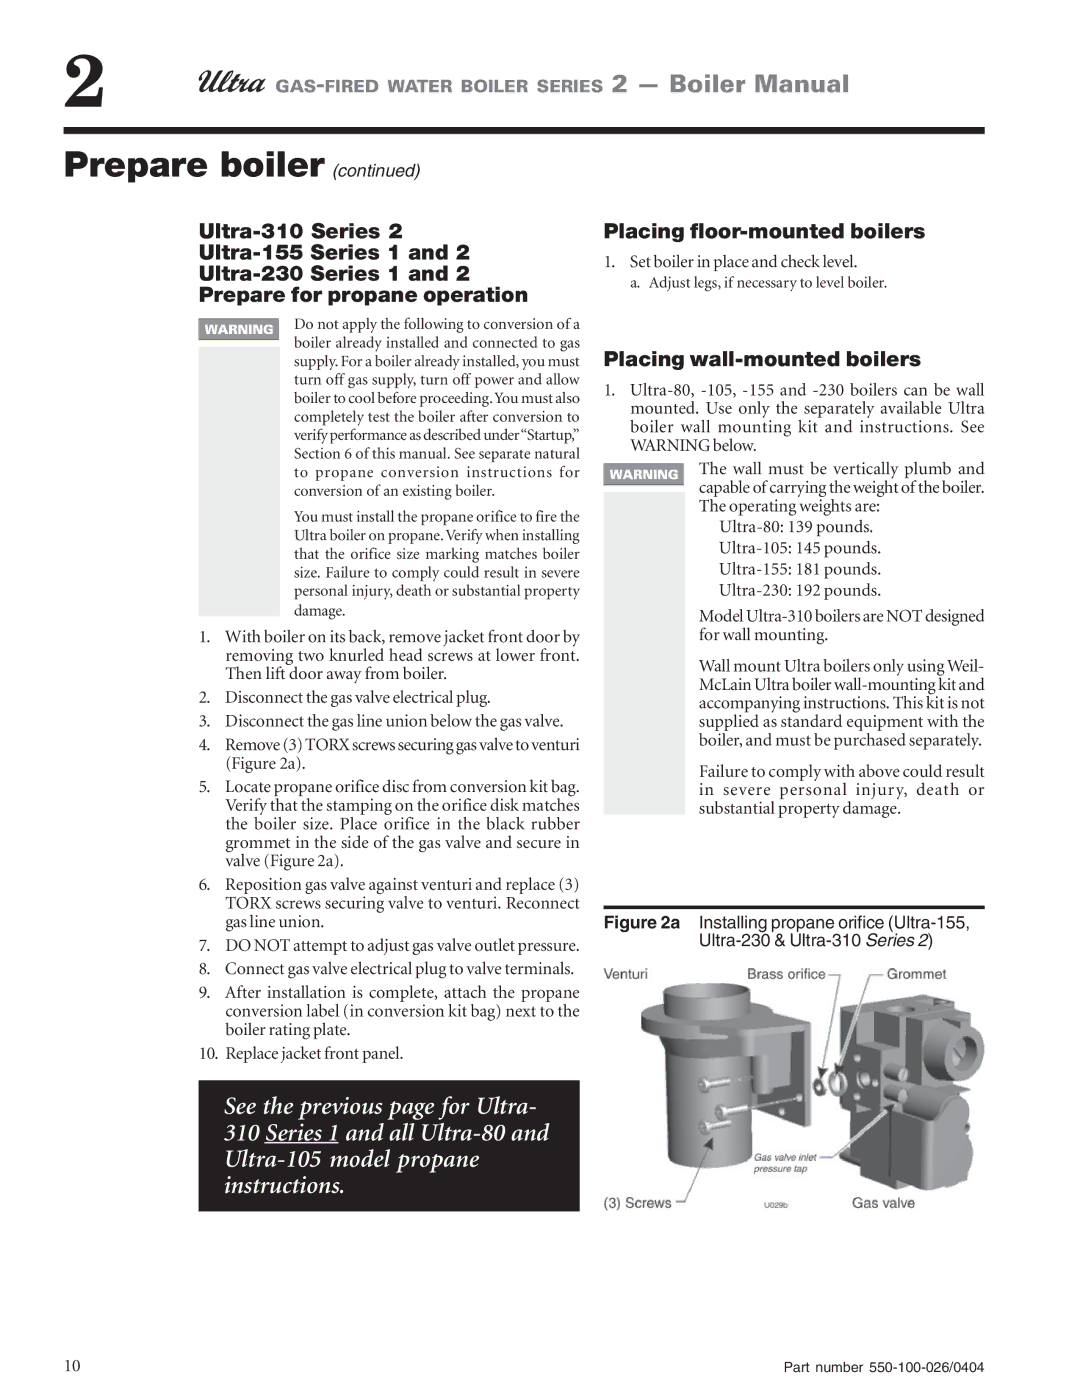
230 & -310, 105, 155, 80 specifications
Ultra Electronics, a recognized leader in advanced electronic systems, has developed various innovative products catering to different fields, particularly defense, aerospace, and security. Among its notable offerings are the Ultra 230 and demographic models such as the -310, -105, -155, and -80, each designed to meet specific operational requirements and challenges.The Ultra 230 is renowned for its superior processing capabilities, which leverage high-performance computing to manage complex tasks efficiently. This platform integrates multifaceted technologies like electronic warfare, communications, and sensor data fusion, ensuring that users have real-time information for informed decision-making. The design emphasizes modularity, allowing end-users to customize the system according to their mission profiles.
The Ultra 310 variant extends the functionalities of the 230, providing enhanced connectivity options. Its robust communication interfaces facilitate seamless integration with various networks, ensuring effective data exchange across multiple platforms. This model is particularly effective in joint operations where interoperability is critical among allied forces.
Ultra's -105 model is designed specifically for ground vehicles, offering ruggedness and resilience under harsh conditions. It features advanced environmental protection, allowing it to withstand dust, moisture, and vibration. This makes the -105 ideal for tactical military applications where reliability in diverse terrains is crucial.
The -155 model emphasizes versatility and adaptability, boasting a wide range of components and configurations. This allows for easy upgrades and maintenance, enabling military and defense organizations to stay current with technological advancements without significant investments in new equipment.
Lastly, the Ultra 80 is aimed at the aviation sector, focusing on lightweight design without compromising on power or functionality. It employs cutting-edge materials that enhance performance while reducing overall weight, making it ideal for aerial applications.
In summary, Ultra Electronics' products - the 230, -310, -105, -155, and -80 - showcase a commitment to innovation and operational excellence. Each model brings forth unique features and technologies, ensuring they meet the diverse needs of their users across various industries. From advanced processing capabilities to rugged designs suitable for any environment, Ultra Electronics continues to push the boundaries of technological advancement, maintaining its position as a frontrunner in the electronic systems market.

