| T h e U n i f i e r |
|
|
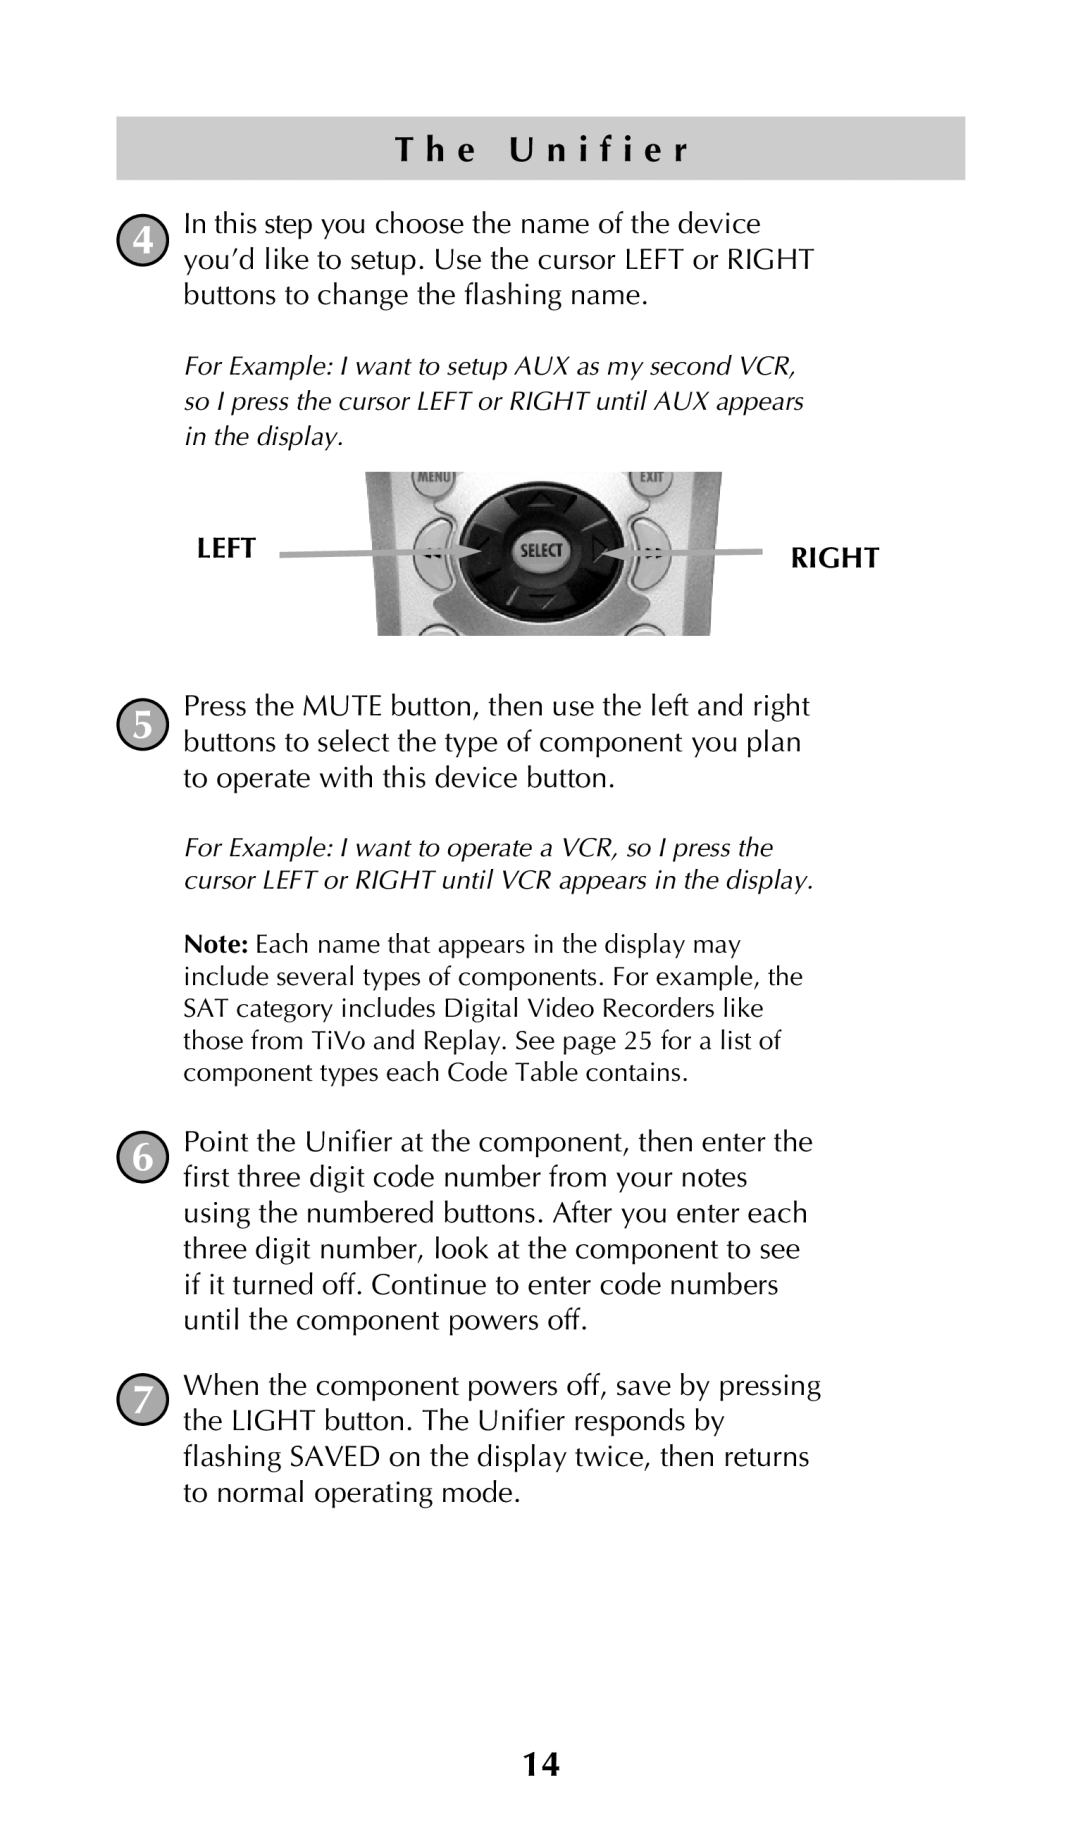
4 | In this step you choose the name of the device |
| you’d like to setup. Use the cursor LEFT or RIGHT |
buttons to change the flashing name.
For Example: I want to setup AUX as my second VCR, so I press the cursor LEFT or RIGHT until AUX appears in the display.
LEFT | RIGHT |
|
5 | Press the MUTE button, then use the left and right |
buttons to select the type of component you plan | |
| to operate with this device button. |
| For Example: I want to operate a VCR, so I press the |
| cursor LEFT or RIGHT until VCR appears in the display. |
| Note: Each name that appears in the display may |
| include several types of components. For example, the |
| SAT category includes Digital Video Recorders like |
| those from TiVo and Replay. See page 25 for a list of |
| component types each Code Table contains. |
6 | Point the Unifier at the component, then enter the |
| first three digit code number from your notes |
| using the numbered buttons. After you enter each |
| three digit number, look at the component to see |
| if it turned off. Continue to enter code numbers |
| until the component powers off. |
7 | When the component powers off, save by pressing |
| the LIGHT button. The Unifier responds by |
flashing SAVED on the display twice, then returns to normal operating mode.
14
