T h e U n i f i e r
Getting Started
Congratulations!
You’ve purchased one of the most advanced and easy to setup remote controls ever made. The Unifier’s
The Unifier’s exciting advanced features automate and customize operation in many ways. You could use Macro Setup to power on all of your components and start the show with the press of one button! With the Unifier’s unique macro capability you can automate the most complex home theater system. Any of the names on the display can be edited as you like. It is best to delay any Advanced Setup (described on pages 13 to 22) until after you finish Basic Setup.
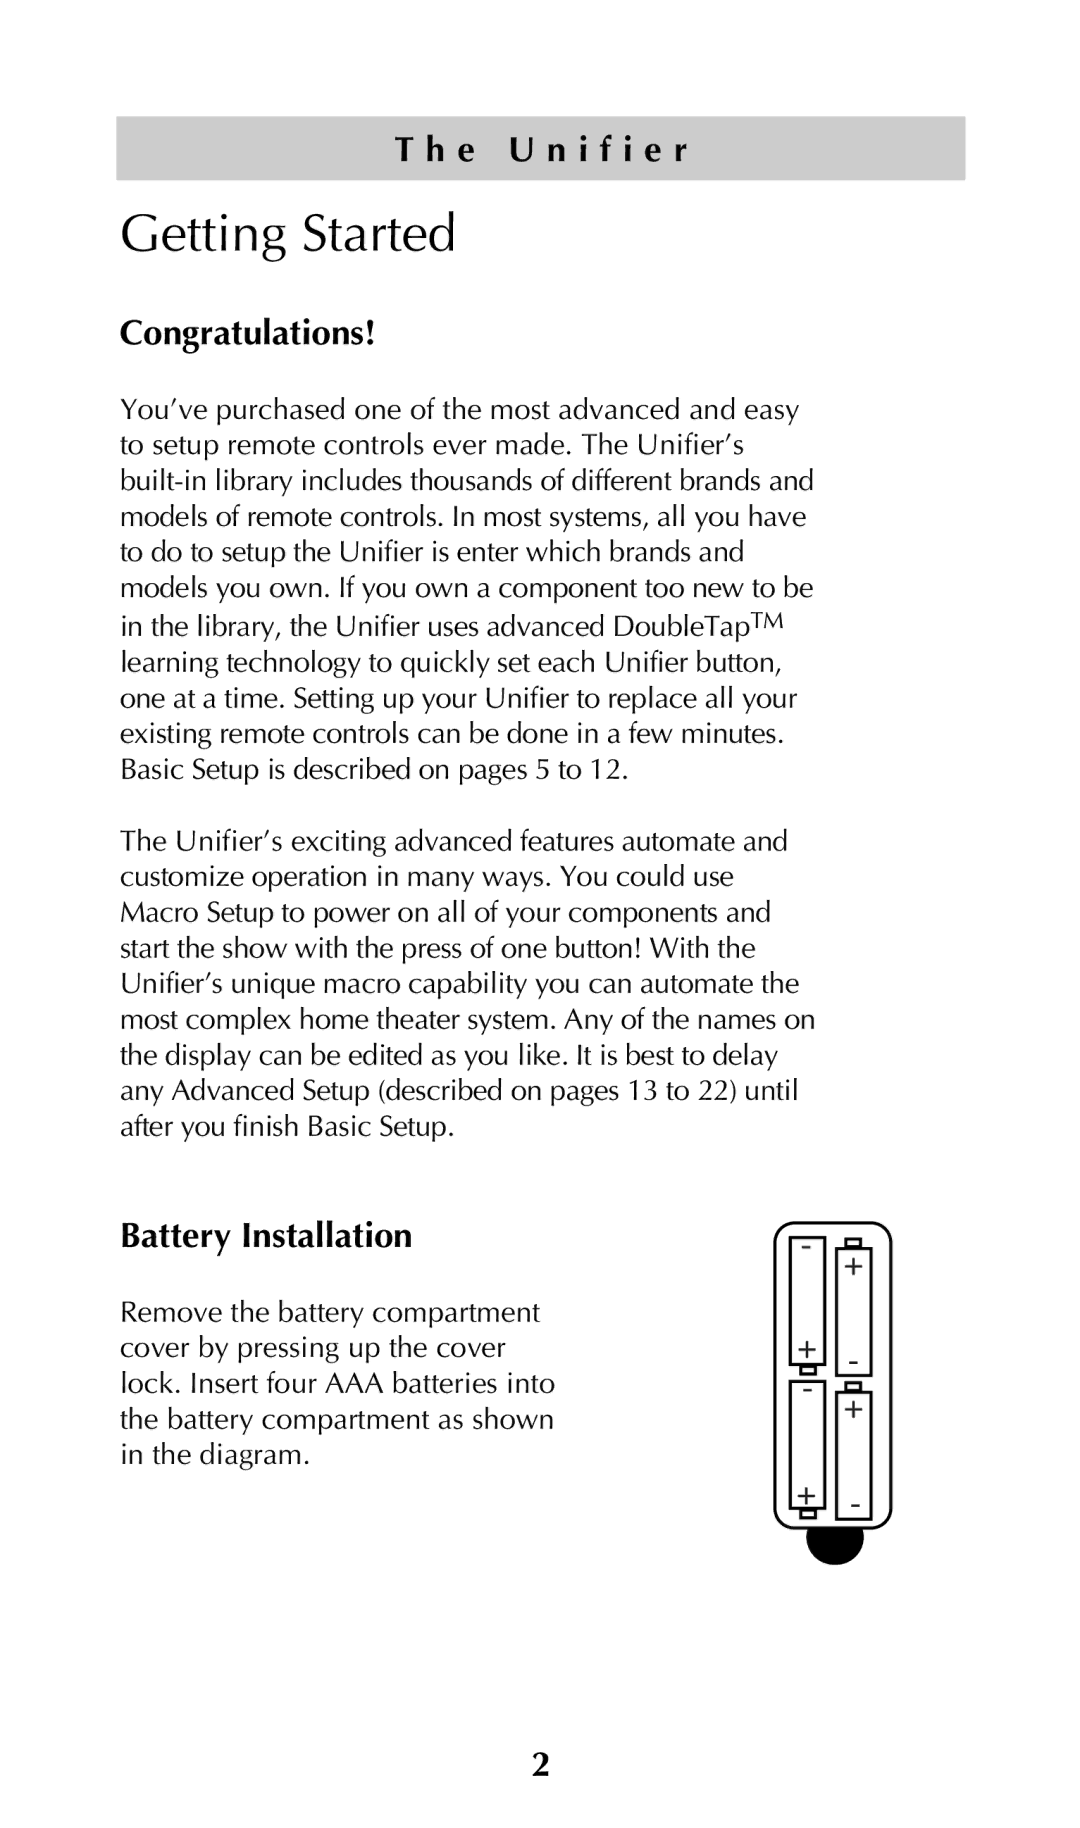
Battery Installation
Remove the battery compartment cover by pressing up the cover lock. Insert four AAA batteries into the battery compartment as shown in the diagram.
- +
+ -
-![]()
![]() +
+![]()
![]()
![]() +
+![]()
![]() -
-
2