WinterWarm Fireplace Insert or System
NOTE: If the charcoal bed is relatively thick and your fuel is
Special Tactics for Cold-Climate Heating
The WinterWarm is capable of producing up to 50,000 Btu’s/hour and heating an area of up to 1,500 ft.2 (140 m2) However, many factors affect heating performance and can influence the extent to which the WinterWarm can heat a given area.
A
In Fireplace Insert installations,
Different results may be experienced even in the same installation if you switch from burning good, dry wood to wood that is partially rotted or inadequately seasoned.
To compensate for these factors in cold climates, it may be necessary to operate the WinterWarm for longer periods of time than described above before closing the damper, or to leave the air control set to a higher level more of the time.
Open-Fire Viewing
with the Screen Cassette
The cassette screen that was included with your Win- terWarm is interchangeable with the glass cassette, en- abling you to convert from
To change cassettes, use this procedure:
Let the WinterWarm cool completely
•Open the door
•Loosen the two short retainer clips, one at each top corner of the cassette frame, and turn them to clear the frame.
•Tilt the top edge of the cassette away from the door frame.
•Carefully remove the cassette, being especially careful with the glass cassette. Store the unused cassette for future use.
8
•Examine the gasket that seals the cassette to the perimeter of the door frame. Contact your local dealer if you need a replacement gasket.
•Check the bottom channel of the door frame for debris, and clean if necessary.
•Insert the new cassette, bottom edge first, then the top edge.
IMPORTANT: The glass used in your WinterWarm is coated with a special material on one side that reflects heat back into the fire chamber. Before replacing a glass cassette that has been removed, examine the metal frame. One side has smooth, mitered corner joints; the other side has rough weld marks.
To install the glass correctly, the smooth mitered corners must be facing the gasket and the rough weld marks must be positioned toward the fire chamber.
•Replace the two retainer clips, applying just enough pressure to secure the cassette evenly against the gasket.
Remove and Store Ash Safely
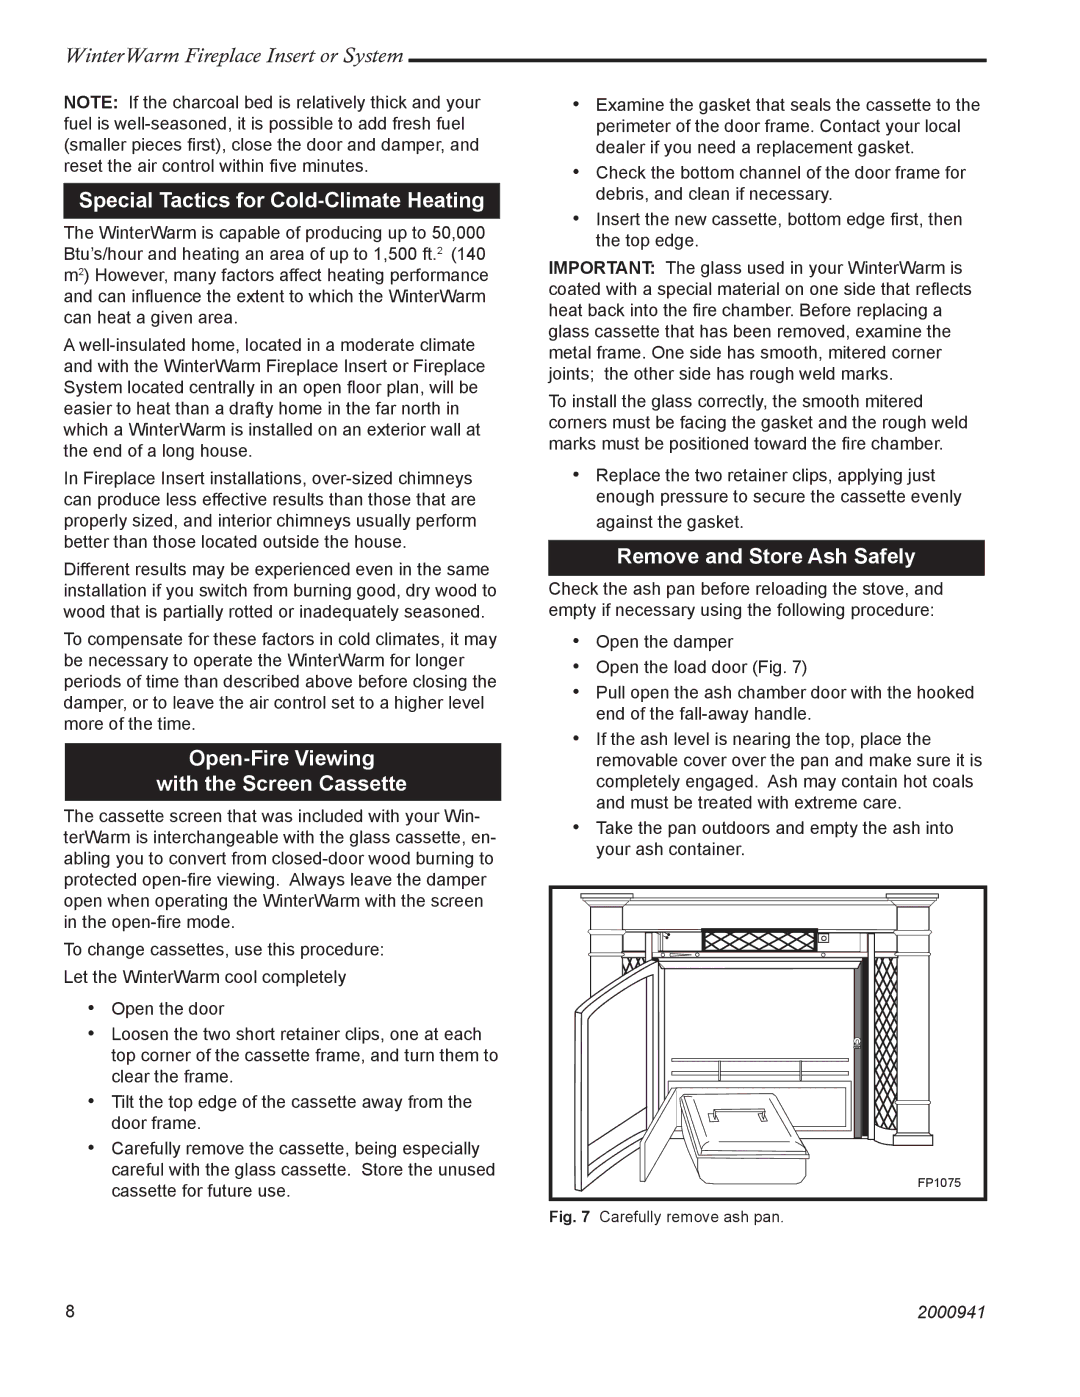
Check the ash pan before reloading the stove, and empty if necessary using the following procedure:
•Open the damper
•Open the load door (Fig. 7)
•Pull open the ash chamber door with the hooked end of the
•If the ash level is nearing the top, place the removable cover over the pan and make sure it is completely engaged. Ash may contain hot coals and must be treated with extreme care.
•Take the pan outdoors and empty the ash into your ash container.
| FP1075 |
Fig. 7 | Carefully remove ash pan. |
| 2000941 |
