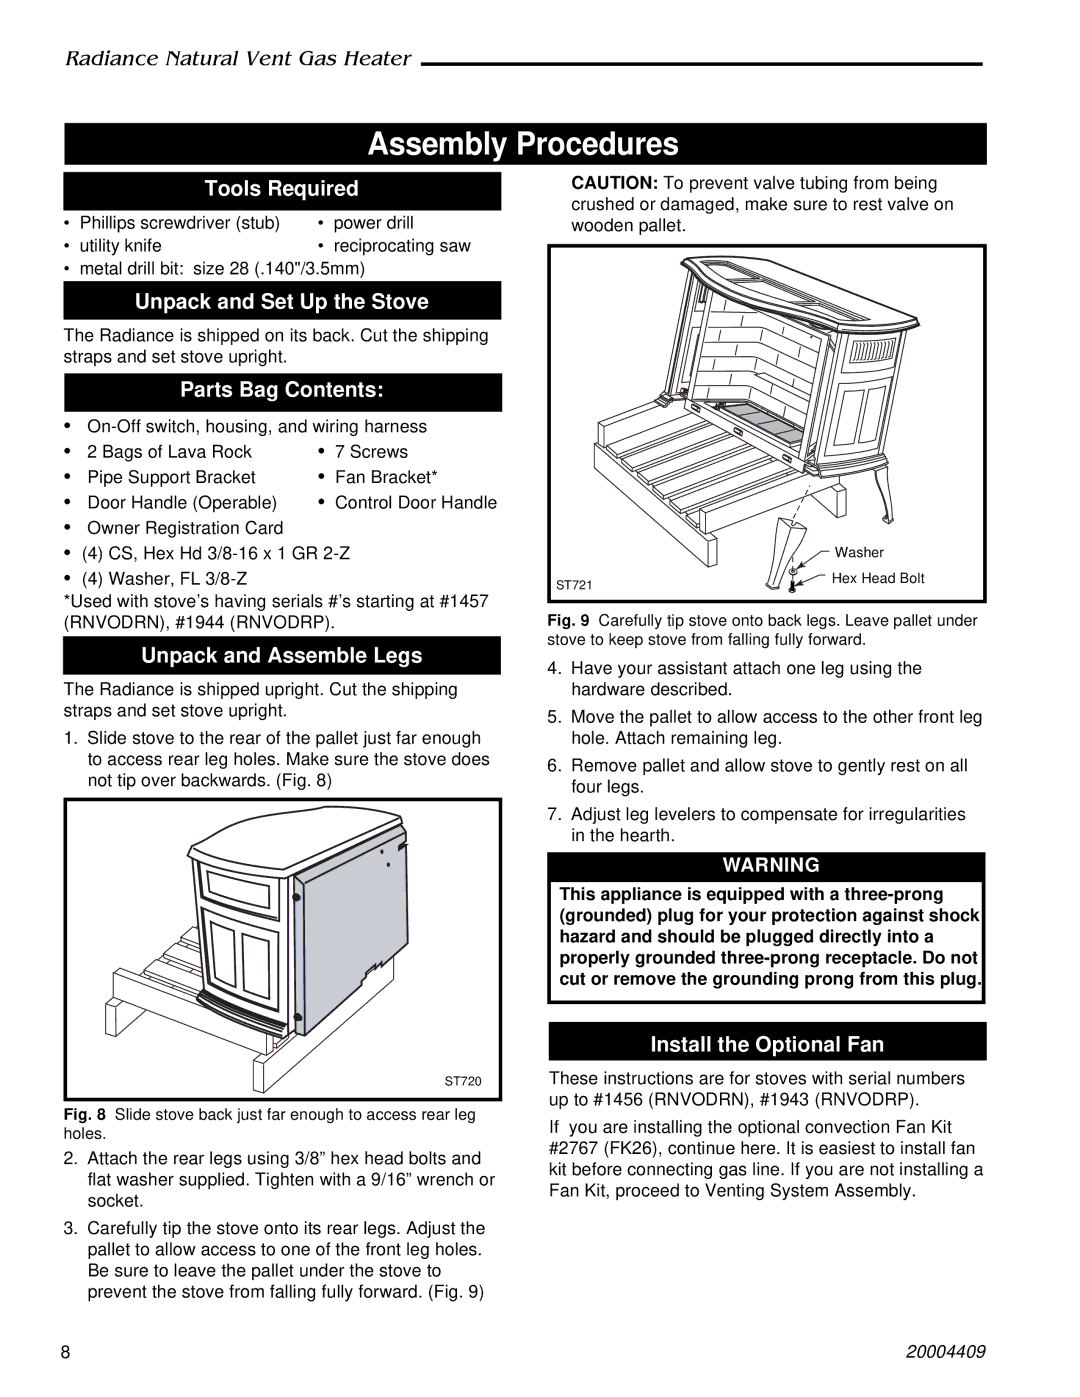
3356 4409 410, 3340, 3355, 3349 specifications
Vermont Castings offers a diverse lineup of wood stoves designed to provide warmth, efficiency, and aesthetic appeal to any home. Among their impressive models are the 3355, 3340, 3356, 4409, 410, and 3349, each featuring unique characteristics that cater to various heating needs and preferences.The Vermont Castings 3355 model stands out for its large firebox and high-efficiency design, making it an excellent choice for those seeking extended burn times. This model employs a catalytic combustor that enhances fuel efficiency while minimizing emissions, allowing you to enjoy heat from fewer logs. Its classic design complements traditional and modern aesthetics alike.
The 3340 model emphasizes versatility and functionality. With adjustable airflow controls, users can customize the heat output to suit their needs. A notable feature of this model is its built-in ash pan, simplifying maintenance and cleanup. The durable construction ensures longevity, while the beautiful cast iron exterior makes it a focal point in any room.
For those seeking a more compact option, the 3356 model is an ideal choice. This wood stove features a smaller footprint without sacrificing performance. Designed for smaller spaces, its efficient heating capabilities and elegant detailing provide warmth without overwhelming your living area. It also incorporates Vermont Castings’ advanced clean-burning technology, ensuring reduced emissions and a more sustainable heating solution.
The 4409 model, known for its robust output, is perfect for larger homes or open spaces. Its impressive heating capacity, combined with the brand’s signature craftsmanship, allows for effective warming even in the coldest climates. Furthermore, the 4409 features a unique top-loading design, making it easy to refuel without interrupting the warmth.
The 410 model is a modern take on traditional wood stoves, offering an eye-catching contemporary design that easily integrates into any decor. This model combines cutting-edge technology with user-friendly features, like easy-loading doors and a large viewing window to enjoy the dancing flames.
Lastly, the 3349 is designed for optimal performance with a focus on efficiency and sustainability. This model is equipped with a clean-burning system that significantly reduces particulate emissions, making it eco-friendly. It also boasts a spacious firebox that accommodates larger logs for longer burn times, maximizing heat output while minimizing wood consumption.
In summary, Vermont Castings offers a variety of wood stoves, such as the 3355, 3340, 3356, 4409, 410, and 3349, each with unique features and technologies. Their commitment to performance, efficiency, and elegant design ensures that there is a perfect fit for every heating need, providing both warmth and style for your home.

