Radiance Natural Vent Gas Heater
ADJ | PILOT |
| TPTH |
| TP |
| TH |
ST228
Fig. 26 Attach switch wires to valve.
Thermostat Connection (optional)
Use only a thermostat rated for 500 - 750 millivolts.
Check the table below for the appropriate gauge thermostat wire to use for the length of lead required in your installation.
Thermostat |
|
Wire / Gauge | Maximum Run |
18 | 40 feet |
20 | 25 feet |
22 | 16 feet |
1.Install the wall thermostat in the desired location and run the wires to the stove location. Terminate these leads with 1/4” female connectors.
2.Connect the thermostat wires to the valve. (Fig. 26)
Install the Mesh and Grille
Place the mesh and grille on the top of the Radiance stove to complete assembly.
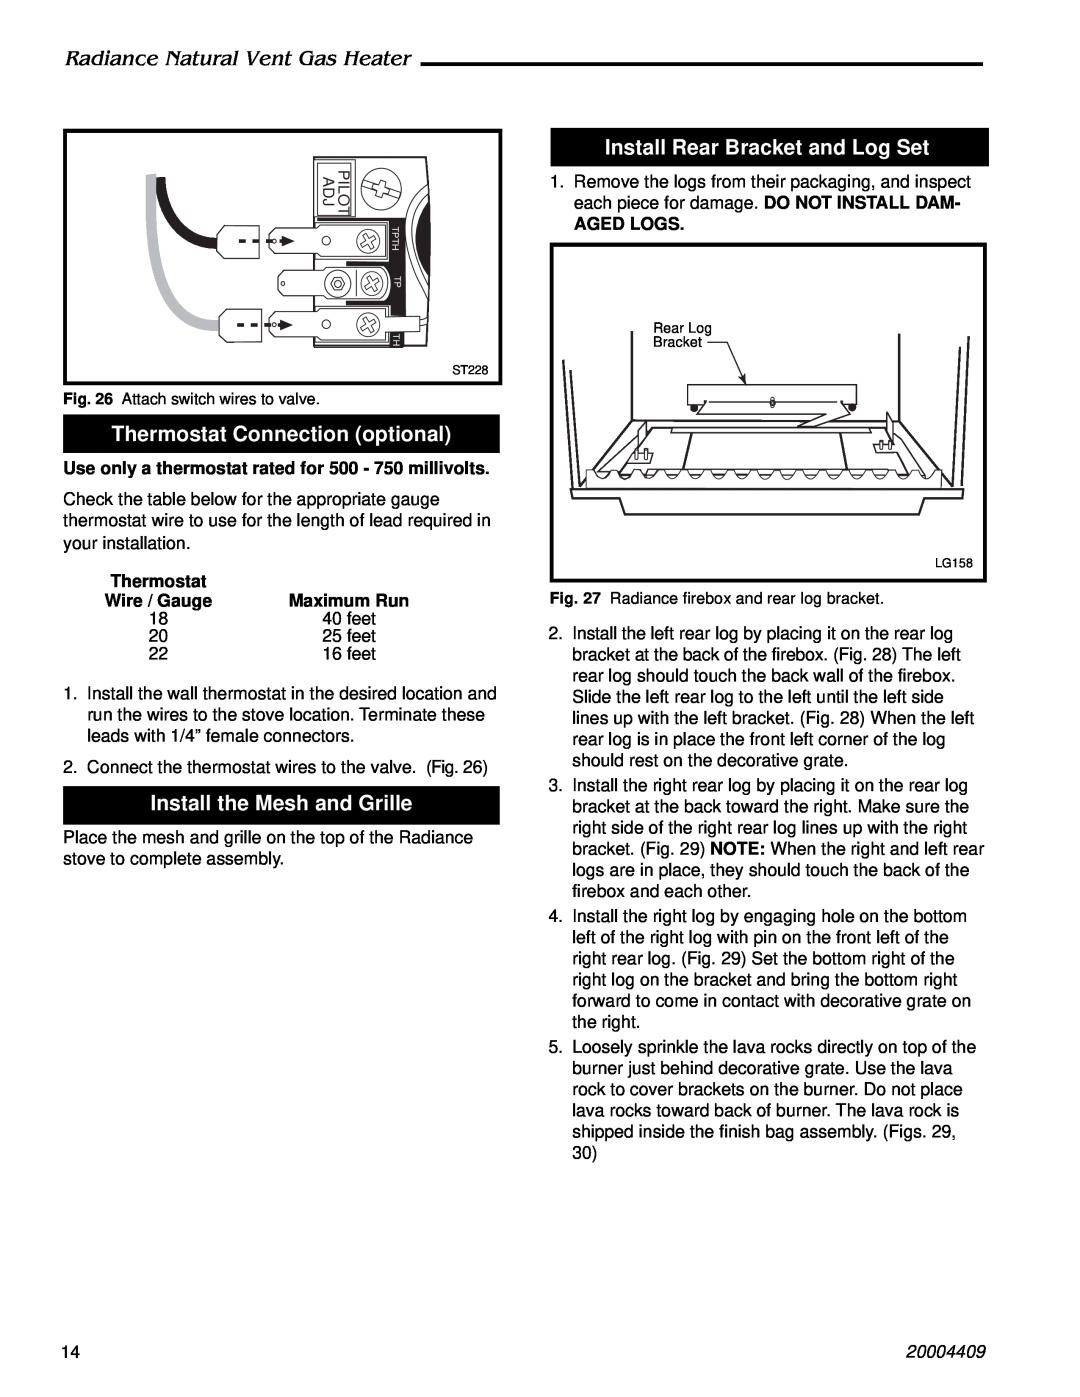
Install Rear Bracket and Log Set
1.Remove the logs from their packaging, and inspect each piece for damage. DO NOT INSTALL DAM-
AGED LOGS.
| Rear Log |
| Bracket |
| LG158 |
Fig. 27 | Radiance firebox and rear log bracket. |
2.Install the left rear log by placing it on the rear log bracket at the back of the firebox. (Fig. 28) The left rear log should touch the back wall of the firebox. Slide the left rear log to the left until the left side lines up with the left bracket. (Fig. 28) When the left rear log is in place the front left corner of the log should rest on the decorative grate.
3.Install the right rear log by placing it on the rear log bracket at the back toward the right. Make sure the right side of the right rear log lines up with the right bracket. (Fig. 29) NOTE: When the right and left rear logs are in place, they should touch the back of the firebox and each other.
4.Install the right log by engaging hole on the bottom left of the right log with pin on the front left of the right rear log. (Fig. 29) Set the bottom right of the right log on the bracket and bring the bottom right forward to come in contact with decorative grate on the right.
5.Loosely sprinkle the lava rocks directly on top of the burner just behind decorative grate. Use the lava rock to cover brackets on the burner. Do not place lava rocks toward back of burner. The lava rock is shipped inside the finish bag assembly. (Figs. 29, 30)
14 | 20004409 |