Connections 2
Connecting Inputs and Outputs
Connecting to the Channel or Main Inserts of a mixing console
Unbalanced I/O
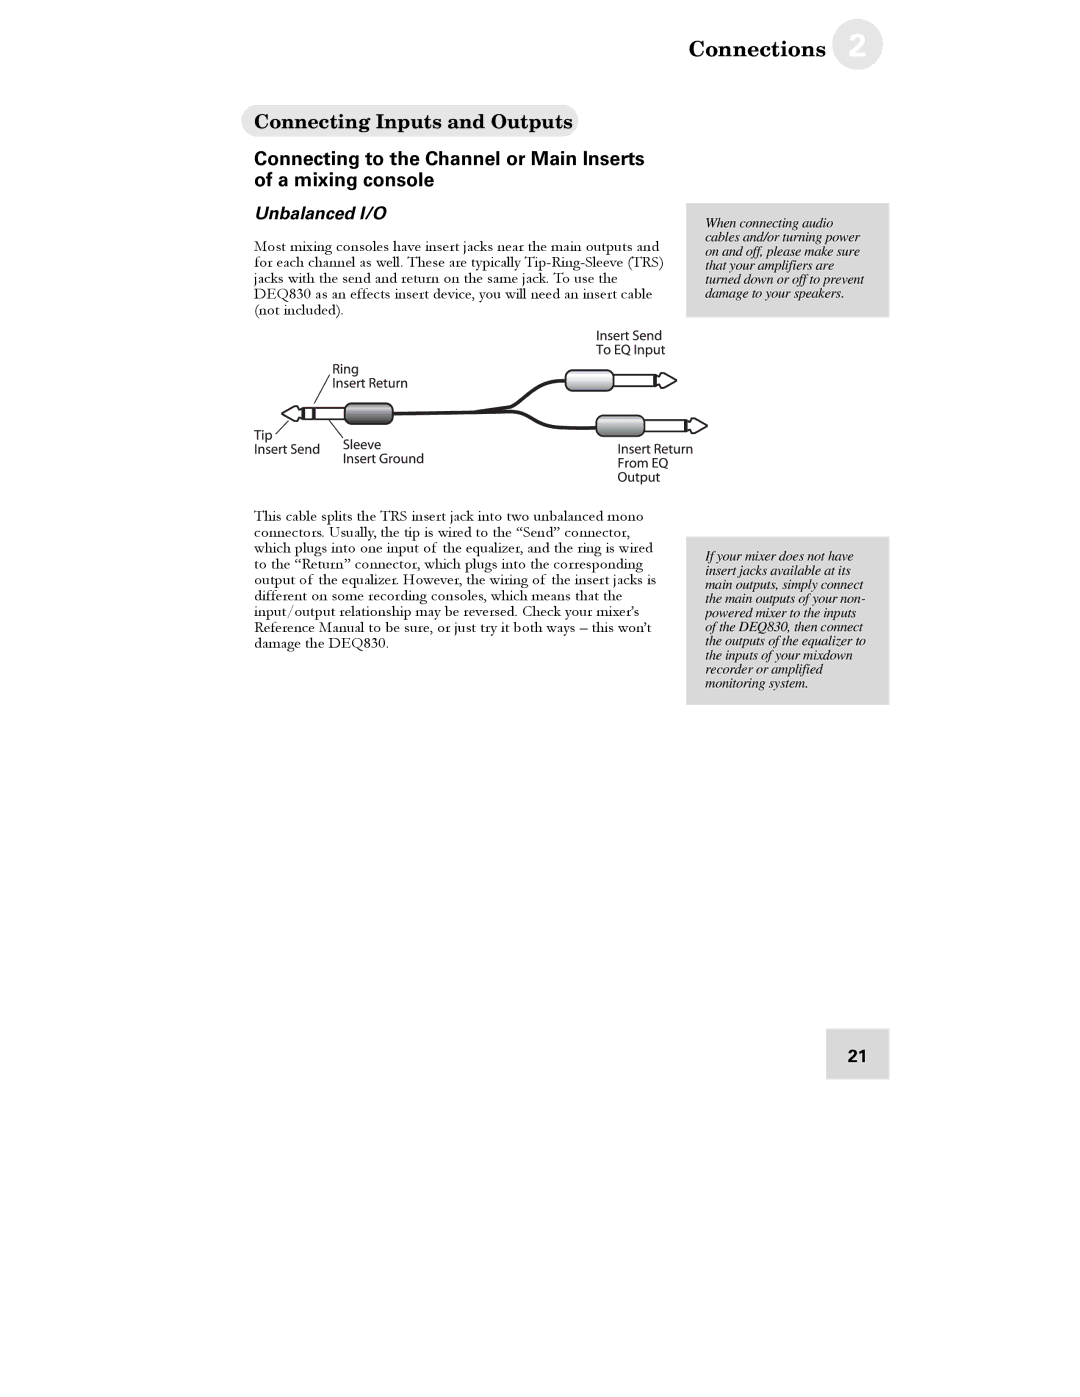
Most mixing consoles have insert jacks near the main outputs and for each channel as well. These are typically
This cable splits the TRS insert jack into two unbalanced mono connectors. Usually, the tip is wired to the “Send” connector, which plugs into one input of the equalizer, and the ring is wired to the “Return” connector, which plugs into the corresponding output of the equalizer. However, the wiring of the insert jacks is different on some recording consoles, which means that the input/output relationship may be reversed. Check your mixer’s Reference Manual to be sure, or just try it both ways – this won’t damage the DEQ830.
When connecting audio cables and/or turning power on and off, please make sure that your amplifiers are turned down or off to prevent damage to your speakers.
If your mixer does not have insert jacks available at its main outputs, simply connect the main outputs of your non- powered mixer to the inputs of the DEQ830, then connect the outputs of the equalizer to the inputs of your mixdown recorder or amplified monitoring system.
21