VCS4007 / VCS4017 / VCS4027 / VCS4037 / VCS5007 / VCS5017 / VCS5027 / VCS5037 Assembly
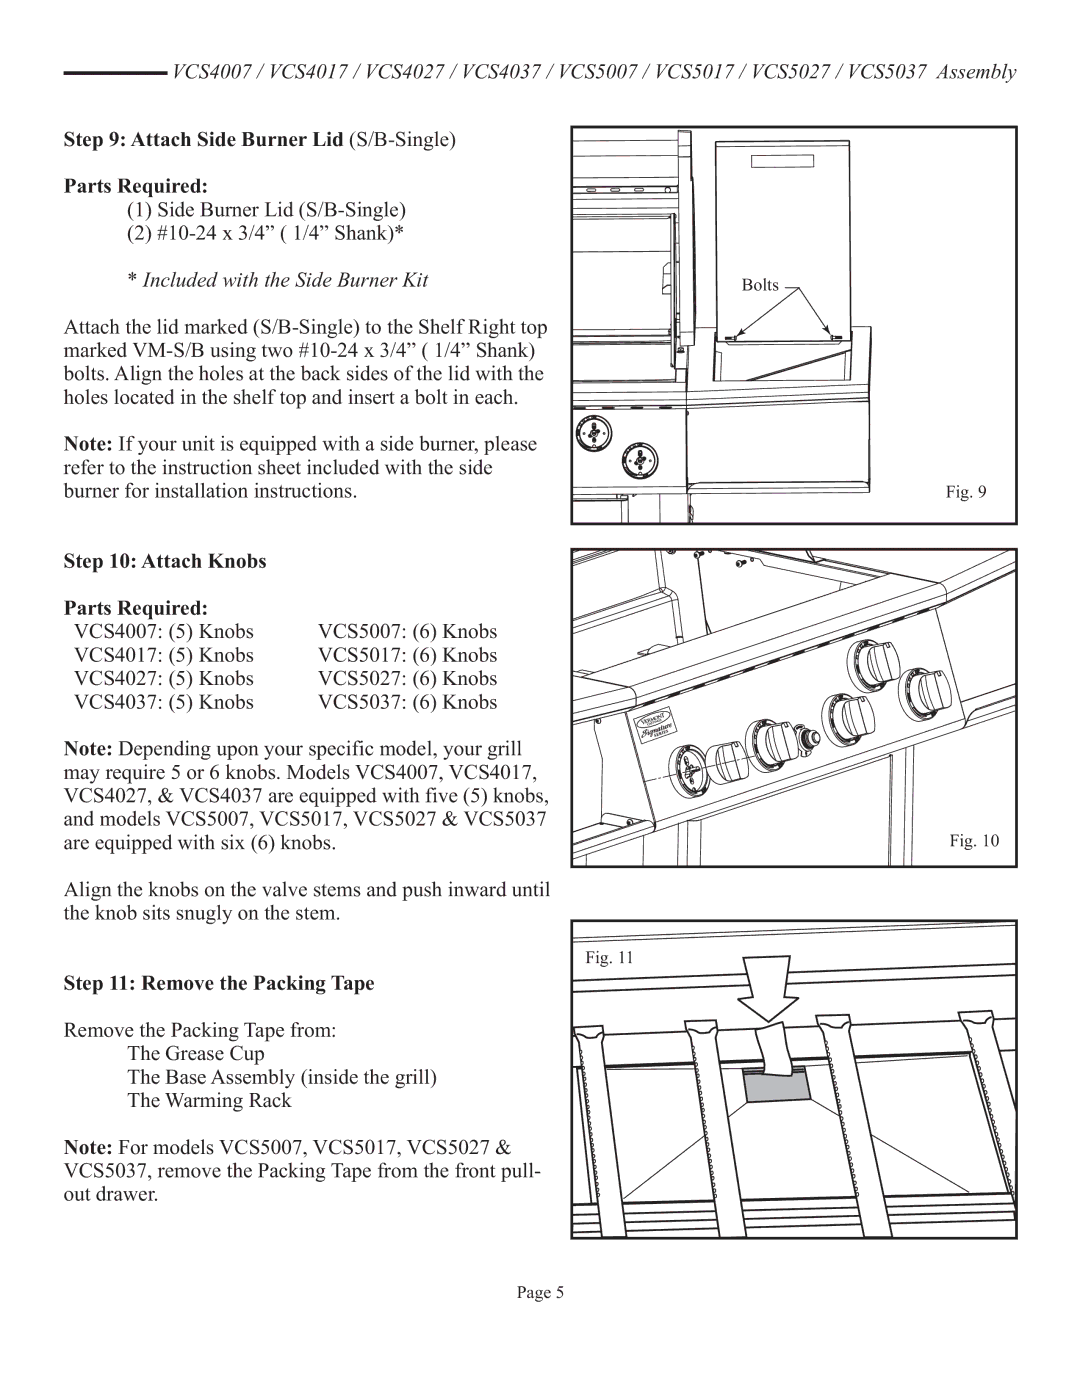
Step 9: Attach Side Burner Lid (S/B-Single)
Parts Required:
(1)Side Burner Lid
(2)
*Included with the Side Burner Kit
Attach the lid marked
Note: If your unit is equipped with a side burner, please refer to the instruction sheet included with the side burner for installation instructions.
Bolts
Fig. 9
Step 10: Attach Knobs |
|
Parts Required: |
|
VCS4007: (5) Knobs | VCS5007: (6) Knobs |
VCS4017: (5) Knobs | VCS5017: (6) Knobs |
VCS4027: (5) Knobs | VCS5027: (6) Knobs |
VCS4037: (5) Knobs | VCS5037: (6) Knobs |
Note: Depending upon your specific model, your grill may require 5 or 6 knobs. Models VCS4007, VCS4017, VCS4027, & VCS4037 are equipped with five (5) knobs, and models VCS5007, VCS5017, VCS5027 & VCS5037 are equipped with six (6) knobs.
Fig. 10 |
Align the knobs on the valve stems and push inward until the knob sits snugly on the stem.
Step 11: Remove the Packing Tape
Remove the Packing Tape from: The Grease Cup
The Base Assembly (inside the grill) The Warming Rack
Note: For models VCS5007, VCS5017, VCS5027 & VCS5037, remove the Packing Tape from the front pull- out drawer.
Fig. 11 |
Page 5