SCREEN Menu
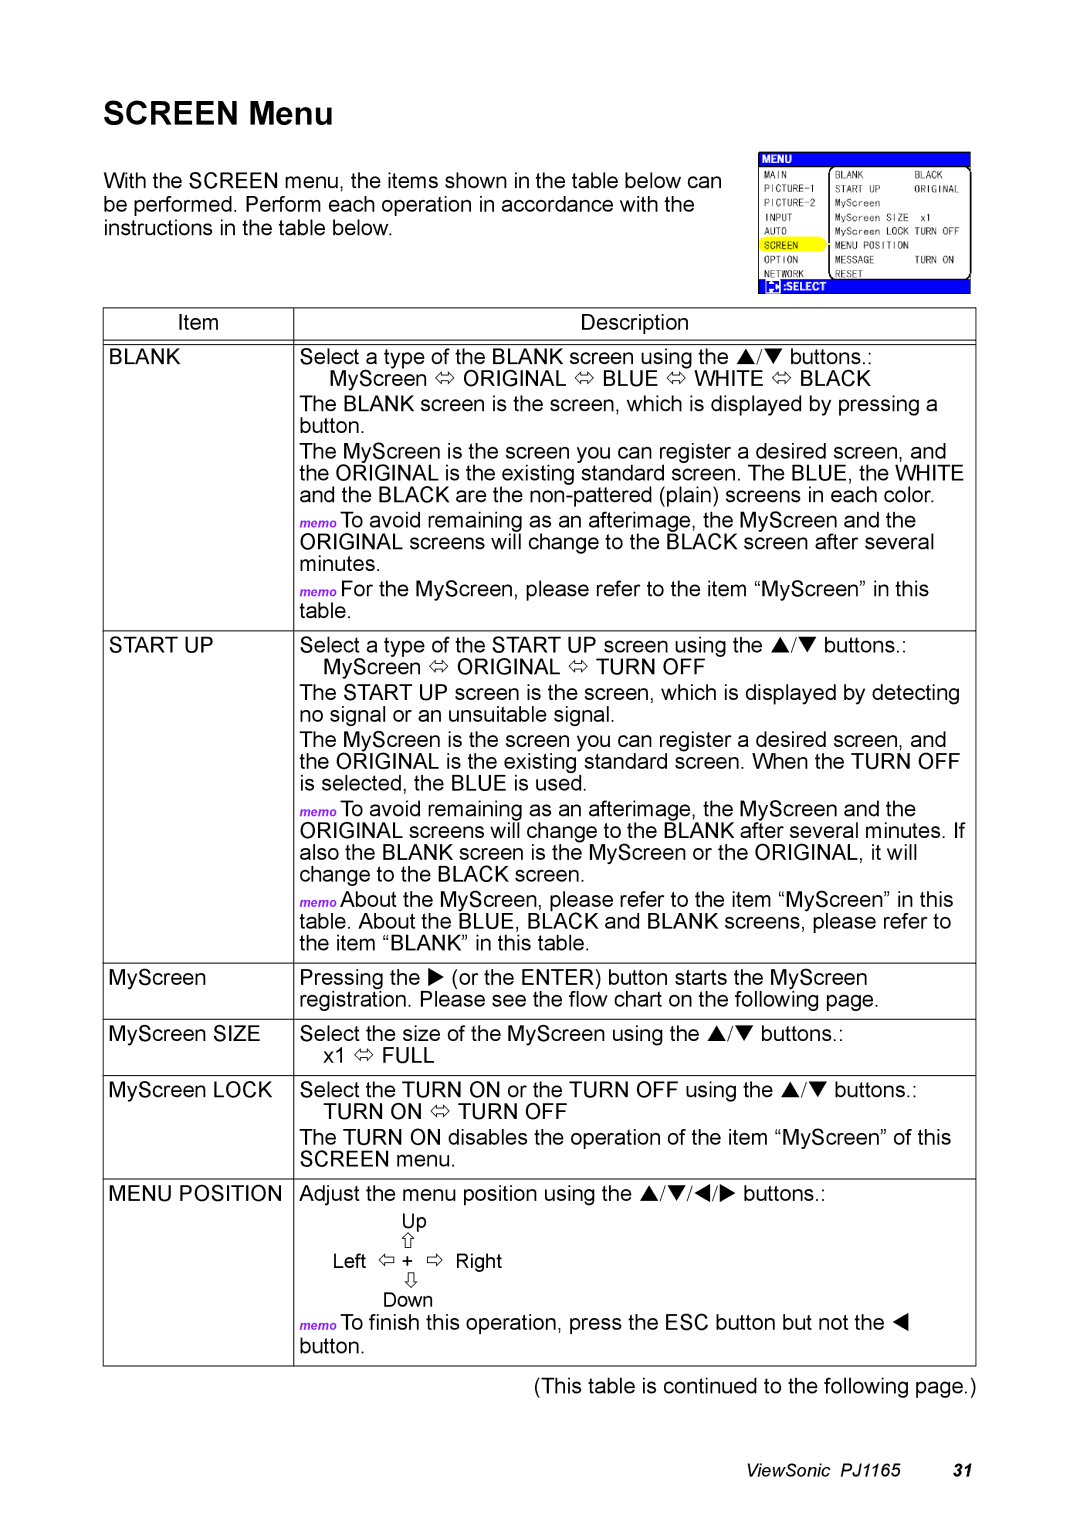
With the SCREEN menu, the items shown in the table below can be performed. Perform each operation in accordance with the instructions in the table below.
Item |
|
| Description | |
|
| |||
BLANK | Select a type of the BLANK screen using the S/T buttons.: | |||
| MyScreen | ORIGINAL | BLUE WHITE BLACK | |
| The BLANK screen is the screen, which is displayed by pressing a | |||
| button. |
|
|
|
| The MyScreen is the screen you can register a desired screen, and | |||
| the ORIGINAL is the existing standard screen. The BLUE, the WHITE | |||
| and the BLACK are the | |||
| memo To avoid remaining as an afterimage, the MyScreen and the | |||
| ORIGINAL screens will change to the BLACK screen after several | |||
| minutes. |
|
|
|
| memo For the MyScreen, please refer to the item “MyScreen” in this | |||
| table. |
|
|
|
START UP | Select a type of the START UP screen using the S/T buttons.: | |||
| MyScreen | ORIGINAL | TURN OFF | |
| The START UP screen is the screen, which is displayed by detecting | |||
| no signal or an unsuitable signal. | |||
| The MyScreen is the screen you can register a desired screen, and | |||
| the ORIGINAL is the existing standard screen. When the TURN OFF | |||
| is selected, the BLUE is used. |
| ||
| memo To avoid remaining as an afterimage, the MyScreen and the | |||
| ORIGINAL screens will change to the BLANK after several minutes. If | |||
| also the BLANK screen is the MyScreen or the ORIGINAL, it will | |||
| change to the BLACK screen. |
| ||
| memo About the MyScreen, please refer to the item “MyScreen” in this | |||
| table. About the BLUE, BLACK and BLANK screens, please refer to | |||
| the item “BLANK” in this table. |
| ||
MyScreen | Pressing the X (or the ENTER) button starts the MyScreen | |||
| registration. Please see the flow chart on the following page. | |||
MyScreen SIZE | Select the size of the MyScreen using the S/T buttons.: | |||
| x1 | FULL |
|
|
MyScreen LOCK | Select the TURN ON or the TURN OFF using the S/T buttons.: | |||
| TURN ON | TURN OFF |
| |
| The TURN ON disables the operation of the item “MyScreen” of this | |||
| SCREEN menu. |
| ||
MENU POSITION | Adjust the menu position using the S/T/W/X buttons.: | |||
|
| Up |
|
|
| Left | + | Right |
|
|
| Down |
|
|
| memo To finish this operation, press the ESC button but not the W | |||
| button. |
|
|
|
|
|
|
| |
|
|
| (This table is continued to the following page.) | |
ViewSonic PJ1165 | 31 |