CONNECTING THE SCANNER TO YOUR COMPUTER | 5 |
CONNECTING THE SCANNER TO YOUR COMPUTER
The PaperPort scanner connects to any available parallel (LPT) port on the back of your computer.
▼NOTE: Please follow the sequence of steps in this section. Do not connect the power cable until all other connections are complete.
To connect the PaperPort scanner:
1.Save any open files then shut down Windows.
2.Turn off the power to your computer.
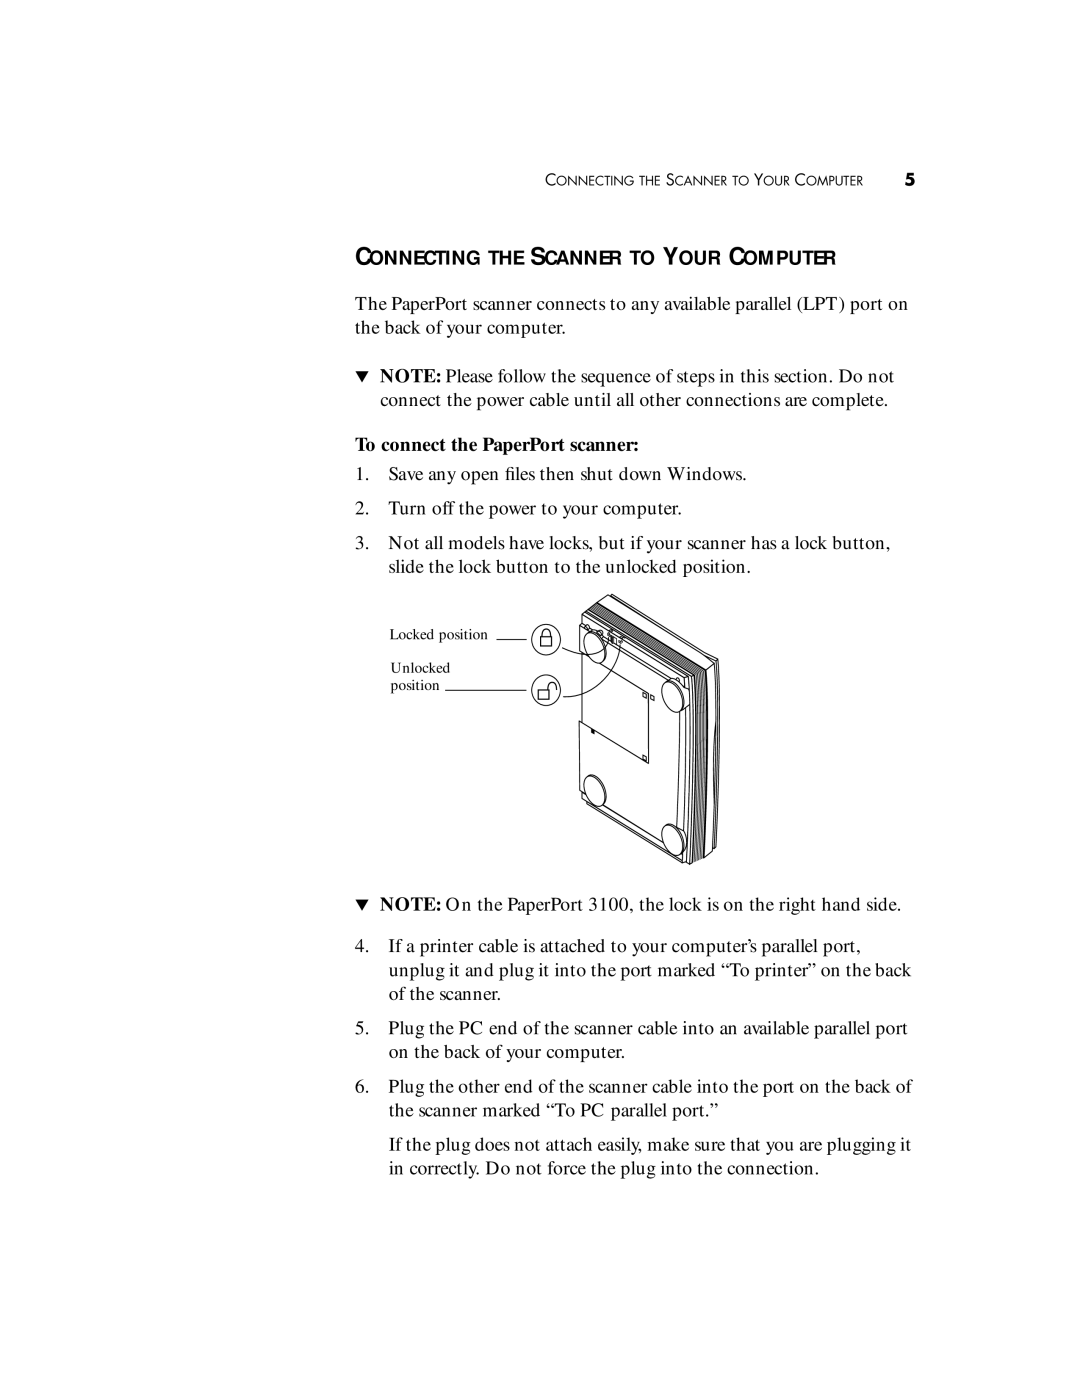
3.Not all models have locks, but if your scanner has a lock button, slide the lock button to the unlocked position.
Locked position
Unlocked position
▼NOTE: On the PaperPort 3100, the lock is on the right hand side.
4.If a printer cable is attached to your computer’s parallel port, unplug it and plug it into the port marked “To printer” on the back of the scanner.
5.Plug the PC end of the scanner cable into an available parallel port on the back of your computer.
6.Plug the other end of the scanner cable into the port on the back of the scanner marked “To PC parallel port.”
If the plug does not attach easily, make sure that you are plugging it in correctly. Do not force the plug into the connection.