VIVOTEK
■Event name: Enter a name for the event setting.
■Enable this event: Select this checkbox to enable the event setting.
■Priority: Select the relative importance of this event (High, Normal, or Low). Events with a higher priority setting will be executed first.
■Detect next event after ![]() seconds: Enter the duration in seconds to pause motion detection after a motion is detected. This prevents too many events to be reported to an administrator.
seconds: Enter the duration in seconds to pause motion detection after a motion is detected. This prevents too many events to be reported to an administrator.
Follow the steps 1~3 to arrange the three elements
1.Schedule
Specify the period for the event. Please select the days of the week and the time in a day (in
2. Trigger
This is the cause or stimulus which defines what will trigger the event. The trigger source can be config- ured to use the Network Camera’s
There are several choices of trigger sources as shown on next page. Select each item to display its related options.
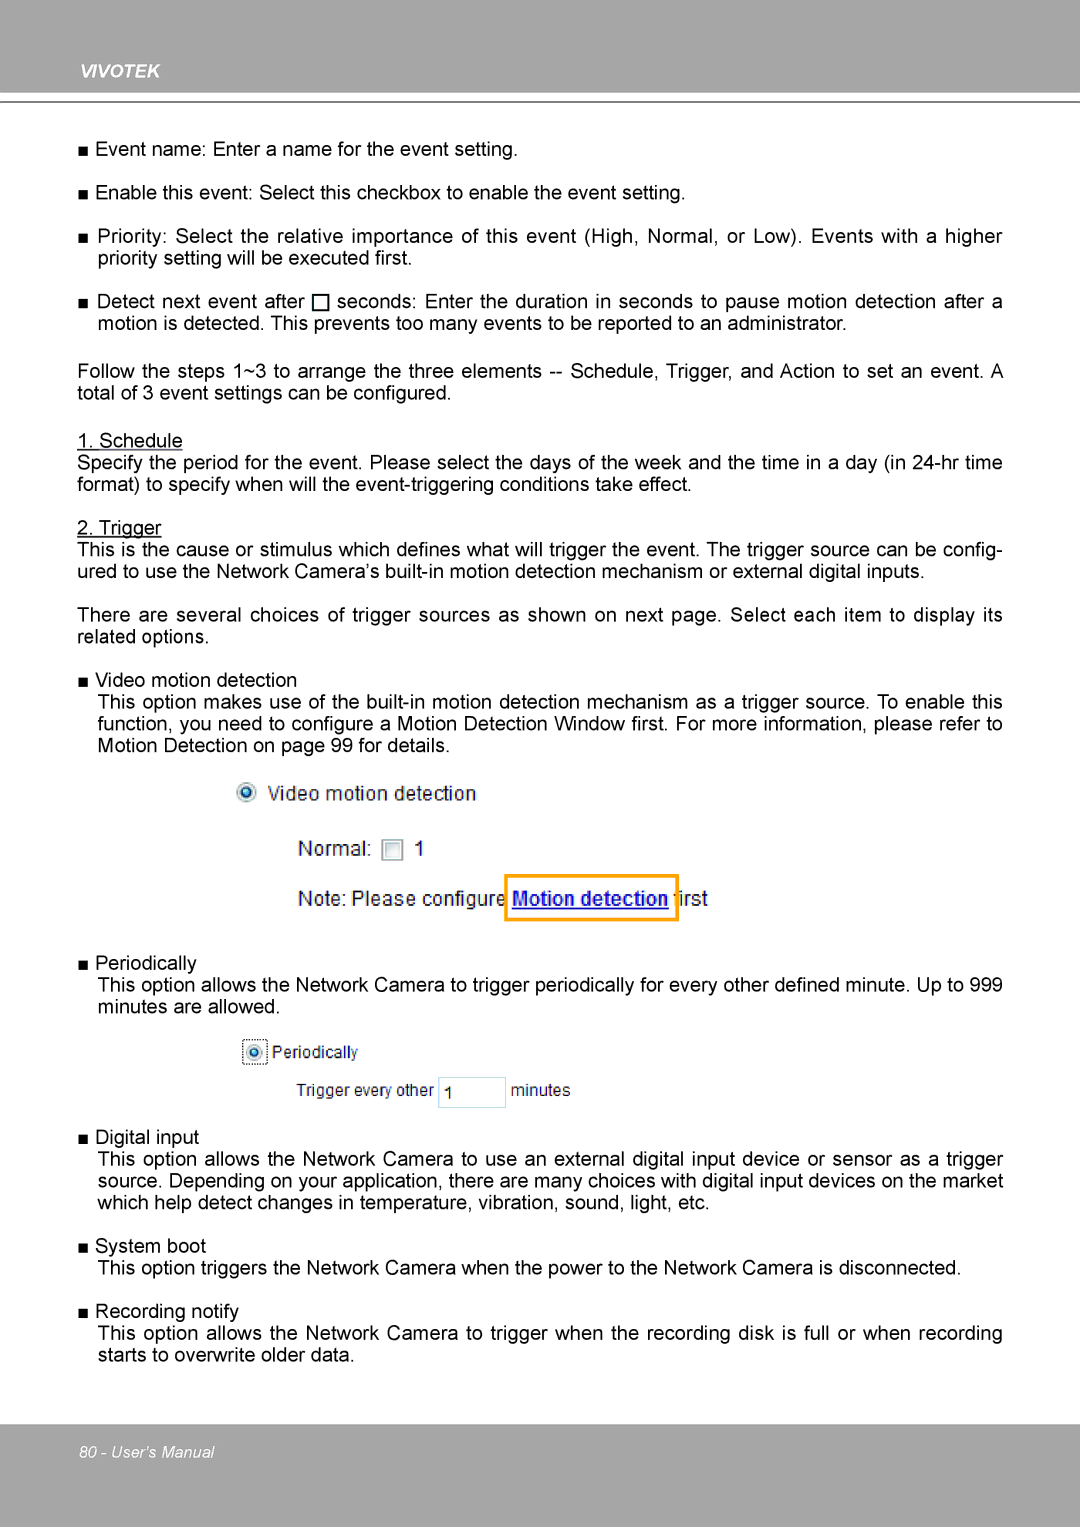
■ Video motion detection
This option makes use of the
■ Periodically
This option allows the Network Camera to trigger periodically for every other defined minute. Up to 999 minutes are allowed.
■ Digital input
This option allows the Network Camera to use an external digital input device or sensor as a trigger source. Depending on your application, there are many choices with digital input devices on the market which help detect changes in temperature, vibration, sound, light, etc.
■ System boot
This option triggers the Network Camera when the power to the Network Camera is disconnected.
■ Recording notify
This option allows the Network Camera to trigger when the recording disk is full or when recording starts to overwrite older data.
80 - User's Manual
