VIVOTEK
2.Adjust the shooting area to the desired position using the PTZ keypad, the FOV indicators, or mouse clicks on the live screen. To begin the mouse control, click on the two interactive windows. If you click on the Original view window, an FOV indicator will appear. You can click and hold down the left mouse button to drag the FOV indicator to a desired position. The rest of mouse control methods are identical to those for the Regional windows.
Due to the
Please note that your PTZ preset settings will only take effect on Regional windows, and not on the
Panoramic views.
3.After you selected an area of interest, enter a name for the new position, which can contain up to forty characters.
4.Click Add to enable the settings. The preset positions will be listed on the User preset locations. (To add more positions you wish, please repeat steps 1~3.)
5.Select the preset positions by their checkboxes.
6.Click on the move button (>>) ![]() to move positions to the Rotate locations window.
to move positions to the Rotate locations window.
7.You may select some or all of the imported positions as the stop points during the tour.
8.Select other speed options using their specific
9.Select a preferred Rotate speed for consecutively displaying views of multiple positions. The Rotate speeds and the dwell time of each position on a Regional view window are shown below:
Rotate speed | Dwell time in sec. |
1 | 6 |
2 | 3 |
3 | 2 |
4 | 1.5 |
5 | 1.2 |
9.Click on the Save button to preserve your configuration.
To remove a preset position from the list, select it and click Remove. You can
the position hop on the list using the ![]() buttons.
buttons.
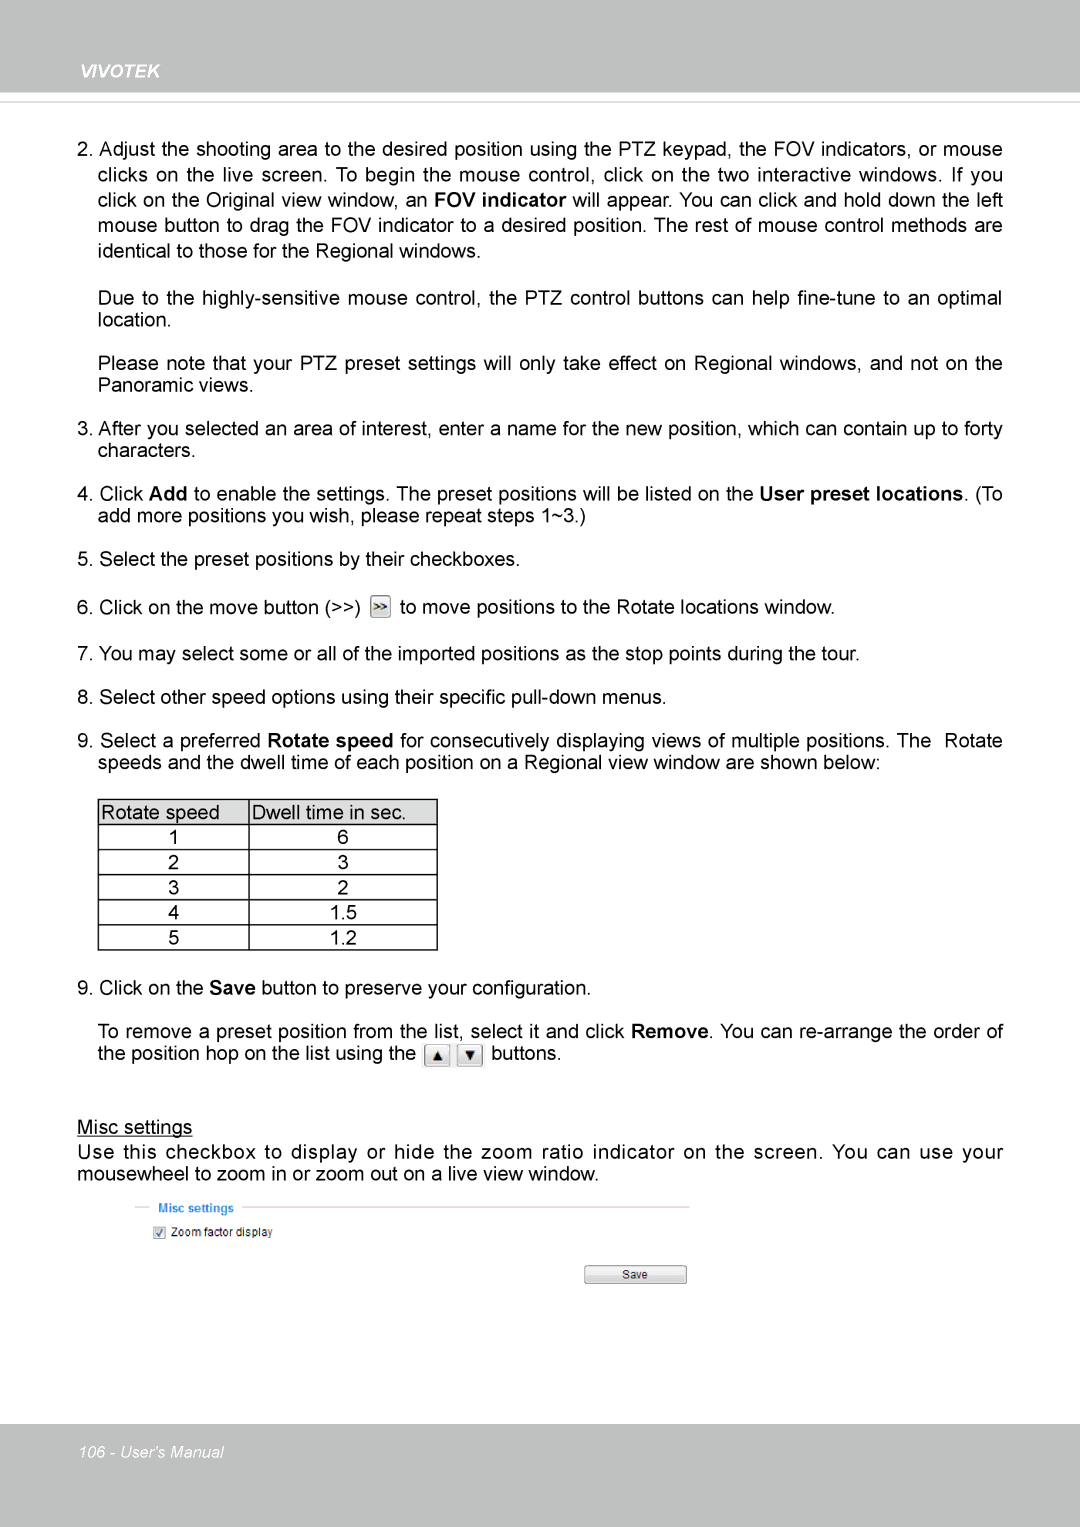
Misc settings
Use this checkbox to display or hide the zoom ratio indicator on the screen. You can use your mousewheel to zoom in or zoom out on a live view window.
106 - User's Manual