GL-E223-ADOC 0311 specifications
The Weil-McLain GL-E223-ADOC 0311 is a notable addition to the lineup of high-efficiency cast iron boilers designed for both residential and commercial applications. This model stands out due to its focus on reliability, longevity, and energy efficiency, making it an ideal solution for those seeking effective heating solutions.A key feature of the GL-E223 model is its durable cast iron construction. The cast iron heat exchanger not only enhances the boiler's overall resilience but also improves its thermal efficiency. This characteristic ensures the boiler can withstand the stress of continuous operation while providing consistent heating performance year after year.
The GL-E223-ADOC 0311 employs advanced burner technology, which optimizes combustion efficiency, reducing fuel consumption. With its ability to modulate based on the heating demand, the boiler adjusts its output to ensure it runs at peak efficiency, minimizing energy waste. This feature is particularly beneficial in terms of energy savings and reducing operational costs over time.
In terms of sizing, the Weil-McLain GL-E223 model is engineered to provide adequate heating for a wide range of applications. Its output capacity is meticulously designed to accommodate residential heating requirements while being robust enough for light commercial usage. The controls and monitoring systems integrated into this boiler allow for easy adjustments and improved system management.
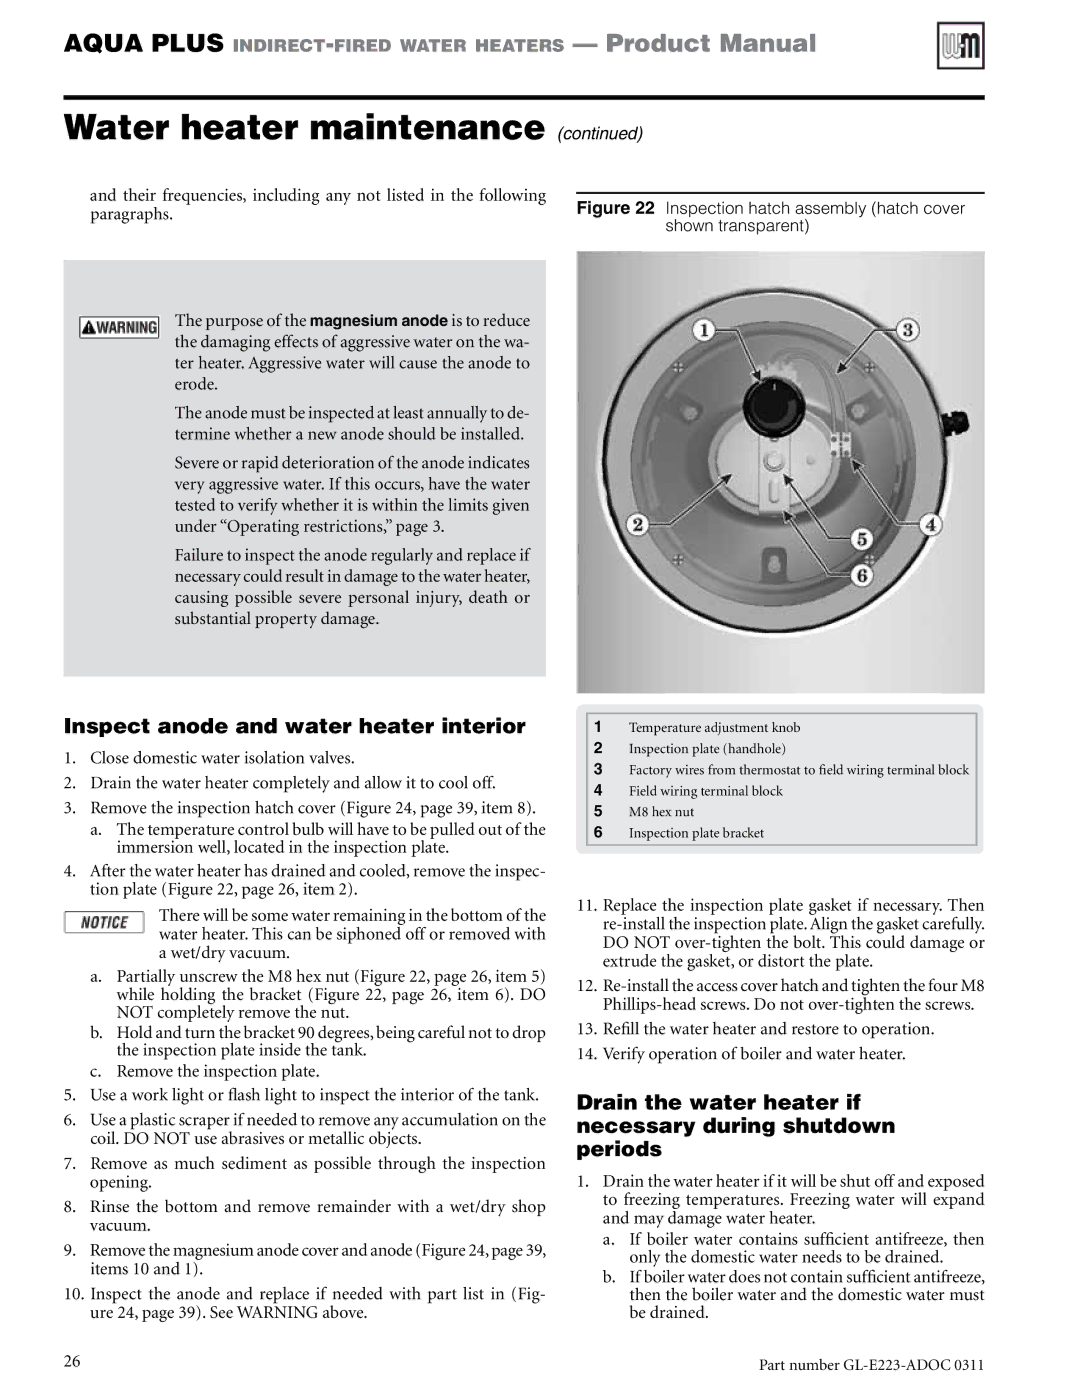
One significant characteristic of this model is its built-in features for enhanced safety and convenience. The boiler includes safety controls that prevent overheating, as well as an easy-access inspection and cleaning configuration that extends the life of the unit and eases maintenance efforts.
Furthermore, the GL-E223-ADOC 0311 is designed to be compatible with a range of hydronic heating systems. This adaptability allows for seamless integration into existing infrastructure or new installations, allowing homeowners and businesses the potential for improved heating solutions without extensive modifications.
Overall, the Weil-McLain GL-E223-ADOC 0311 encompasses advanced engineering with its cast iron construction, efficient burner technology, and user-friendly features that ensure reliability and efficiency. Whether for new installations or upgrades, this boiler is a solid choice for efficient heating solutions, resonating well with those prioritizing energy conservation and long-term performance.

