in
2. Press START/STOP button once to turn the bread maker on. The red light will glow, the colon between hours and minutes will flash and the timer will count down by
CAUTION: To avoid burn injury, do not touch cover, vent or sidewalls of bread maker during the bake cycles, as these surfaces are hot. Do not put hands inside oven chamber or touch the heating unit after completion of the bake cycle, as these surfaces are also hot.
SLICING BREAD
Always allow bread to cool at least 15 to 30 minutes before slicing. If you attempt to slice the bread immediately after baking, it will be very difficult to slice and will be sticky.
STORING BREAD
Since homemade bread contains no preservatives, it does not stay as fresh for as long as commercially made bread. Store your bread in a plastic bag to keep it from drying out. Keep the bread at room temperature or in the refrigerator for up to one week. For longer storage, put the bread in the freezer. Slice before freezing so you can remove only the number of slices you need at a time.
CLEAN AFTER EACH USE
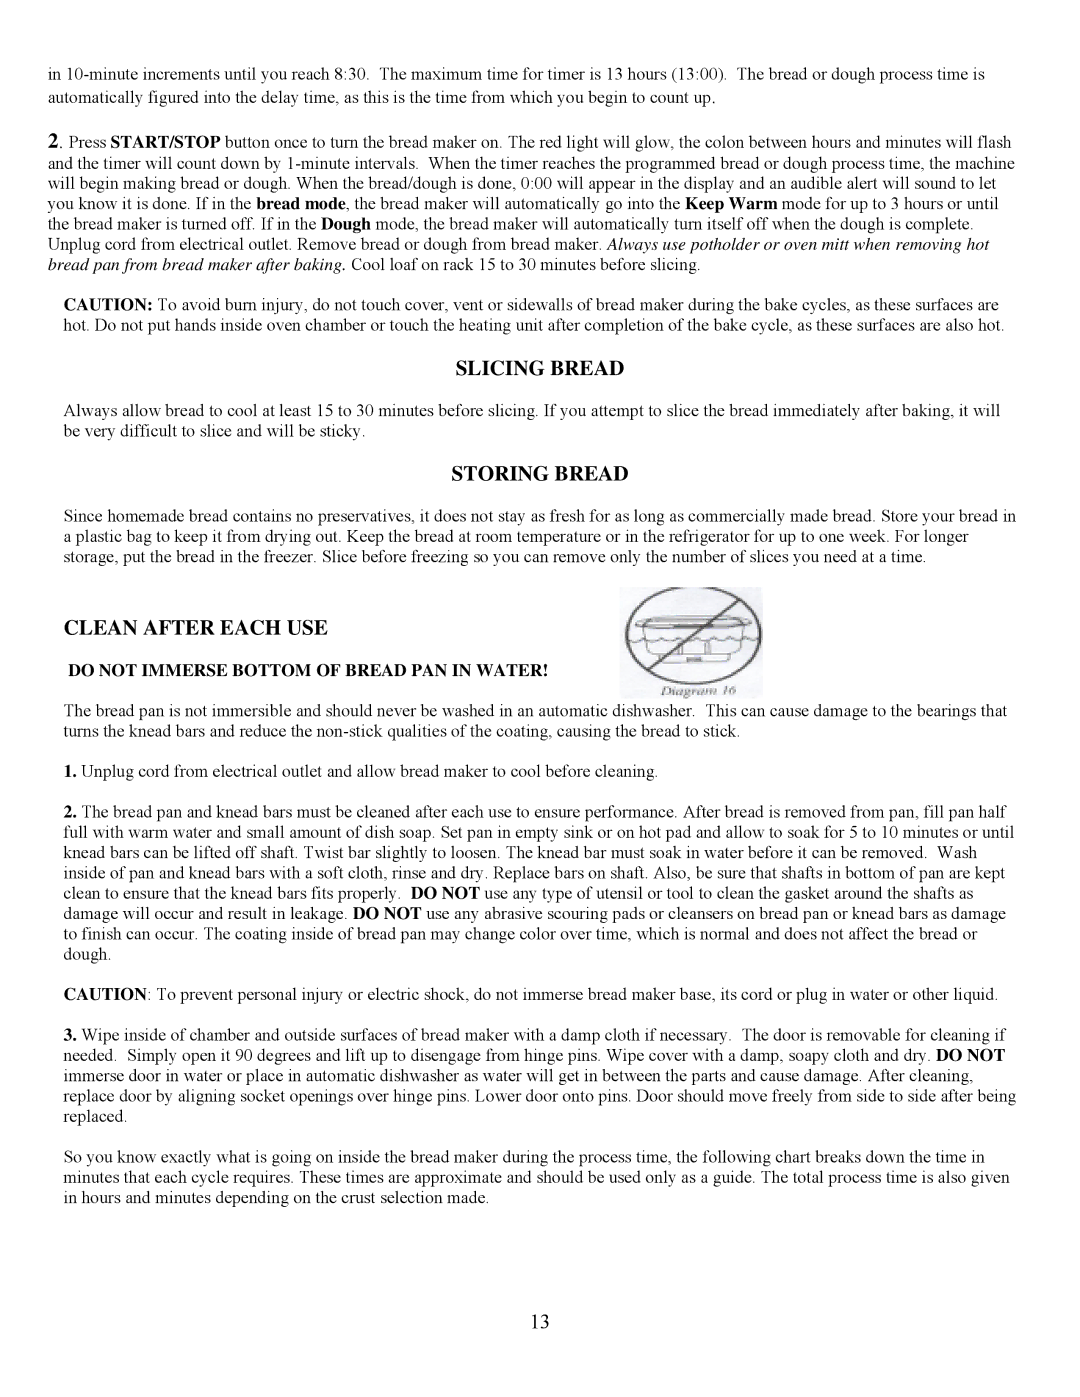
DO NOT IMMERSE BOTTOM OF BREAD PAN IN WATER!
The bread pan is not immersible and should never be washed in an automatic dishwasher. This can cause damage to the bearings that turns the knead bars and reduce the
1.Unplug cord from electrical outlet and allow bread maker to cool before cleaning.
2.The bread pan and knead bars must be cleaned after each use to ensure performance. After bread is removed from pan, fill pan half full with warm water and small amount of dish soap. Set pan in empty sink or on hot pad and allow to soak for 5 to 10 minutes or until knead bars can be lifted off shaft. Twist bar slightly to loosen. The knead bar must soak in water before it can be removed. Wash inside of pan and knead bars with a soft cloth, rinse and dry. Replace bars on shaft. Also, be sure that shafts in bottom of pan are kept clean to ensure that the knead bars fits properly. DO NOT use any type of utensil or tool to clean the gasket around the shafts as damage will occur and result in leakage. DO NOT use any abrasive scouring pads or cleansers on bread pan or knead bars as damage to finish can occur. The coating inside of bread pan may change color over time, which is normal and does not affect the bread or dough.
CAUTION: To prevent personal injury or electric shock, do not immerse bread maker base, its cord or plug in water or other liquid.
3.Wipe inside of chamber and outside surfaces of bread maker with a damp cloth if necessary. The door is removable for cleaning if needed. Simply open it 90 degrees and lift up to disengage from hinge pins. Wipe cover with a damp, soapy cloth and dry. DO NOT immerse door in water or place in automatic dishwasher as water will get in between the parts and cause damage. After cleaning, replace door by aligning socket openings over hinge pins. Lower door onto pins. Door should move freely from side to side after being replaced.
So you know exactly what is going on inside the bread maker during the process time, the following chart breaks down the time in minutes that each cycle requires. These times are approximate and should be used only as a guide. The total process time is also given in hours and minutes depending on the crust selection made.
13