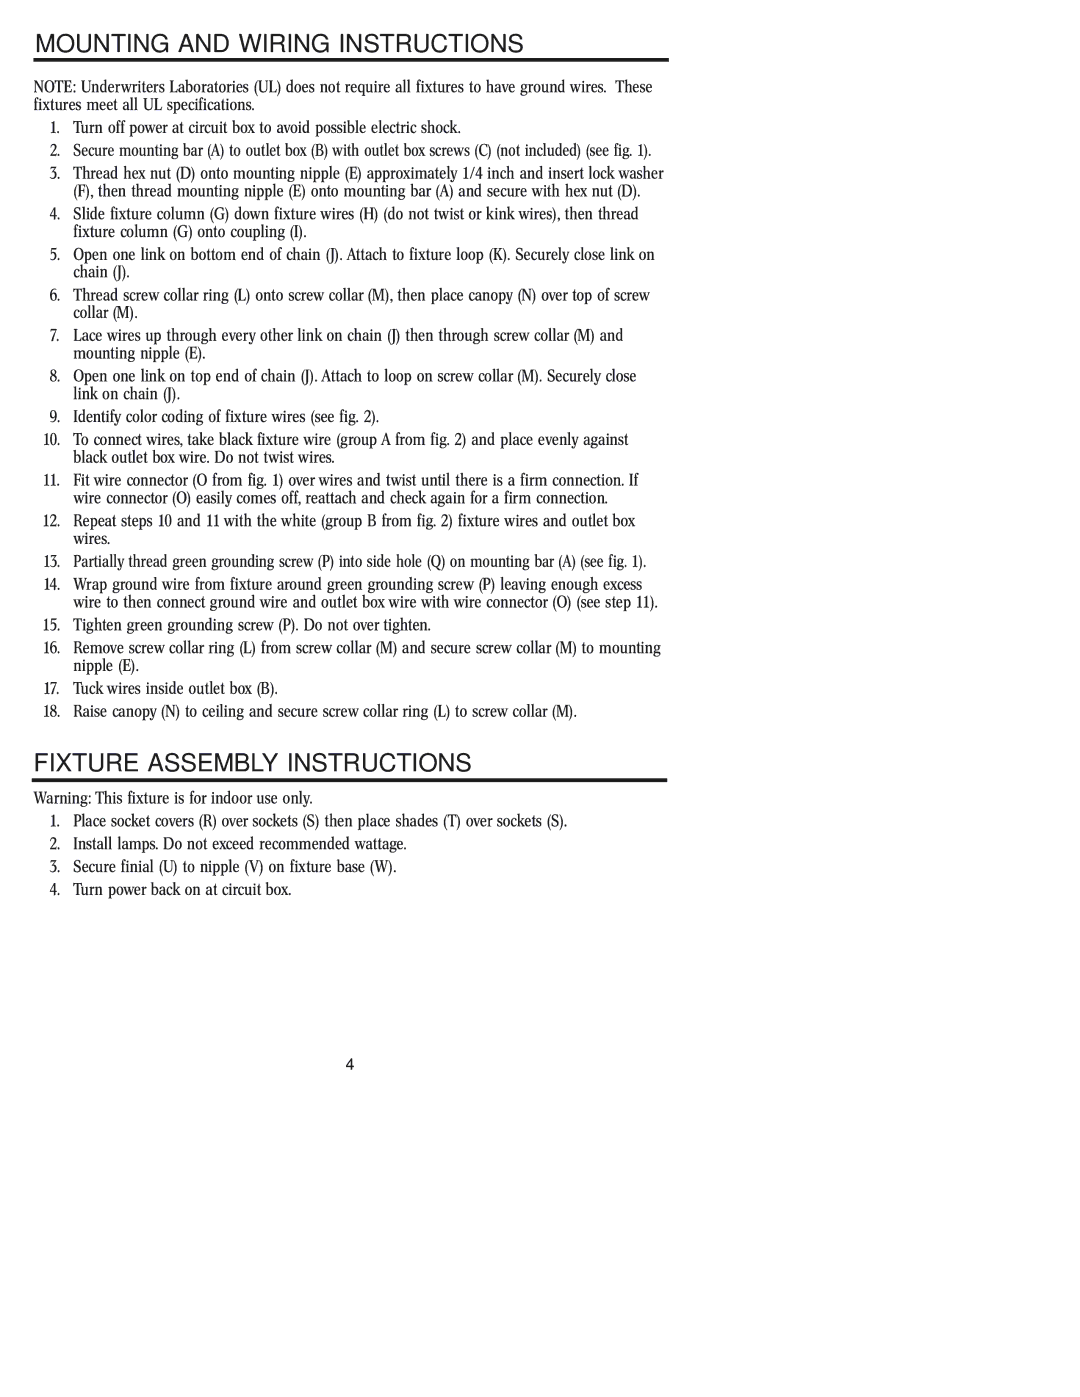
MOUNTING AND WIRING INSTRUCTIONS

NOTE: Underwriters Laboratories (UL) does not require all fixtures to have ground wires. These fixtures meet all UL specifications.

1.Turn off power at circuit box to avoid possible electric shock.

2.Secure mounting bar (A) to outlet box (B) with outlet box screws (C) (not included) (see fig. 1).

3.Thread hex nut (D) onto mounting nipple (E) approximately 1/4 inch and insert lockwasher (F), then thread mounting nipple (E) onto mounting bar (A) and secure with hex nut (D).

4.Slide fixture column (G) down fixture wires (H) (do not twist or kinkwires), then thread fixture column (G) onto coupling (I).

5.Open one link on bottom end of chain (J). Attach to fixture loop (K). Securely close link on chain (J).

6.Thread screw collar ring (L) onto screw collar (M), then place canopy (N) over top of screw collar (M).

7.Lace wires up through every other link on chain (J) then through screw collar (M) and mounting nipple (E).

8.Open one link on top end of chain (J). Attach to loop on screw collar (M). Securely close link on chain (J).

9.Identify color coding of fixture wires (see fig. 2).

10.To connect wires, take black fixture wire (group A from fig. 2) and place evenly against black outlet box wire. Do not twist wires.

11.Fit wire connector (O from fig. 1) over wires and twist until there is a firm connection. If wire connector (O) easily comes off, reattach and check again for a firm connection.

12.Repeat steps 10 and 11with the white (group B from fig. 2) fixture wires and outlet box wires.

13.Partially thread green grounding screw (P) into side hole (Q) on mounting bar (A) (see fig. 1).

14.Wrap ground wire from fixture around green grounding screw (P) leaving enough excess wire to then connect ground wire and outlet box wire with wire connector (O) (see step 11).

15.Tighten green grounding screw (P). Do not over tighten.

16.Remove screw collar ring (L) from screw collar (M) and secure screw collar (M) to mounting nipple (E).

17.Tuckwires inside outlet box (B).

18.Raise canopy (N) to ceiling and secure screw collar ring (L) to screw collar (M).

FIXTURE ASSEMBLY INSTRUCTIONS

Warning: This fixture is for indoor use only.

1.Place socket covers (R) over sockets (S) then place shades (T) over sockets (S).

2.Install lamps. Do not exceed recommended wattage.

3.Secure finial (U) to nipple (V) on fixture base (W).

4.Turn power back on at circuit box.

4

Page 4
Image 4
Westinghouse W-107 owner manual Mounting and Wiring Instructions, Fixture Assembly Instructions

W-107 specifications

The Westinghouse W-107 is an advanced system designed for various applications in both industrial and commercial settings. Renowned for its efficiency and reliability, the W-107 stands out in the market due to its innovative features and technologies that cater to modern demands for performance and sustainability.

One of the main features of the Westinghouse W-107 is its robust design. Constructed with high-quality materials, the unit is built to withstand harsh operational conditions while ensuring longevity. This durability minimizes maintenance costs, making it a cost-effective solution for businesses. The W-107 also includes a user-friendly interface, allowing operators to easily monitor and control the system’s functions.

Technologically, the W-107 employs state-of-the-art automation and control systems. Integrated sensors and smart controls enhance performance by optimizing operation based on real-time data. This smart technology not only improves efficiency but also reduces energy consumption, aligning with today’s environmental standards. Furthermore, the system can be easily integrated with existing infrastructures, making upgrades simpler and more effective for various industries.

The W-107 features a modular design, enabling customization based on specific needs. This flexibility allows businesses to scale the system up or down as their operations evolve, ensuring that they always have the right amount of capacity. Additionally, the system provides high levels of precision in performance, ensuring that outputs are consistent and reliable.

Another noteworthy aspect of the W-107 is its safety features. Equipped with advanced safety protocols, the system includes protective measures that prevent overheating and malfunctions. This commitment to safety not only protects personnel but also safeguards equipment and reduces the risk of downtime.

In summary, the Westinghouse W-107 is a cutting-edge solution that combines durability, efficiency, and advanced technology. Its modular design and smart controls make it a flexible option for various applications, while its safety features safeguard operations. As industries continue to evolve, the W-107 stands ready to meet the challenges of tomorrow with innovation and reliability. This makes it an attractive choice for businesses seeking to enhance performance while minimizing environmental impact.