Convertible Vegetable/Meat Drawer, Crisper
and Covers
(on some models)
Crisper and Convertible Vegetable Meat Drawers
To remove and replace drawers:
1.Slide crisper or meat drawer straight out to the stop. Lift the front of drawer with one hand while supporting the bottom of drawer with other hand and slide the drawer out the rest of the way.
2.Replace the crisper or meat drawer by sliding it back in fully past the drawer stop.
Crisper or Vegetable/Meat Drawer Covers
To remove and replace covers:
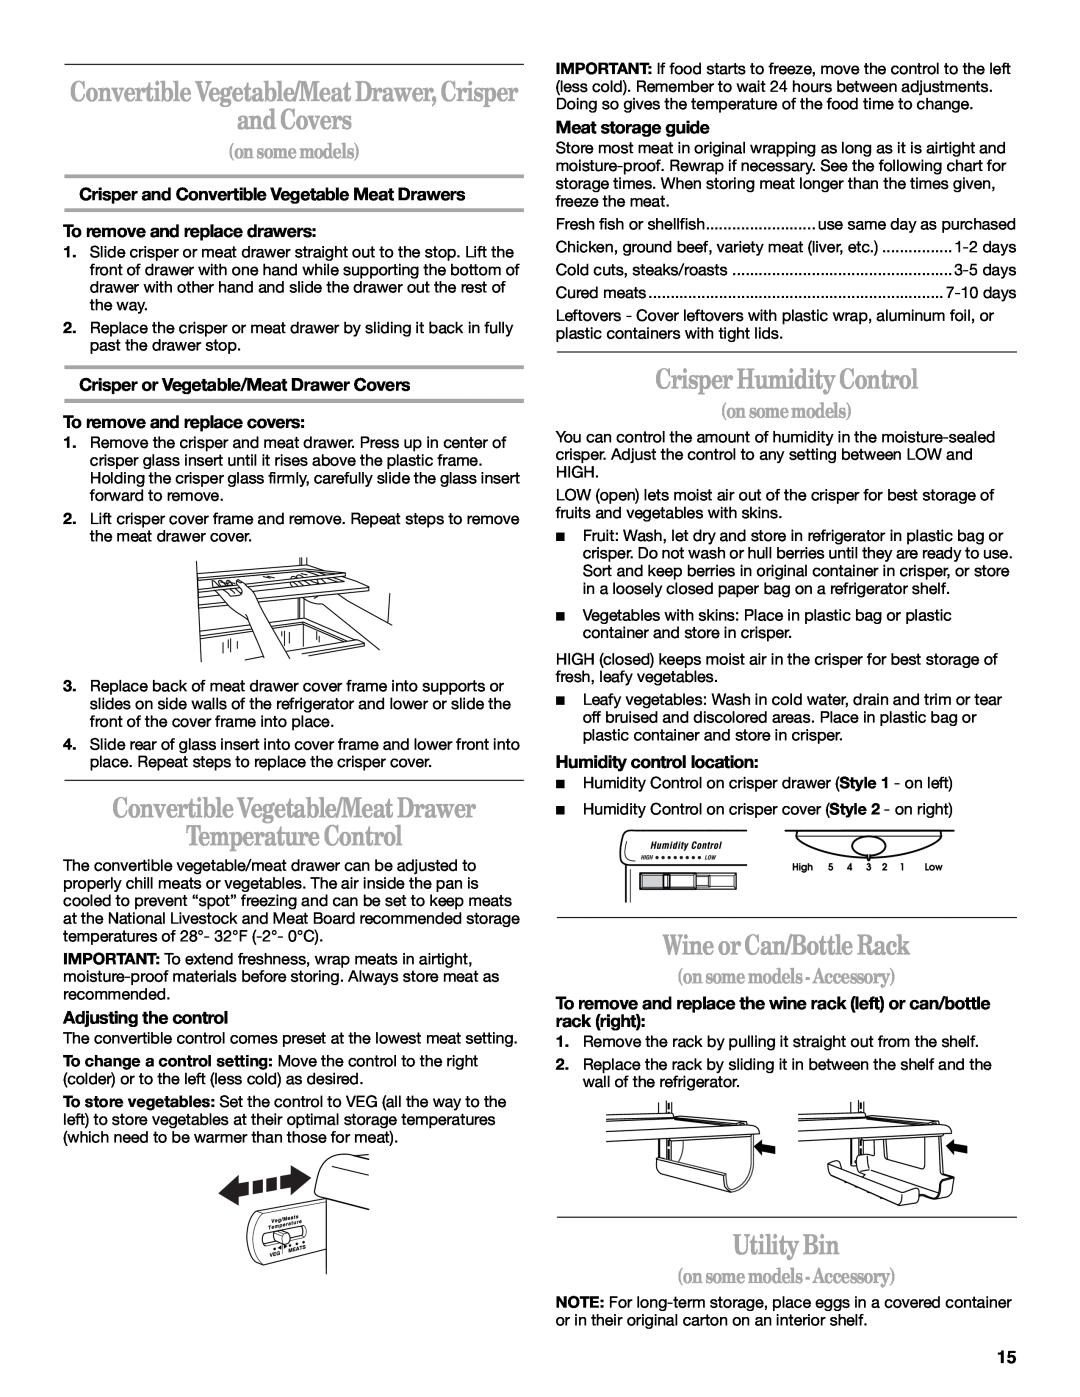
1.Remove the crisper and meat drawer. Press up in center of crisper glass insert until it rises above the plastic frame. Holding the crisper glass firmly, carefully slide the glass insert forward to remove.
2.Lift crisper cover frame and remove. Repeat steps to remove the meat drawer cover.
3.Replace back of meat drawer cover frame into supports or slides on side walls of the refrigerator and lower or slide the front of the cover frame into place.
4.Slide rear of glass insert into cover frame and lower front into place. Repeat steps to replace the crisper cover.
Convertible Vegetable/Meat Drawer
Temperature Control
The convertible vegetable/meat drawer can be adjusted to properly chill meats or vegetables. The air inside the pan is cooled to prevent “spot” freezing and can be set to keep meats at the National Livestock and Meat Board recommended storage temperatures of 28°- 32°F
IMPORTANT: To extend freshness, wrap meats in airtight,
Adjusting the control
The convertible control comes preset at the lowest meat setting.
To change a control setting: Move the control to the right (colder) or to the left (less cold) as desired.
To store vegetables: Set the control to VEG (all the way to the left) to store vegetables at their optimal storage temperatures (which need to be warmer than those for meat).
IMPORTANT: If food starts to freeze, move the control to the left (less cold). Remember to wait 24 hours between adjustments. Doing so gives the temperature of the food time to change.
Meat storage guide
Store most meat in original wrapping as long as it is airtight and
Fresh fish or shellfish | use same day as purchased | |
Chicken, ground beef, variety meat (liver, etc.) | ................ | |
Cold cuts, steaks/roasts | ||
Cured meats | ||
Leftovers - Cover leftovers with plastic wrap, aluminum foil, or plastic containers with tight lids.
Crisper Humidity Control
(on some models)
You can control the amount of humidity in the
LOW (open) lets moist air out of the crisper for best storage of fruits and vegetables with skins.
■Fruit: Wash, let dry and store in refrigerator in plastic bag or crisper. Do not wash or hull berries until they are ready to use. Sort and keep berries in original container in crisper, or store in a loosely closed paper bag on a refrigerator shelf.
■Vegetables with skins: Place in plastic bag or plastic container and store in crisper.
HIGH (closed) keeps moist air in the crisper for best storage of fresh, leafy vegetables.
■Leafy vegetables: Wash in cold water, drain and trim or tear off bruised and discolored areas. Place in plastic bag or plastic container and store in crisper.
Humidity control location:
■Humidity Control on crisper drawer (Style 1 - on left)
■Humidity Control on crisper cover (Style 2 - on right)
Wine or Can/Bottle Rack
(on some models - Accessory)
To remove and replace the wine rack (left) or can/bottle rack (right):
1.Remove the rack by pulling it straight out from the shelf.
2.Replace the rack by sliding it in between the shelf and the wall of the refrigerator.
Utility Bin
(on some models - Accessory)
NOTE: For
15