
FES364B specifications
The Whirlpool FES364B is a versatile and efficient electric range designed to meet the needs of modern kitchens while providing seamless cooking performance. With its sleek design and robust construction, this appliance combines style with functionality to elevate your culinary experience.One of the standout features of the Whirlpool FES364B is its four-element cooktop, which offers a variety of cooking options. These elements can accommodate different pot sizes, ensuring that you can prepare multiple dishes simultaneously without compromising on cooking efficiency. The cooktop is also crafted from durable materials that are easy to clean, allowing users to maintain a spotless appearance with minimal effort.
The oven of the Whirlpool FES364B boasts a generous capacity, making it ideal for baking, roasting, and broiling. With an impressive range of temperatures, the oven can handle everything from delicate pastries to hearty roasts. Additionally, the oven features a baking drawer that provides extra space for dishes, enabling users to make the most out of their cooking time, especially during holiday gatherings or family meals.
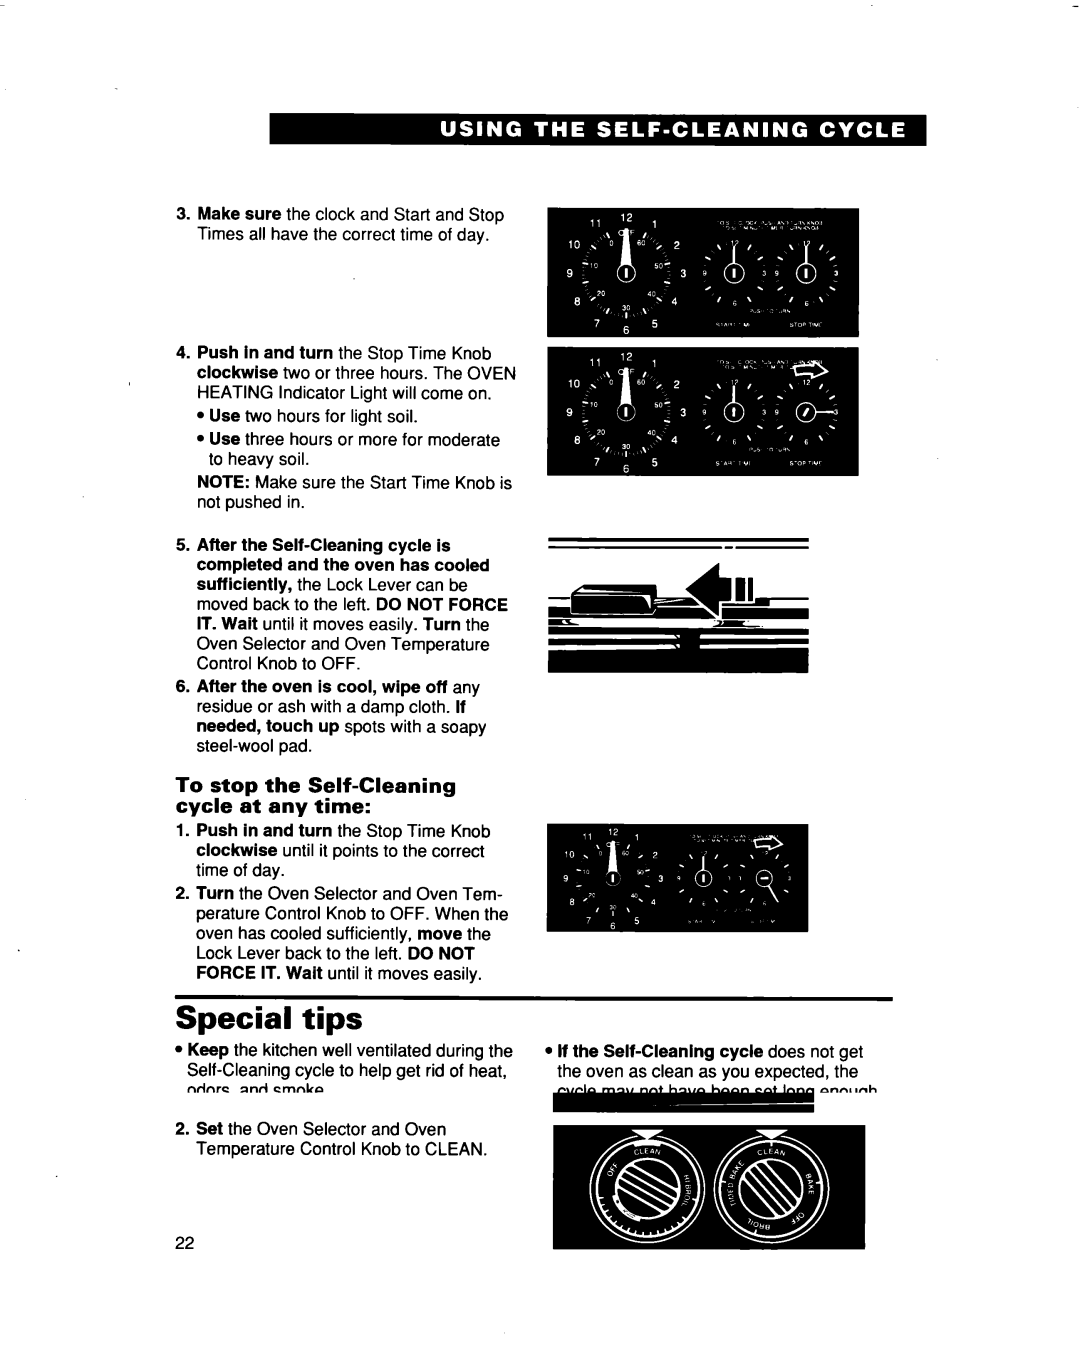
Equipped with Whirlpool’s TimeSavor Plus technology, this electric range enhances the cooking process by significantly reducing cooking times. This feature is particularly beneficial for busy households where time is of the essence. The oven also comes with a self-cleaning option, allowing homeowners to maintain a clean kitchen without the hassle of manual scrubbing.
The Whirlpool FES364B prioritizes safety with its extensive range of safety features. The oven has an auto shut-off function, which ensures that it will automatically turn off if left on for an extended period, providing peace of mind for users. Additionally, the cooktop’s surface indicator lights alert users when the burners are still hot, minimizing the risk of accidental burns.
Another notable characteristic of the Whirlpool FES364B is its user-friendly control panel, designed for intuitive navigation and operation. The controls are positioned at the back of the range, reducing the risk of accidental changes while cooking. Furthermore, the appliance is designed to be energy efficient, helping households save on electricity bills while minimizing their environmental impact.
In conclusion, the Whirlpool FES364B electric range exemplifies a commitment to quality and innovation. With its advanced cooking technologies, spacious oven, and easy-to-use features, it is an excellent choice for anyone looking to enhance their kitchen experience. Whether you're a seasoned chef or a casual home cook, the FES364B is sure to meet and exceed your cooking needs.