Building in your microwave oven
Your microwave oven is not limited to carts, counters or tables. Custom installations are made easy with kits available from your dealer.
1.Build the microwave oven into a cabinet or wall by itself or over
2.Attach the microwave oven to a wall by itself or with cabinets over it.
3.Put the microwave oven on the MICRO SHELF@ Hood over a cooktop. The hood is available
ducted or as a recirculating hood, and includes cooktop lights.
Ask your dealer for details on...
l 832987 -
. RH3330XR - MICRO SHELF‘; Hood
Use only approved installation kits.
Obtain these kits from your authorized Whirlpool dealer.
Caring for your microwave oven
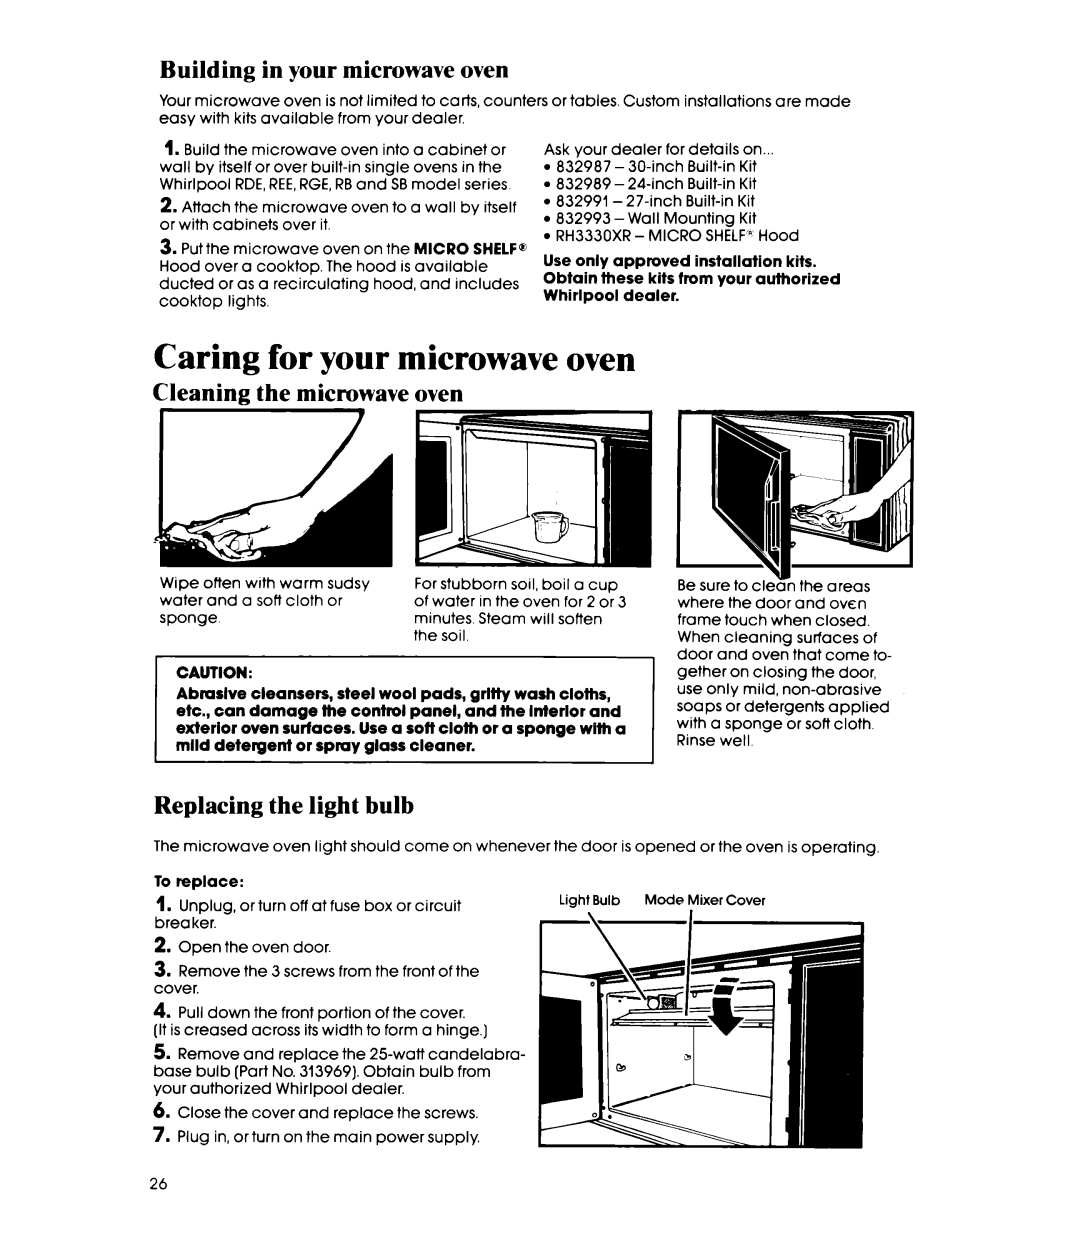
Cleaning the microwave oven
Wipe | often | with | warm | sudsy | For stubborn soil, boil a cup | |||
water | and | a soft | cloth | or | of water | in the | oven | for 2 or 3 |
sponge. |
|
|
| minutes. | Steam | will | soften | |
|
|
|
|
| the soil. |
|
|
|
CAUTION:
Abmslve cleansers, steel wool pads, gritty wash cloths, etc., can damage the control panel, and the lnterlor and exterior oven surfaces. Use a sott cloth or a sponge wlth a mlld detergent or spmy glass cleaner.
Be sure to cle% the areas where the door and oven frame touch when closed.
When cleaning surfaces of door and oven that come to- gether on closing the door, use only mild,
Replacing the light bulb
The microwave oven light should come on whenever the door is opened or the oven is operating.
To replace:
1.Unplug, or turn off at fuse box or circuit breaker.
2.Open the oven door.
3.Remove the 3 screws from the front of the cover.
4.Pull down the front portion of the cover.
(It is creased across its width to form a hinge.]
5.Remove and replace the
6.Close the cover and replace the screws
7.Plug in, or turn on the main power supply.
26