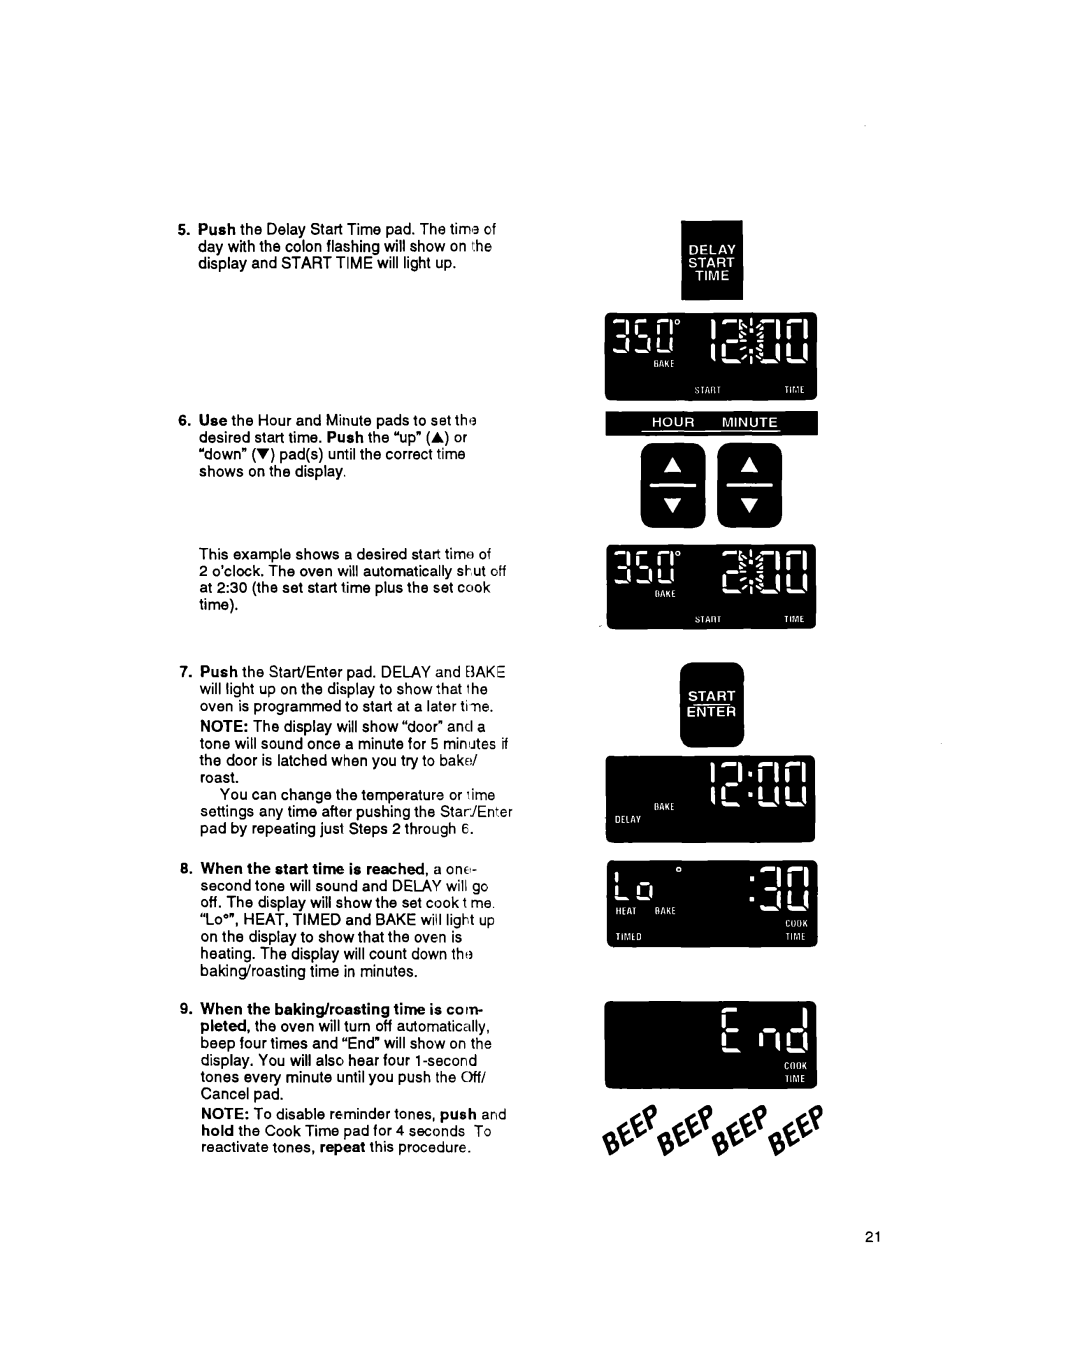
5.Push the Delay Start Time pad. The timI of day with the colon flashing will show on I:he display and START TIME will light up.
6.Use the Hour and Minute pads to set the desired start time. Push the “up”(A) or “down” (V) pad(s) until the correct time shows on the display.
This example shows a desired start timtb of
2 o’clock. The oven will automatically sb#ut off at 2:30 (the set start t.ime plus the set cook time).
7.Push the Start/Enter pad. DELAY and ElAKE will light up on the display to show that the oven is programmed to start at a later tine.
NOTE: The display will show “door”ancl a tone will sound once a minute for 5 minutes if the door is latched when you try to bake/ roast.
You can change the temperature or lime settings any time after pushing the StarVEnter pad by repeating just Steps 2 through 6.
8.When the start time is reached, a one- second tone will sound and DELAY will go off. The display will show the set cook t me. “Lo”“,HEAT, TIMED and BAKE will light up on the display to show that the oven is heating. The display will count down the baking/roasting time in minutes.
9.When the baking/roasting time is
NOTE: To disable reminder tones, push and hold the Cook Time pad for 4 seconds To reactivate tones, repeat this procedure.
21
