MAINTENANCE

4. SIDE SQUEEGEE ADJUSTMENT

TO REPLACE OR ROTATE SIDE SQUEEGEE BLADES (28 in. & 32 in.)

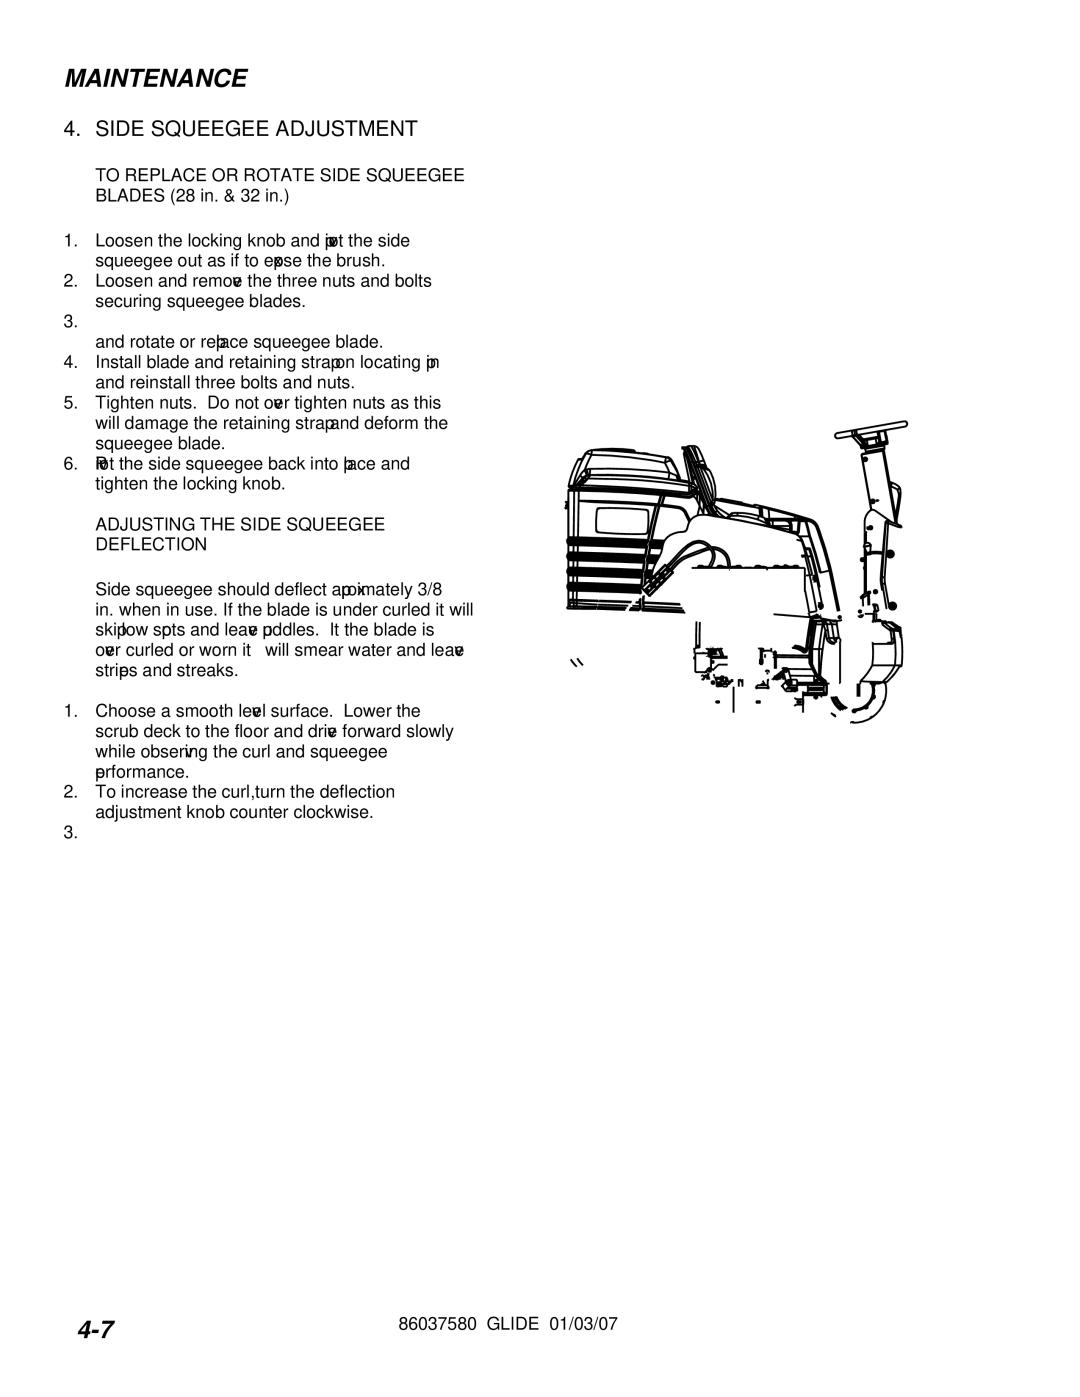
1.Loosen the locking knob and pivot the side squeegee out as if to expose the brush.

2.Loosen and remove the three nuts and bolts securing squeegee blades.

3.Remove the retaining strap and squeegee blade and rotate or replace squeegee blade.

4.Install blade and retaining strap on locating pin and reinstall three bolts and nuts.

5.Tighten nuts. Do not over tighten nuts as this will damage the retaining strap and deform the squeegee blade.

6.Pivot the side squeegee back into place and tighten the locking knob.

ADJUSTING THE SIDE SQUEEGEE DEFLECTION

Side squeegee should deflect approximately 3/8 in. when in use. If the blade is under curled it will skip low spots and leave puddles. It the blade is over curled or worn it will smear water and leave stripes and streaks.

1.Choose a smooth level surface. Lower the scrub deck to the floor and drive forward slowly while observing the curl and squeegee performance.

2.To increase the curl, turn the deflection adjustment knob counter clockwise.

3.To decrease the curl, turn the deflection adjustment knob clockwise.

TO REPLACE OR ROTATE SIDE SQUEEGEE BLADES (36 in.)

Left Side Squeegee

1.Loosen the locking knob and unscrew it until it is near the top of the stud. Remove the side squeegee assembly.

2.Loosen and remove the three nuts and bolts securing the squeegee blade.

3.Remove the retaining strap and squeegee blade and rotate or replace the blade.

4.Install blade and retaining strap on locating pin and reinstall three nuts and bolts.

5.Tighten nuts. Do not over tighten nuts as this will damage the retaining strap and deform the squeegee blade.

6.Replace the side squeegee and tighten the knob.

Right Side Squeegee and Secondary Side Squeegee Blade

1.Loosen the locking knob and unscrew it until it is near the top of the stud. Remove the side squeegee assembly.

2.Loosen and remove the three nuts and bolts securing the secondary squeegee blade.

3.Remove the retaining strap and squeegee blade and rotate or replace the blade.

4.Reinstall the blade, retaining strap and fasteners.

5.Do not over tighten nuts as this will damage the retaining strap and deform the squeegee blade.

6.To access the right side squeegee blade, the secondary blade bracket must be removed. Remove two bolts holding the secondary blade bracket and set the bracket aside.

7.Loosen and remove the three nuts and bolts securing the side squeegee blade.

8.Remove the retaining strap and squeegee blade and rotate or replace the blade.

9.Install blade and retaining strap on locating pin and reinstall three nuts and bolts.

10.Tighten nuts. Do not over tighten nuts as this will damage the retaining strap and deform the squeegee blade.

11.Replace the secondary squeegee blade bracket.

12.Replace the side squeegee and tighten the knob.

ADJUSTING (36 in.)

The adjusting procedure is the same for all side squeegees.

The right side squeegee is provided with two adjusting knobs to allow greater control of the curl from front to rear.

4-7

86037580 GLIDE 01/03/07


Page 30
Image 30
Windsor SG32, SG36, SG28, 10052450, 10052460, 10052470 manual Side Squeegee Adjustment, Adjusting the Side Squeegee Deflection

10052460, SG28, SG32, 10052450, 10052470 specifications

Windsor SG32, 10052470, 10052450, 10052460, and SG36 represent a line of cutting-edge products that have gained recognition for their innovative design and advanced technology. These models are characterized by their user-centric features tailored to enhance efficiency and comfort across various applications.

The Windsor SG32 stands out with its robust build and high-performance capabilities. Featuring a powerful motor, the SG32 is tailored for heavy-duty tasks, ensuring that it can handle extensive cleaning jobs with ease. Its ergonomic design allows for extended use without discomfort, making it a favorite among users who prioritize convenience and efficiency. The integrated dirt sensor technology is a notable feature that optimally adjusts the cleaning power based on surface conditions, guaranteeing thorough cleaning results every time.

Models 10052470, 10052450, and 10052460 share a commonality in their advanced filtration systems. These systems are designed to capture airborne particles effectively, making these models ideal for environments requiring enhanced air quality, such as hospitals and schools. The easy-to-replace filter cartridges reduce maintenance time, allowing users to focus on more critical tasks. Additionally, these models incorporate energy-efficient motors that minimize power consumption while maximizing performance, demonstrating Windsor's commitment to sustainability.

SG36, on the other hand, introduces smart technology with its intuitive touch control panel, allowing users to set operational parameters quickly. This model also features a quiet mode that is perfect for cleaning in noise-sensitive areas without sacrificing performance. The compact design of SG36 enhances maneuverability, making it suitable for tight spaces often found in urban settings.

All these Windsor models are equipped with high-capacity batteries for cordless operation, providing the freedom to clean without being tethered to a power outlet. This feature, coupled with LED indicators that signal battery life, ensures that users can operate with confidence. Maintenance is simplified due to the easily accessible components, meaning downtime for repairs is minimized.

In summary, Windsor SG32, 10052470, 10052450, 10052460, and SG36 boast a range of features aimed at enhancing cleaning efficiency while prioritizing user comfort and sustainability. Each model integrates advanced technologies that cater to various cleaning needs, solidifying Windsor's position as a leader in innovative cleaning solutions.