Appendix B Setup and Operation of Satellite Receivers
B.1 DISH Network (To activate your DISH Network receiver, call
Using your DISH Network Point Dish/Signal Screen
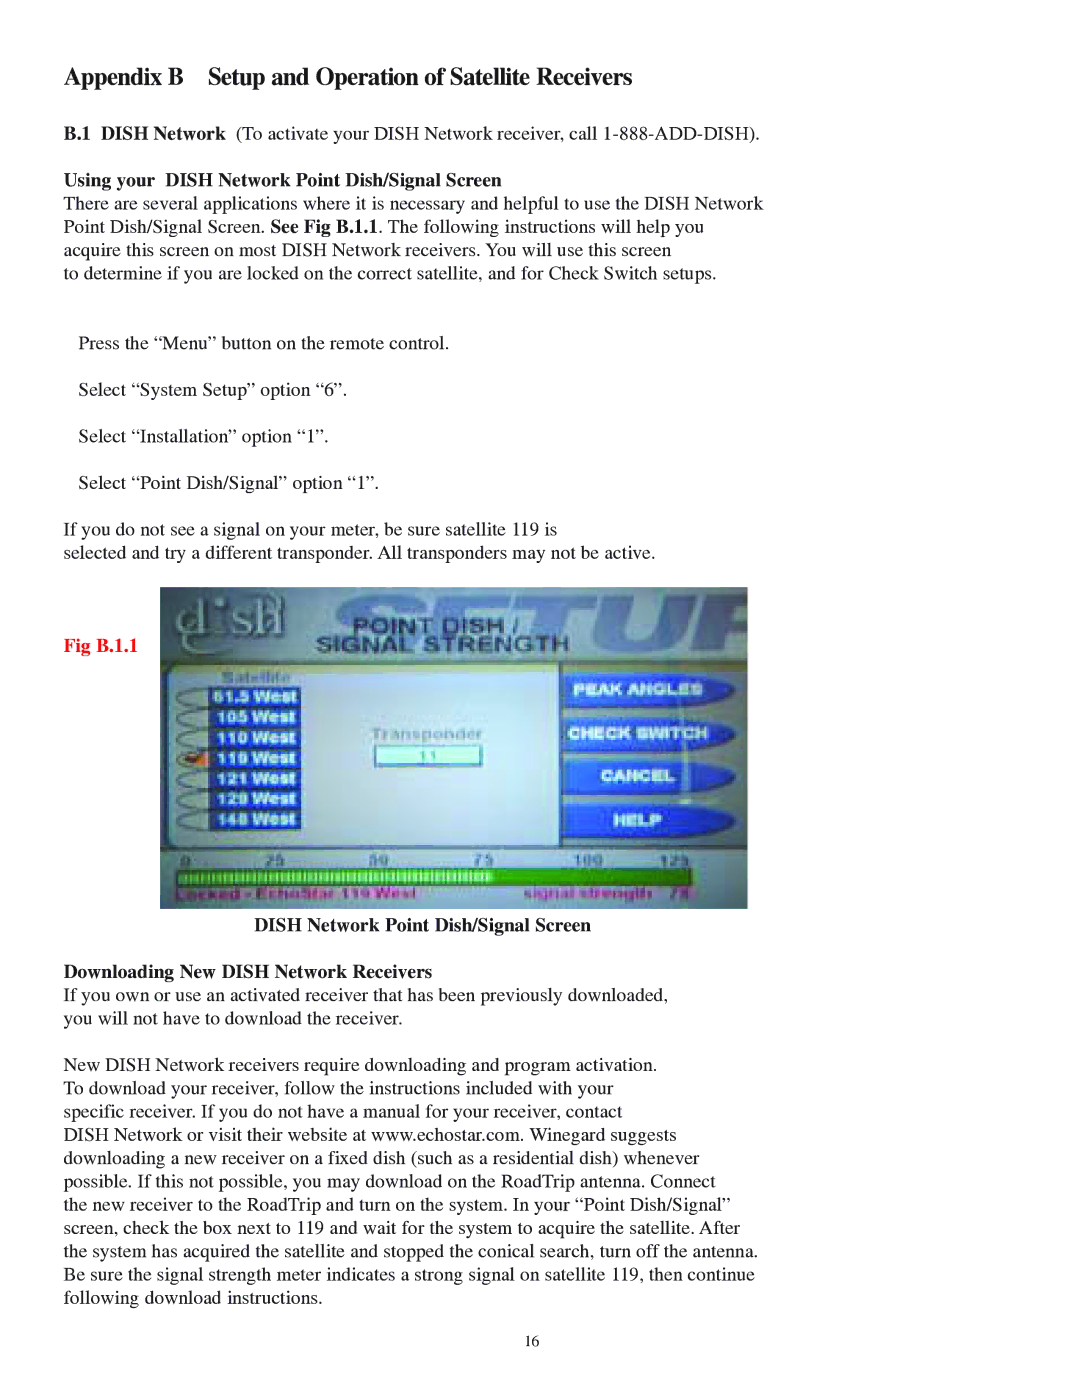
There are several applications where it is necessary and helpful to use the DISH Network Point Dish/Signal Screen. See Fig B.1.1. The following instructions will help you acquire this screen on most DISH Network receivers. You will use this screen
to determine if you are locked on the correct satellite, and for Check Switch setups.
Press the “Menu” button on the remote control.
Select “System Setup” option “6”.
Select “Installation” option “1”.
Select “Point Dish/Signal” option “1”.
If you do not see a signal on your meter, be sure satellite 119 is
selected and try a different transponder. All transponders may not be active.
Fig B.1.1
DISH Network Point Dish/Signal Screen
Downloading New DISH Network Receivers
If you own or use an activated receiver that has been previously downloaded, you will not have to download the receiver.
New DISH Network receivers require downloading and program activation. To download your receiver, follow the instructions included with your specific receiver. If you do not have a manual for your receiver, contact DISH Network or visit their website at www.echostar.com. Winegard suggests downloading a new receiver on a fixed dish (such as a residential dish) whenever possible. If this not possible, you may download on the RoadTrip antenna. Connect the new receiver to the RoadTrip and turn on the system. In your “Point Dish/Signal” screen, check the box next to 119 and wait for the system to acquire the satellite. After the system has acquired the satellite and stopped the conical search, turn off the antenna. Be sure the signal strength meter indicates a strong signal on satellite 119, then continue following download instructions.
16
