Edge Jointing
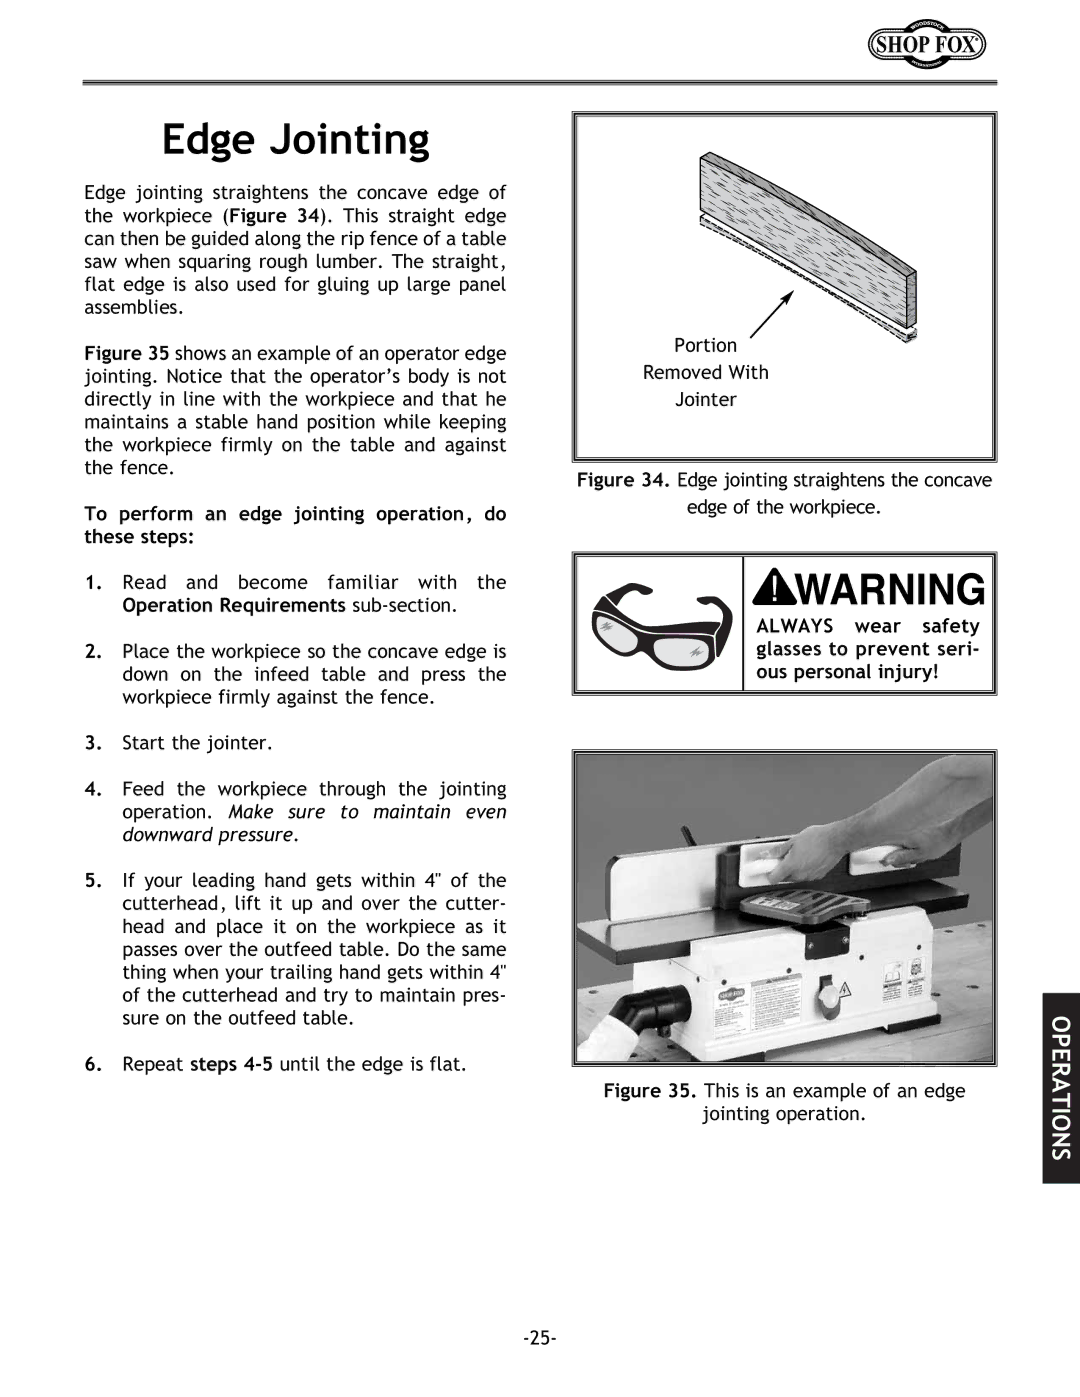
Edge jointing straightens the concave edge of the workpiece (Figure 34). This straight edge can then be guided along the rip fence of a table saw when squaring rough lumber. The straight, flat edge is also used for gluing up large panel assemblies.
Figure 35 shows an example of an operator edge jointing. Notice that the operator’s body is not directly in line with the workpiece and that he maintains a stable hand position while keeping the workpiece firmly on the table and against the fence.
To perform an edge jointing operation, do these steps:
1.Read and become familiar with the
Operation Requirements sub-section.
2.Place the workpiece so the concave edge is down on the infeed table and press the workpiece firmly against the fence.
3.Start the jointer.
4.Feed the workpiece through the jointing operation. Make sure to maintain even downward pressure.
5.If your leading hand gets within 4" of the cutterhead, lift it up and over the cutter- head and place it on the workpiece as it passes over the outfeed table. Do the same thing when your trailing hand gets within 4" of the cutterhead and try to maintain pres- sure on the outfeed table.
6.Repeat steps
Portion
Removed With
Jointer
Figure 34. Edge jointing straightens the concave
edge of the workpiece.
ALWAYS wear safety glasses to prevent seri- ous personal injury!