3.Use the numeric key pad and enter the thickness of your calibration board (Example: 1.500 for
4.Press and hold the SET key for 3 seconds: ![]() The table is now calibrated.
The table is now calibrated.
5.Press the down arrow key: ![]()
6.Remove the calibration board.
Basic Sanding
To achieve the best sanding results experiment with conveyor feed rate, sanding depth, various grits of sandpaper, and oscillation speed.
To sand a workpiece, do these steps:
1.Make sure the table is calibrated and the needed sandpaper is installed and tensioned.
2.Turn the sander OFF, set the feed rate, then turn the sander ON.
3.Measure your workpiece and find the highest location.
4.Type in the thickness of your workpiece using the numeric key pad (Example: for a 2" thick workpiece type 2.000"),
and press the table start key:
Note: the upper left corner Input Led will illuminate (See Figure 27), and the display numbers will flash when entering measurements.
5.Measure the sanding depth needed. Example: let’s say you need 1⁄16".
Note: removing too much material can burn the workpiece, tear the paper, and give poor sanding results.
6.Convert 1⁄16" fraction to a 0.063" decimal measurement using the conversion table on the sander.
7.Calculate the resulting workpiece thickness
8.Press the table start key: The table will raise 0.063".
Note: The lower left corner Run Led will illuminate and the display numbers will glow steady when measurements have been accepted and the table is
Note: When the correct sanding depth is achieved, the lower left corner Run Led will turn off and the final resulting workpiece thickness is displayed.
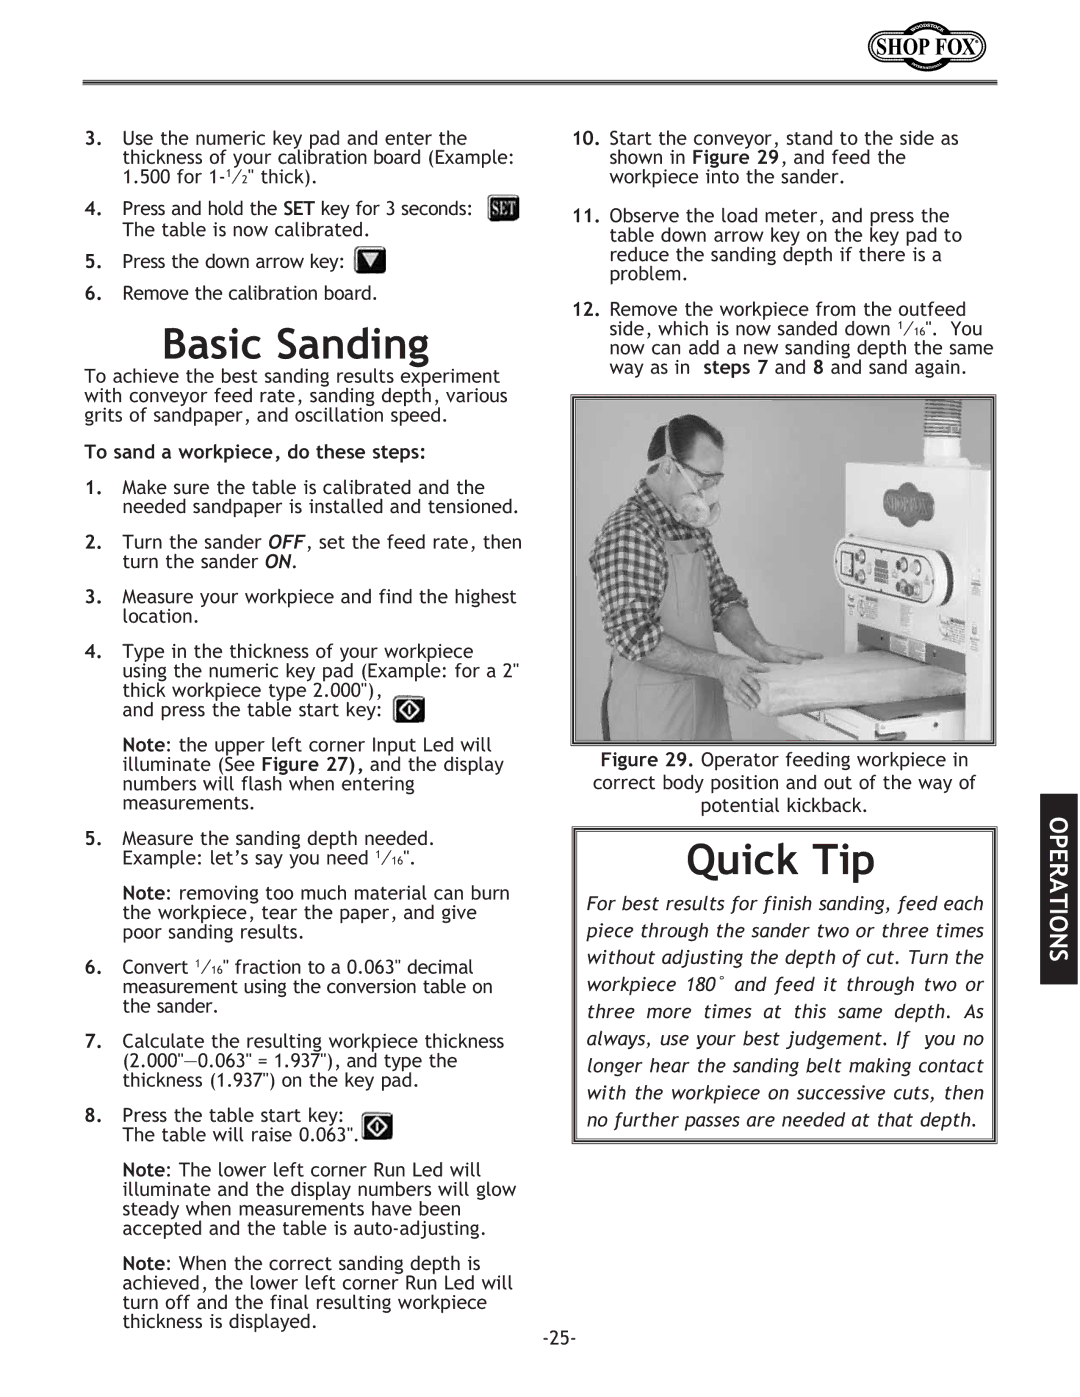
10.Start the conveyor, stand to the side as shown in Figure 29, and feed the workpiece into the sander.
11.Observe the load meter, and press the table down arrow key on the key pad to reduce the sanding depth if there is a problem.
12.Remove the workpiece from the outfeed side, which is now sanded down 1⁄16". You now can add a new sanding depth the same way as in steps 7 and 8 and sand again.
Figure 29. Operator feeding workpiece in correct body position and out of the way of potential kickback.
Quick Tip
For best results for finish sanding, feed each piece through the sander two or three times without adjusting the depth of cut. Turn the workpiece 180˚ and feed it through two or three more times at this same depth. As always, use your best judgement. If you no longer hear the sanding belt making contact with the workpiece on successive cuts, then no further passes are needed at that depth.
OPERATIONS