OPERATIONS
Test Run
Once assembly is complete, the machine is ready for a test run. The purpose of a test run is to identify any unusual noises and vibrations, as well as to confirm that the machine is performing as intended.
To complete the test run, do these steps:
1.Tie back loose clothing and hair, and wear a respirator and safety glasses.
2.Apply power to the sander and connect the supply air to the sander. Make sure the air pressure is set at 57 PSI.
3.Make sure the sanding belt is tensioned.
4.Make sure all access doors and handles are secured.
5.Start the dust collection system.
6.Turn the sander and feed belt ON.
7.Listen for any unusual noises. The machine should run smoothly with little or no vibrations.
•If there are any unusual noises or vibrations, shut the machine off immediately.
•Investigate the source of the noise or vibration. DO NOT make any adjustments to the machine while it is plugged in. The machine should not be run any further until the problems are corrected.
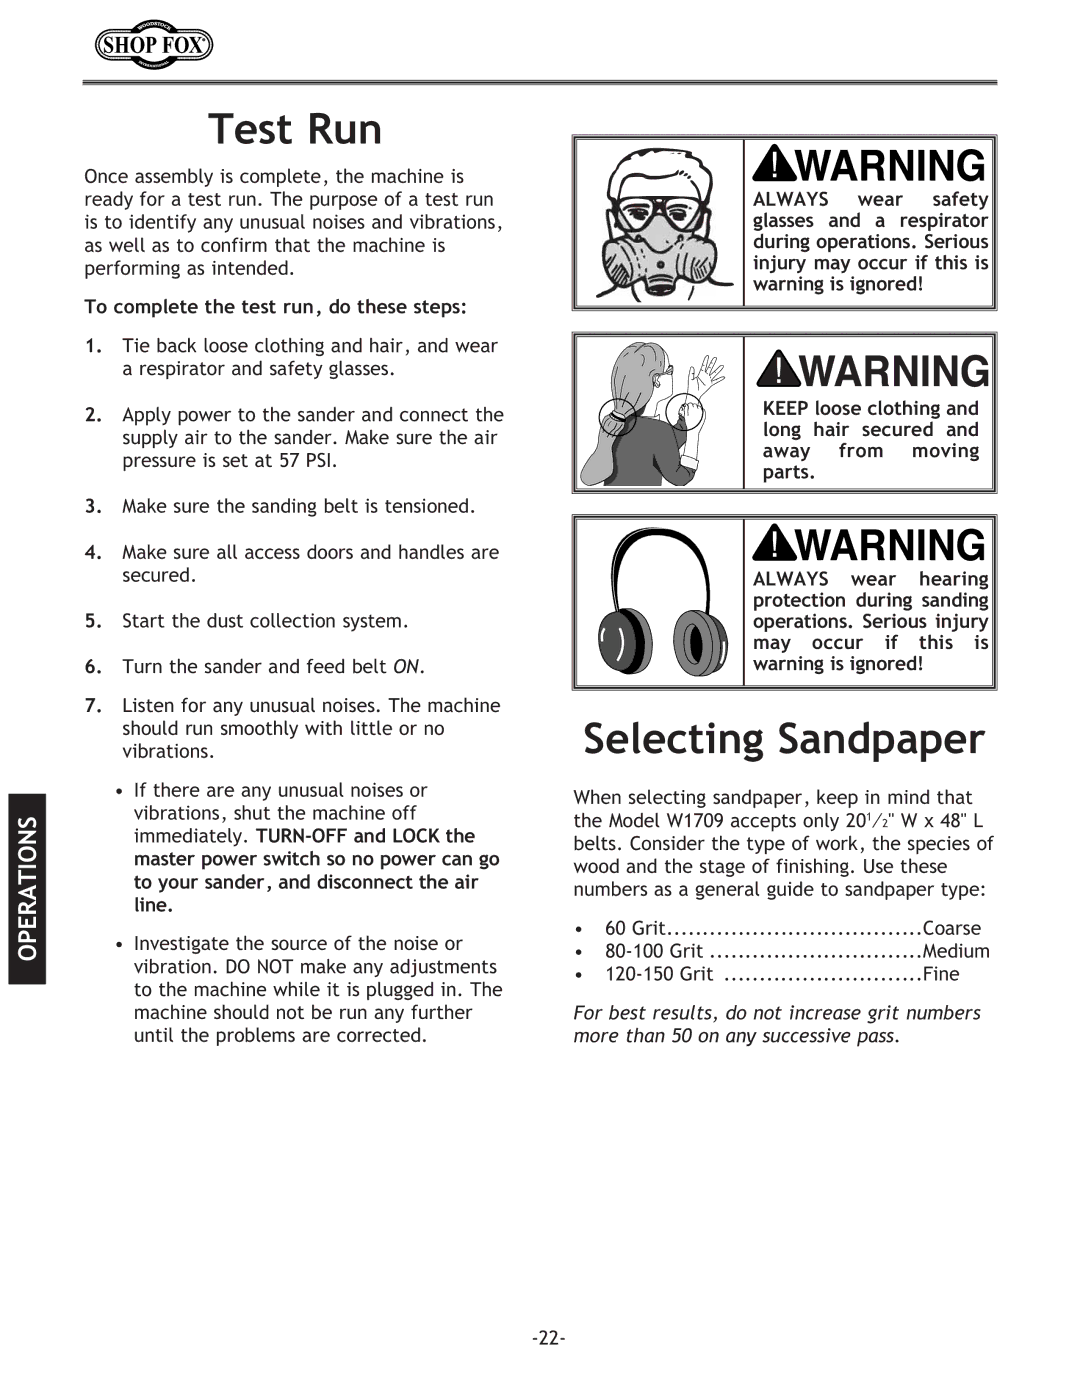
ALWAYS wear safety glasses and a respirator during operations. Serious injury may occur if this is warning is ignored!
KEEP loose clothing and long hair secured and away from moving parts.
ALWAYS wear hearing protection during sanding operations. Serious injury may occur if this is warning is ignored!
Selecting Sandpaper
When selecting sandpaper, keep in mind that the Model W1709 accepts only 201⁄2" W x 48" L belts. Consider the type of work, the species of wood and the stage of finishing. Use these numbers as a general guide to sandpaper type:
• | 60 Grit | Coarse |
• | Medium | |
• | Fine |
For best results, do not increase grit numbers more than 50 on any successive pass.