Belt Oscillation Speed
For normal operations, the oscillation speed should be set so that it takes approximately one second to move each direction of travel, or a total of two seconds to move both directions.
However, you can experiment with different speeds to see how the results may affect your finished product. Often, you may find that certain speeds yield better results for different varieties of stock and the feed rates chosen.
KEEP your hands clear of the sanding belt when making these adjustments!
To set the belt oscillation speed, do these steps:
1.Complete the Sanding Belt Tracking adjustment on page 14.
2.Put on safety glasses, tie back all loose clothing, remove jewelry, pull back sleeves, and tie back long hair so it will not get caught by the sanding belt.
3.If you have not already done so, turn the sander ON.
4.Looking from the front of the sander, observe the
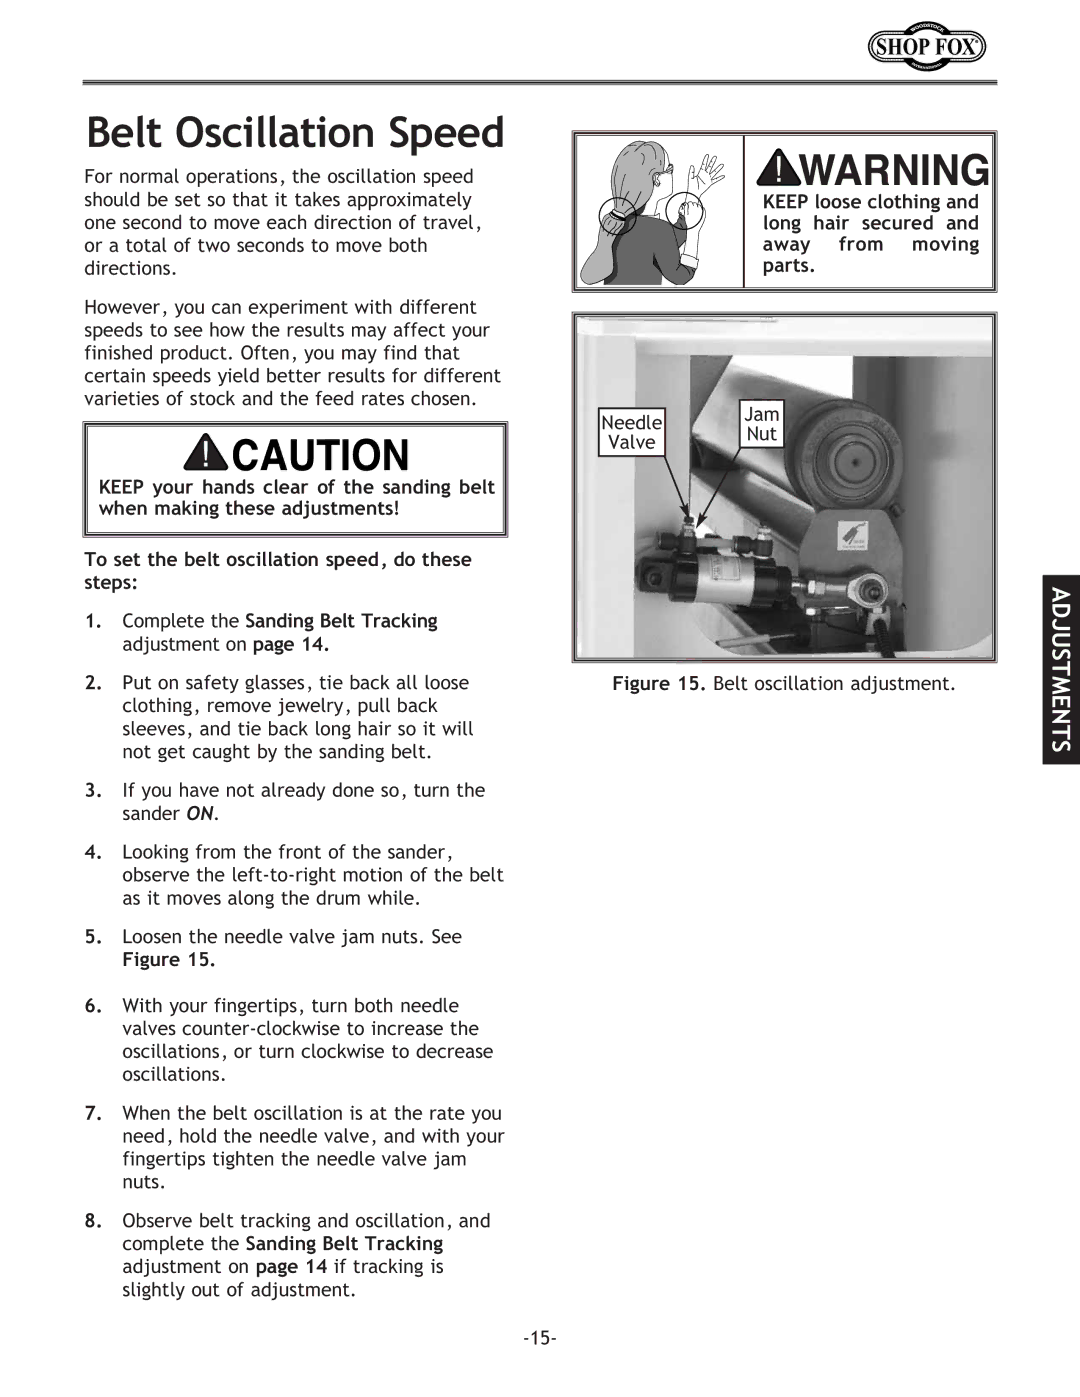
5.Loosen the needle valve jam nuts. See
Figure 15.
6.With your fingertips, turn both needle valves
7.When the belt oscillation is at the rate you need, hold the needle valve, and with your fingertips tighten the needle valve jam nuts.
8.Observe belt tracking and oscillation, and complete the Sanding Belt Tracking adjustment on page 14 if tracking is slightly out of adjustment.
KEEP loose clothing and long hair secured and away from moving parts.
Needle Jam
Valve Nut
Figure 15. Belt oscillation adjustment.
ADJUSTMENTS