Installation
DC Wiring
Two battery cables are provided with the unit. Both are black. The positive (+) cable has a piece of red heat shrink insulation on the end. Keep in mind that high current will pass through the DC wiring. All wires must be properly sized and all connections clean and tight.
It is recommended that the battery cables not be lengthened at all. However, it is possible to extend the cables if necessary. Extension cables must be 35.0 mm2 ES, the same type of wire, and the total length for each battery cable must not exceed 3.04 m from the inverter to the battery terminal.
CAUTION: Reverse polarity hazard
The Freedom 10 is not DC
Make sure the connections to the extension cables are tight and properly insulated. Do not attempt to open the case and replace the battery cables.
The negative
The positive (+) battery cable will commonly lead to a positive distribution point. This point typically connects to a battery switch rather than to the battery. The total length should not exceed 3 m and should be fused.
A spark may be generated when the final battery connection is made. This is normal and do not be alarmed. However, do not make the final connection in the presence of flammable fumes.
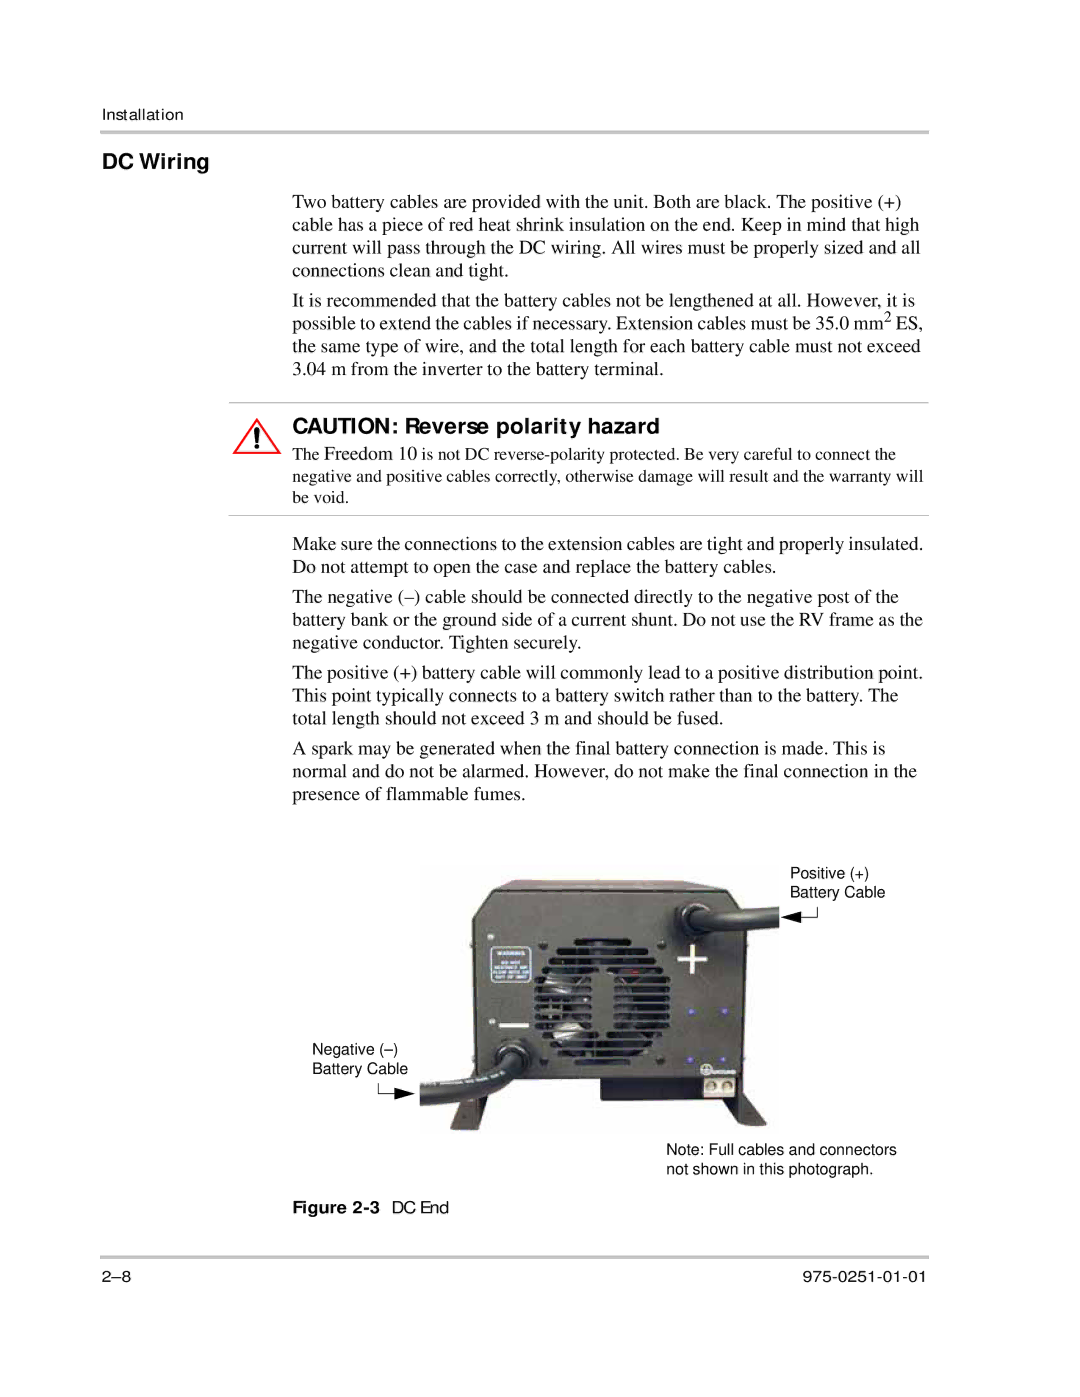
Positive (+)
Battery Cable
Negative
Battery Cable
Note: Full cables and connectors not shown in this photograph.