Contents

3 Commissioning

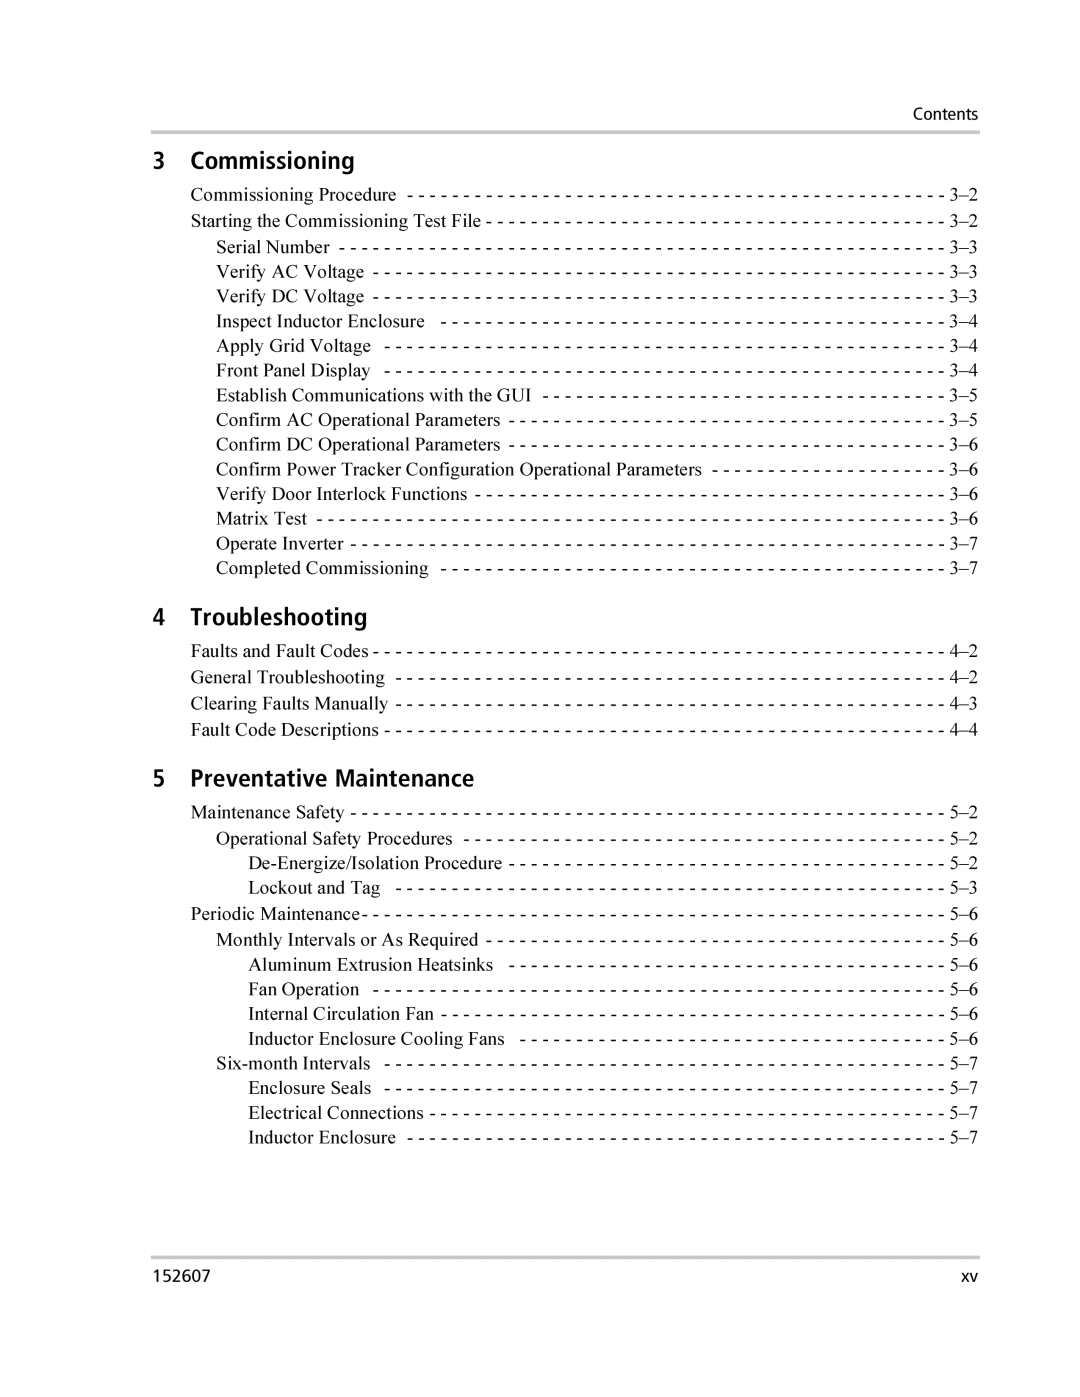
Commissioning Procedure - - - - - - - - - - - - - - - - - - - - - - - - - - - - - - - - - - - - - - - - - - - - - - - - 3–2 Starting the Commissioning Test File - - - - - - - - - - - - - - - - - - - - - - - - - - - - - - - - - - - - - - - - - 3–2 Serial Number - - - - - - - - - - - - - - - - - - - - - - - - - - - - - - - - - - - - - - - - - - - - - - - - - - - - - - 3–3 Verify AC Voltage - - - - - - - - - - - - - - - - - - - - - - - - - - - - - - - - - - - - - - - - - - - - - - - - - - - 3–3 Verify DC Voltage - - - - - - - - - - - - - - - - - - - - - - - - - - - - - - - - - - - - - - - - - - - - - - - - - - - 3–3 Inspect Inductor Enclosure - - - - - - - - - - - - - - - - - - - - - - - - - - - - - - - - - - - - - - - - - - - - - 3–4 Apply Grid Voltage - - - - - - - - - - - - - - - - - - - - - - - - - - - - - - - - - - - - - - - - - - - - - - - - - - 3–4 Front Panel Display - - - - - - - - - - - - - - - - - - - - - - - - - - - - - - - - - - - - - - - - - - - - - - - - - - 3–4 Establish Communications with the GUI - - - - - - - - - - - - - - - - - - - - - - - - - - - - - - - - - - - - 3–5 Confirm AC Operational Parameters - - - - - - - - - - - - - - - - - - - - - - - - - - - - - - - - - - - - - - - 3–5 Confirm DC Operational Parameters - - - - - - - - - - - - - - - - - - - - - - - - - - - - - - - - - - - - - - - 3–6 Confirm Power Tracker Configuration Operational Parameters - - - - - - - - - - - - - - - - - - - - - 3–6 Verify Door Interlock Functions - - - - - - - - - - - - - - - - - - - - - - - - - - - - - - - - - - - - - - - - - - 3–6 Matrix Test - - - - - - - - - - - - - - - - - - - - - - - - - - - - - - - - - - - - - - - - - - - - - - - - - - - - - - - - 3–6 Operate Inverter - - - - - - - - - - - - - - - - - - - - - - - - - - - - - - - - - - - - - - - - - - - - - - - - - - - - - 3–7 Completed Commissioning - - - - - - - - - - - - - - - - - - - - - - - - - - - - - - - - - - - - - - - - - - - - - 3–7

4 Troubleshooting

Faults and Fault Codes - - - - - - - - - - - - - - - - - - - - - - - - - - - - - - - - - - - - - - - - - - - - - - - - - - - 4–2

General Troubleshooting - - - - - - - - - - - - - - - - - - - - - - - - - - - - - - - - - - - - - - - - - - - - - - - - - 4–2

Clearing Faults Manually - - - - - - - - - - - - - - - - - - - - - - - - - - - - - - - - - - - - - - - - - - - - - - - - - 4–3

Fault Code Descriptions - - - - - - - - - - - - - - - - - - - - - - - - - - - - - - - - - - - - - - - - - - - - - - - - - - 4–4

5 Preventative Maintenance

Maintenance Safety - - - - - - - - - - - - - - - - - - - - - - - - - - - - - - - - - - - - - - - - - - - - - - - - - - - - - 5–2

Operational Safety Procedures - - - - - - - - - - - - - - - - - - - - - - - - - - - - - - - - - - - - - - - - - - - 5–2

De-Energize/Isolation Procedure - - - - - - - - - - - - - - - - - - - - - - - - - - - - - - - - - - - - - - - 5–2

Lockout and Tag - - - - - - - - - - - - - - - - - - - - - - - - - - - - - - - - - - - - - - - - - - - - - - - - - 5–3

Periodic Maintenance- - - - - - - - - - - - - - - - - - - - - - - - - - - - - - - - - - - - - - - - - - - - - - - - - - - - 5–6

Monthly Intervals or As Required - - - - - - - - - - - - - - - - - - - - - - - - - - - - - - - - - - - - - - - - - 5–6

Aluminum Extrusion Heatsinks - - - - - - - - - - - - - - - - - - - - - - - - - - - - - - - - - - - - - - - 5–6

Fan Operation - - - - - - - - - - - - - - - - - - - - - - - - - - - - - - - - - - - - - - - - - - - - - - - - - - - 5–6

Internal Circulation Fan - - - - - - - - - - - - - - - - - - - - - - - - - - - - - - - - - - - - - - - - - - - - - 5–6

Inductor Enclosure Cooling Fans - - - - - - - - - - - - - - - - - - - - - - - - - - - - - - - - - - - - - - 5–6

Six-month Intervals - - - - - - - - - - - - - - - - - - - - - - - - - - - - - - - - - - - - - - - - - - - - - - - - - - 5–7

Enclosure Seals - - - - - - - - - - - - - - - - - - - - - - - - - - - - - - - - - - - - - - - - - - - - - - - - - - 5–7

Electrical Connections - - - - - - - - - - - - - - - - - - - - - - - - - - - - - - - - - - - - - - - - - - - - - - 5–7

Inductor Enclosure - - - - - - - - - - - - - - - - - - - - - - - - - - - - - - - - - - - - - - - - - - - - - - - - 5–7

152607

xv

Page 17
Image 17
Xantrex Technology PV225S-480-P manual Commissioning, Troubleshooting, Preventative Maintenance

PV225S-480-P specifications

The Xantrex Technology PV225S-480-P is a state-of-the-art power conversion solution designed to meet the needs of solar energy systems. As the demand for renewable energy sources continues to rise, the importance of efficient inverters becomes paramount. This model stands out for its high performance, reliability, and advanced features tailored for both residential and commercial applications.

One of the main features of the PV225S-480-P is its impressive power handling capability, capable of supporting peak loads up to 225 kW. This makes it ideal for large-scale solar installations, ensuring that energy generation meets or exceeds expected outputs. Additionally, the inverter operates at a high efficiency rate, typically exceeding 98%, which minimizes energy losses during conversion and maximizes the overall performance of the solar power system.

The PV225S-480-P utilizes advanced inverter technology that incorporates an innovative digital signal processor. This technology enhances the unit’s ability to track the maximum power point (MPPT) effectively, optimizing energy harvest even under varying sunlight conditions. The ability to adapt to different environmental factors ensures that the system consistently delivers optimal performance throughout the day.

Reliability and durability are crucial characteristics of the PV225S-480-P. Designed with robust materials and rigorous engineering practices, the inverter is built to withstand demanding conditions, including extreme temperatures and potential environmental hazards. Its sturdy design minimizes maintenance requirements, leading to lower operational costs over the inverter's lifespan.

The inverter is also equipped with comprehensive monitoring and communication capabilities. Users can easily access real-time performance data, allowing for proactive maintenance and immediate troubleshooting if issues arise. In addition, the unit supports integration with various energy management systems, enabling users to optimize their energy usage and reduce overall electricity costs.

Furthermore, the PV225S-480-P includes safety features that comply with international standards, ensuring protection against electrical faults and overvoltage. The inverter’s design incorporates fail-safe mechanisms to protect both the unit itself and connected equipment.

In summary, the Xantrex Technology PV225S-480-P is a highly efficient, reliable, and technologically advanced solar inverter. With its strong power handling capabilities, cutting-edge features, durability, and safety aspects, it is an excellent choice for anyone looking to invest in renewable energy solutions that provide long-term savings and environmental benefits.