Roady Guide keys 4" x 4" 8/5/03 1:40 PM Page 19
18
Section | cloth. Wipe dry in the same direction again and then repeat this cleaning | |
| 3. Clean the vehicle mounting surface with the enclosed surface preparation | |
| cleaning kit. Wipe with the towelette in only one direction. Do not wipe the | |
| surface in a circular motion or back and forth. Dry area with a clean, dry | |
5 | process. Allow to air dry thoroughly to ensure effective adhesion. | |
4. Clean the same surface with the enclosed alcohol prep pad. Wipe in the | ||
| ||
| same direction and manner as with the towelette. Dry the area with a clean, | |
| dry cloth, wiping in one direction. Allow to air dry thoroughly. Ensure that | |
| the surface is at least 60°F. | |
| 5. Warm the car mount adhesive pad by using a hair dryer or by placing | |
| the car mount on top of the vehicle’s defrost outlet for several minutes with | |
| the heater on. Remove the liner from the adhesive pad and adhere to the | |
| vehicle’s surface. Make sure you accurately place the pad on the first try | |
| since in many cases it will bond almost immediately. 3M recommends a | |
| ||
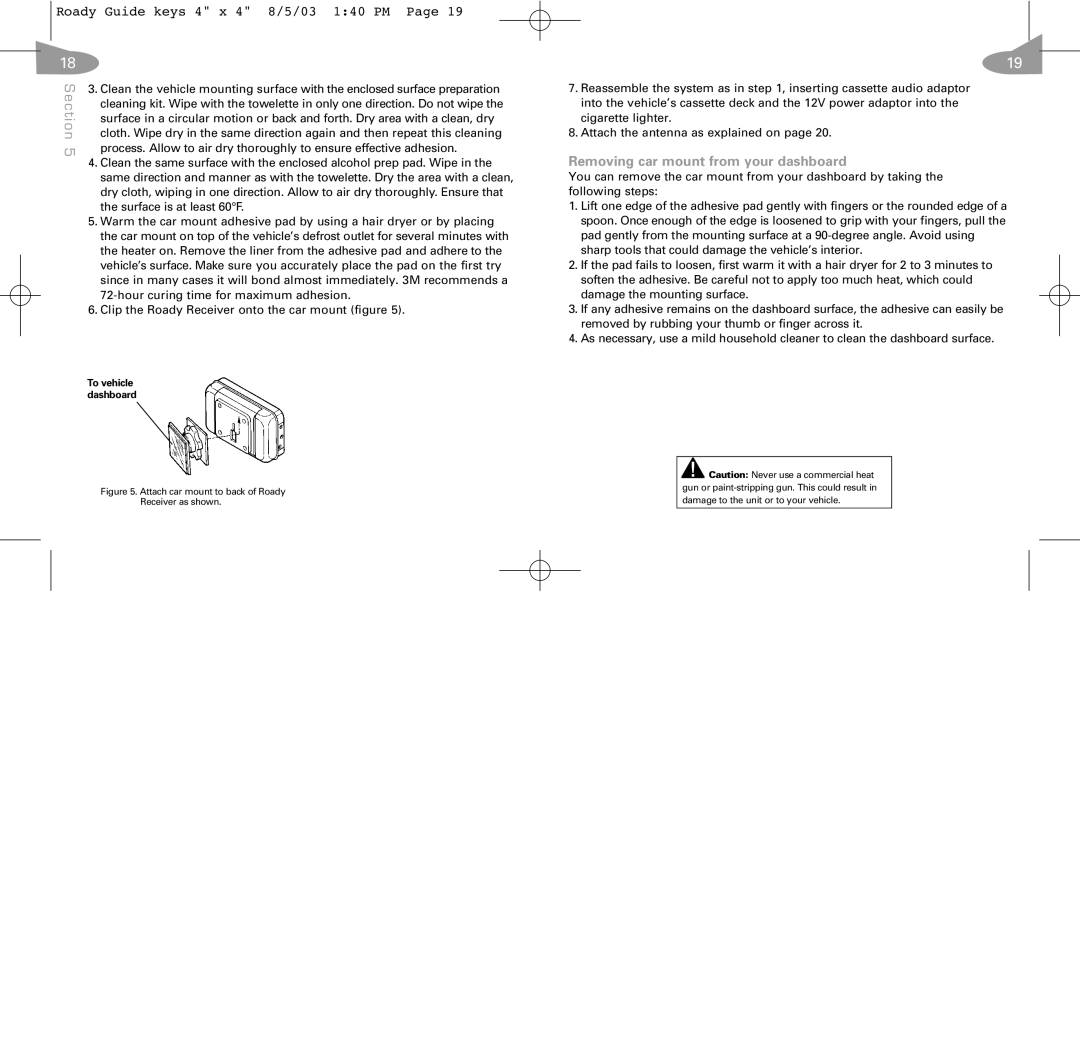
| 6. Clip the Roady Receiver onto the car mount (figure 5). | |
| To vehicle | |
| dashboard |
19
7.Reassemble the system as in step 1, inserting cassette audio adaptor into the vehicle’s cassette deck and the 12V power adaptor into the cigarette lighter.
8.Attach the antenna as explained on page 20.
Removing car mount from your dashboard
You can remove the car mount from your dashboard by taking the following steps:
1.Lift one edge of the adhesive pad gently with fingers or the rounded edge of a spoon. Once enough of the edge is loosened to grip with your fingers, pull the pad gently from the mounting surface at a
2.If the pad fails to loosen, first warm it with a hair dryer for 2 to 3 minutes to soften the adhesive. Be careful not to apply too much heat, which could damage the mounting surface.
3.If any adhesive remains on the dashboard surface, the adhesive can easily be removed by rubbing your thumb or finger across it.
4.As necessary, use a mild household cleaner to clean the dashboard surface.
Figure 5. Attach car mount to back of Roady Receiver as shown.
![]() Caution: Never use a commercial heat gun or
Caution: Never use a commercial heat gun or