◆Loading the batteries into the remote control
1.Remove the battery compartment cover.
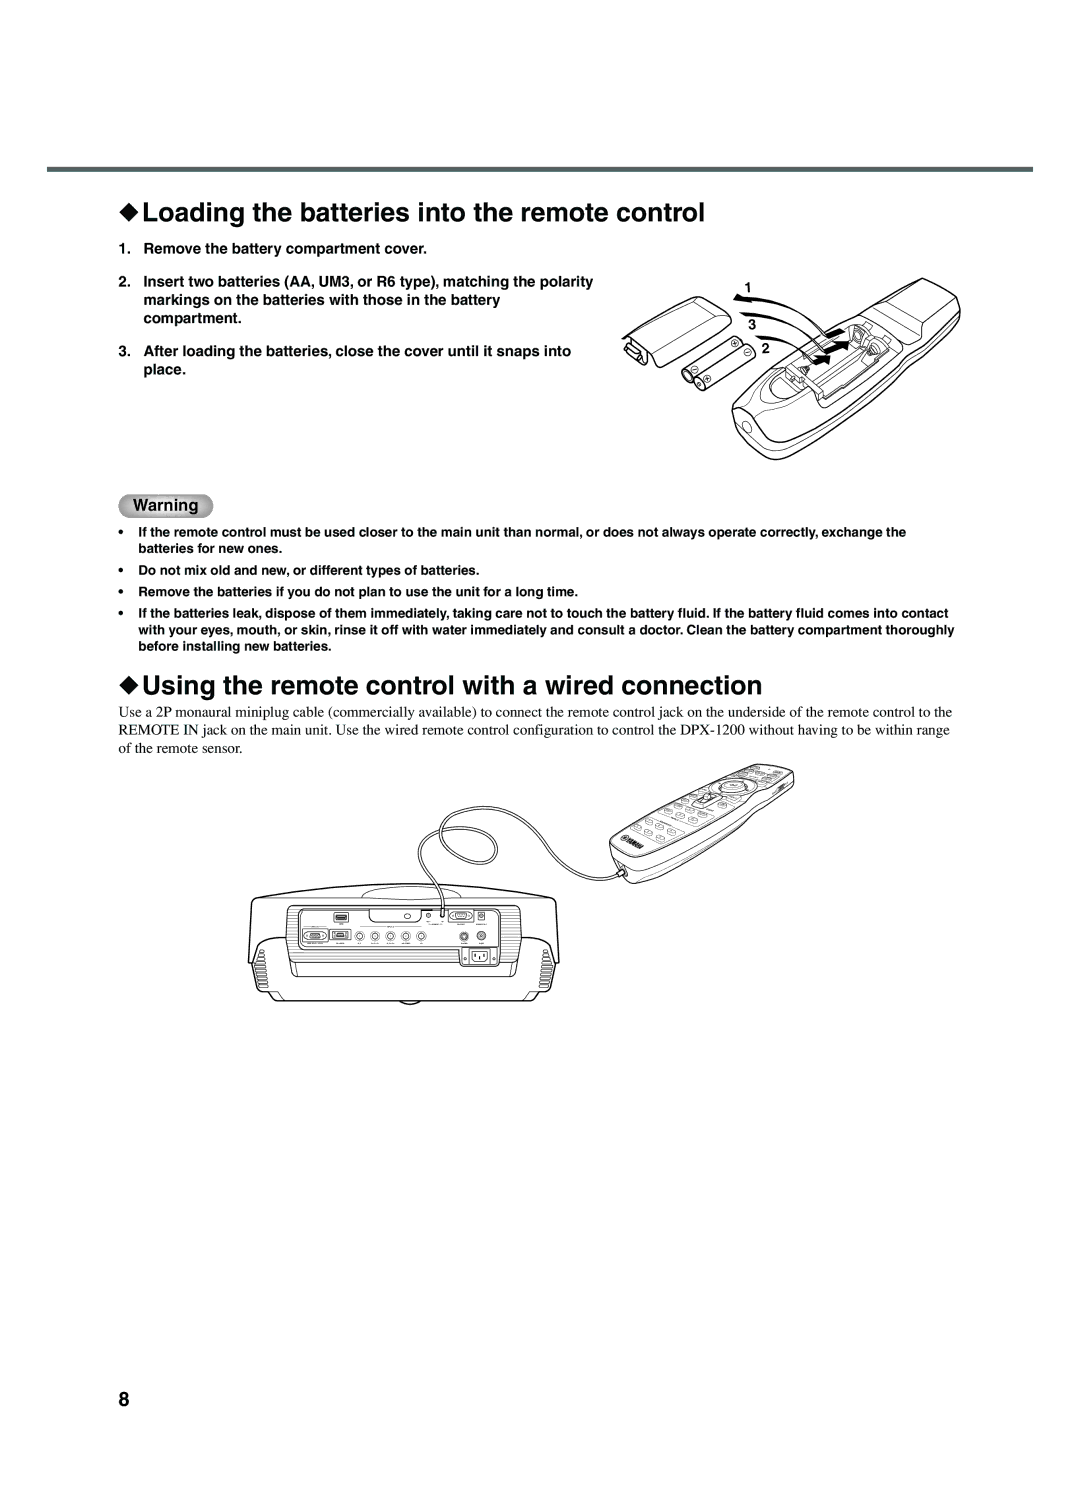
2.Insert two batteries (AA, UM3, or R6 type), matching the polarity markings on the batteries with those in the battery compartment.
3.After loading the batteries, close the cover until it snaps into
place.
1
3
2
Warning
•If the remote control must be used closer to the main unit than normal, or does not always operate correctly, exchange the batteries for new ones.
•Do not mix old and new, or different types of batteries.
•Remove the batteries if you do not plan to use the unit for a long time.
•If the batteries leak, dispose of them immediately, taking care not to touch the battery fluid. If the battery fluid comes into contact with your eyes, mouth, or skin, rinse it off with water immediately and consult a doctor. Clean the battery compartment thoroughly before installing new batteries.
◆Using the remote control with a wired connection
Use a 2P monaural miniplug cable (commercially available) to connect the remote control jack on the underside of the remote control to the REMOTE IN jack on the main unit. Use the wired remote control configuration to control the
4
1
5
INPUT
LIGHT
INPUT 2MEMORY
3
6
8