OPERATING INSTRUCTIONS (continued)
SETUP MENU (continued)
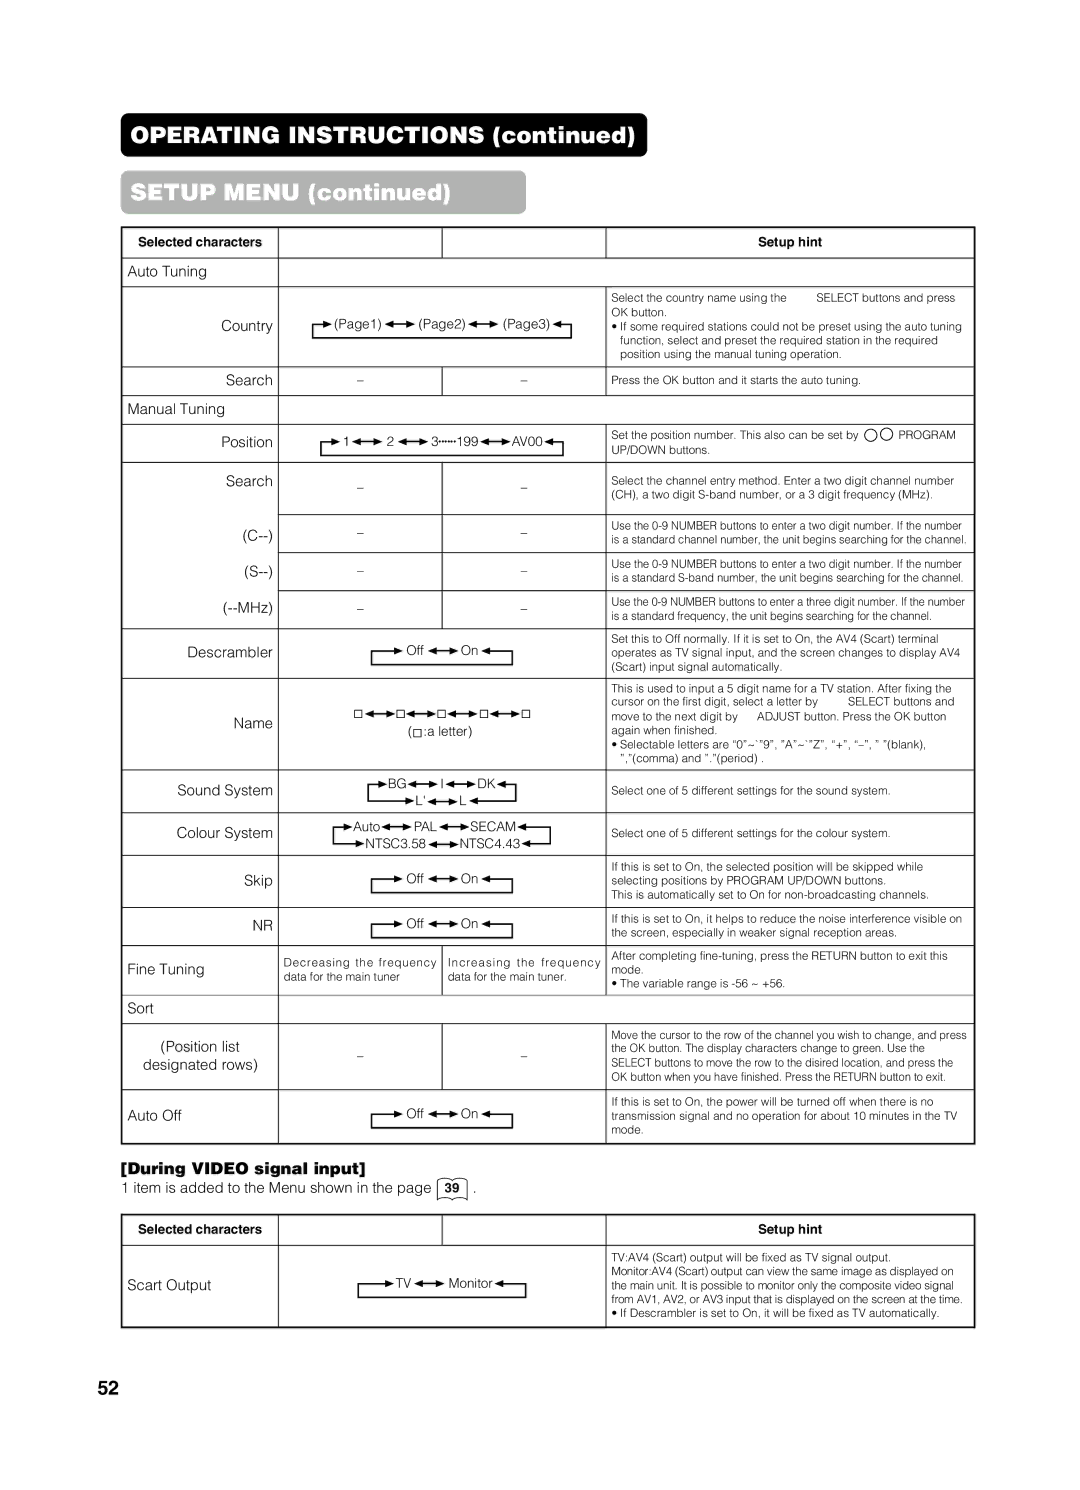
Selected characters
Auto Tuning
Country
Search
Manual Tuning
Position
Search
Descrambler
Name
Sound System
Colour System
Skip
NR
Fine Tuning
Sort
(Position list
designated rows)
Auto Off
▼ | ▼ |
 (Page1)
 (Page2)
 (Page3)
– | – |
1 | 2 | 3••••••199 | AV00 |
– |
|
| – |
– |
|
| – |
– |
|
| – |
– |
|
| – |
 Off
Off 
 On
On 
(
 :a letter)
 BG
BG
 I
I
 DK
DK
![]() L'
L'![]()
![]() L
L ![]()
 Auto
Auto
 PAL
PAL
 SECAM
SECAM
 NTSC3.58
 NTSC4.43
![]() Off
Off ![]()
![]() On
On ![]()
|
| Off |
|
|
| On |
|
|
|
|
|
|
| ||||
|
|
|
|
|
|
| ||
Decreasing the frequency |
| Increasing the frequency | ||||||
| ||||||||
data for the main tuner |
| data for the main tuner. | ||||||
|
|
|
|
|
|
|
|
|
– | – |
![]() Off
Off ![]()
![]() On
On ![]()
Setup hint
Select the country name using the ▼ ▲ SELECT buttons and press OK button.
•If some required stations could not be preset using the auto tuning function, select and preset the required station in the required position using the manual tuning operation.
Press the OK button and it starts the auto tuning.
Set the position number. This also can be set by ▼ ▲ PROGRAM UP/DOWN buttons.
Select the channel entry method. Enter a two digit channel number (CH), a two digit
Use the
Use the
Use the
Set this to Off normally. If it is set to On, the AV4 (Scart) terminal operates as TV signal input, and the screen changes to display AV4 (Scart) input signal automatically.
This is used to input a 5 digit name for a TV station. After fixing the cursor on the first digit, select a letter by ▼ ▲ SELECT buttons and move to the next digit by ▼ ADJUST button. Press the OK button again when finished.
•Selectable letters are “0”~`”9”, ”A”~`”Z”, “+”,
Select one of 5 different settings for the sound system.
Select one of 5 different settings for the colour system.
If this is set to On, the selected position will be skipped while selecting positions by PROGRAM UP/DOWN buttons.
This is automatically set to On for
If this is set to On, it helps to reduce the noise interference visible on the screen, especially in weaker signal reception areas.
After completing
•The variable range is
Move the cursor to the row of the channel you wish to change, and press the OK button. The display characters change to green. Use the ▼ ▲ SELECT buttons to move the row to the disired location, and press the OK button when you have finished. Press the RETURN button to exit.
If this is set to On, the power will be turned off when there is no transmission signal and no operation for about 10 minutes in the TV mode.
[During VIDEO signal input]
1 item is added to the Menu shown in the page 39 .
Selected characters
Scart Output
▼ | ▼ |
 TV
TV 
 Monitor
Setup hint
TV:AV4 (Scart) output will be fixed as TV signal output. Monitor:AV4 (Scart) output can view the same image as displayed on the main unit. It is possible to monitor only the composite video signal from AV1, AV2, or AV3 input that is displayed on the screen at the time.
•If Descrambler is set to On, it will be fixed as TV automatically.
52