Manuals
/
Yamaha
/
Home Audio
/
Stereo Receiver
Yamaha
RX-V550
owner manual
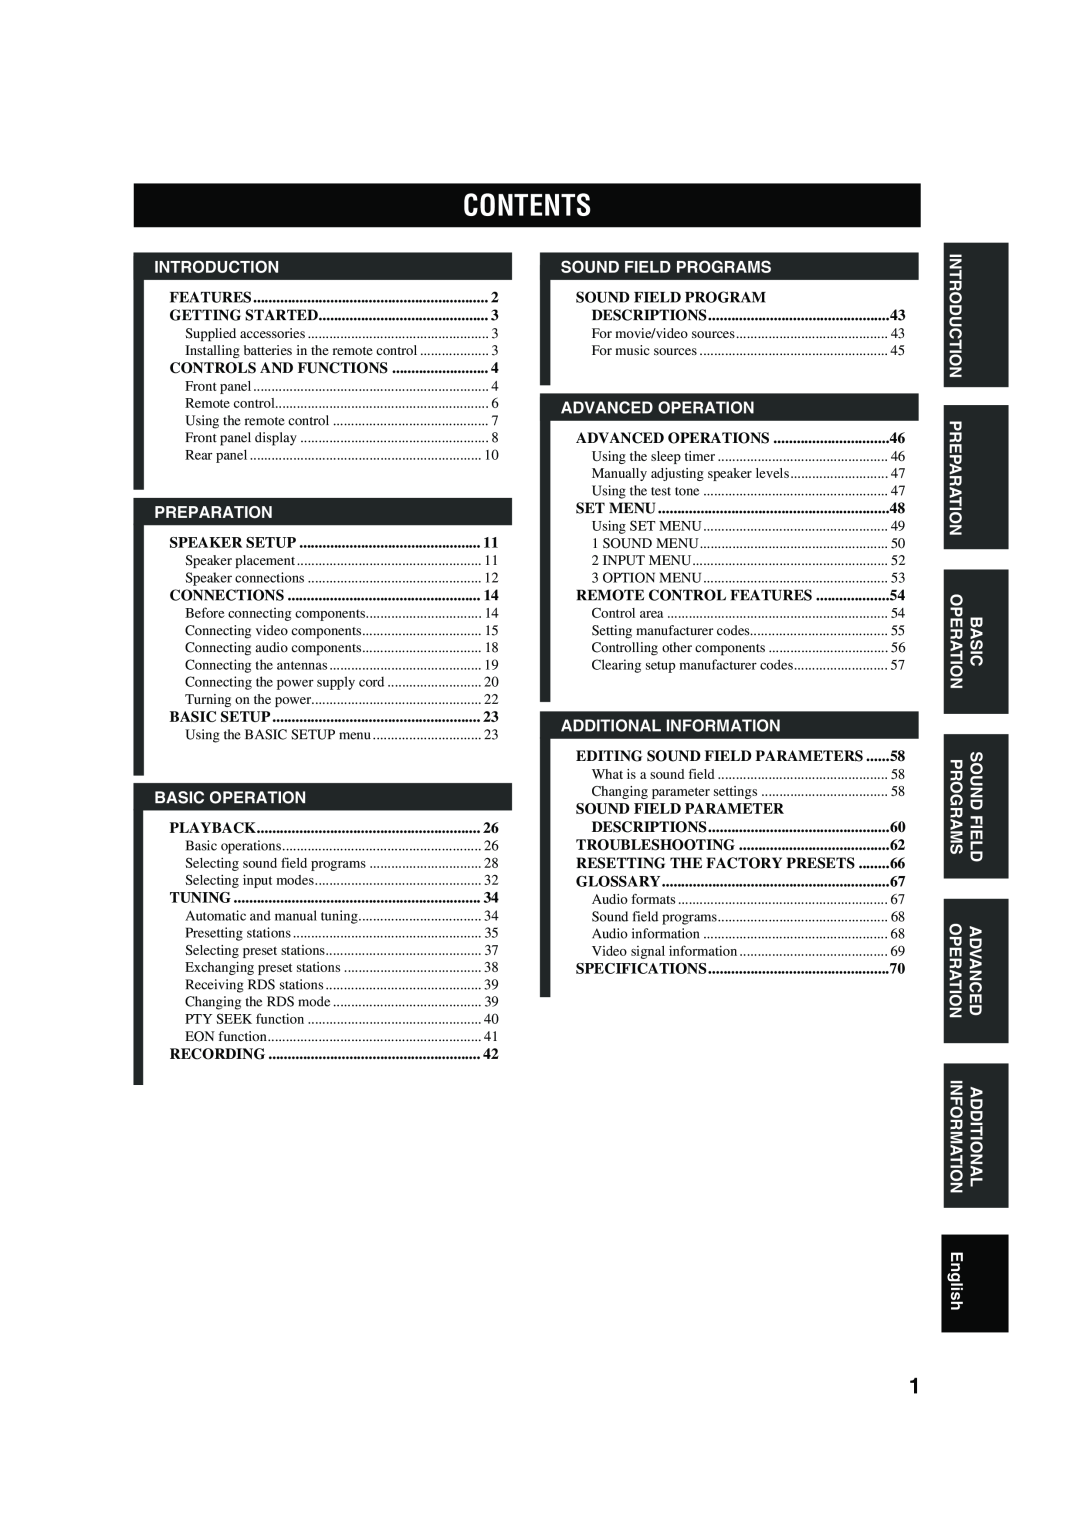
Contents
Models:
RX-V550
1
3
78
78
Download
78 pages
1.32 Kb
1
2
3
4
5
6
7
8
Troubleshooting
Specification
Video signal information
Setting the sleep timer
KLFE indicator
Before connecting components
Dimension
Selecting preset stations
Supplied accessories
Speaker Setup
Page 3
Image 3
Page 2
Page 4
Page 3
Image 3
Page 2
Page 4
Contents
AV Receiver Ampli-tuner audio-vidéo
RX-V550
CAUTION: READ THIS BEFORE OPERATING YOUR UNIT
For U.K. customers
Special Instructions for U.K. Model
CONTENTS
Other features
FEATURES
Built-in 6-channelpower amplifier
Sound field features
Notes on batteries
Supplied accessories
Installing batteries in the remote control
GETTING STARTED
J K L M
CONTROLS AND FUNCTIONS
Front panel
A B C D E F G H
ASPEAKERS A/B
BPRESET/TUNING EDIT
U.K. and Europe models only
0PHONES SILENT CINEMA jack
G H
Remote control
HSTRAIGHT EFFECT
Using the remote control
Handling the remote control
JRDS tuning buttons FREQ/RDS
Front panel display
7 8 9 0 A B
E F G
KLFE indicator
LInput channel indicators/speaker indicators
MRDS indicators U.K. and Europe models only
Rear panel
Surround back speaker SB
SPEAKER SETUP
Speaker placement
Surround speakers SR and SL
3Unscrew the knob
5 Tighten the knob to secure the wire
Speaker connections
Banana plug connections
SUB WOOFER jack
FRONT terminals
CENTER terminals
SURROUND terminals
Digital jacks
CONNECTIONS
Cable indications
Analog jacks
COMPONENT VIDEO
Connecting video components
Connections for DVD playback
CONNECTIONS
Connecting to the MULTI CH INPUT jacks
satellite tuner
Connections for other video components
VIDEO AUX jacks on the front panel
game console or video camera, to this unit
tape deck
Connecting audio components
Connections for audio components
CONNECTIONS
3Cut the lead wire and
Connecting the antennas
Connecting the AM loop antenna
FREQUENCY STEP switch
VOLTAGE SELECTOR Asia and General models only
Connecting the power supply cord
Connecting the AC power cord
AC OUTLETS SWITCHED
IMPEDANCE SELECTOR switch
IMPEDANCE SELECTOR switch
POWER
Turning on the power
2Turn on the video monitor connected to this unit
Remote control
3 Press SELECT to enter BASIC SETUP
BASIC SETUP
Using the BASIC SETUP menu
BASIC SETUP
12Press j / i to select the desired setting
SET CANCEL
9Press d to display SET/CANCEL
10Press j / i to select the desired setting
SL
FR----- -----dB
FR
C
10DDVD
6 Adjust the volume to the desired output
PLAYBACK
Basic operations
To mute the sound
To listen with headphones SILENT CINEMA
To adjust the tone
7Select a sound field program if desired
Selecting MULTI CH INPUT
Selecting sound field programs
10DJAZZACLUBO00dB
MULTI CH INPUT
PLIIxMusic etc. is displayed
Remote control operation
Enjoying multi-channelsoftware
To select a decoder, press j / i repeatedly while
Enjoying 2-channelsoftware
Listening to high fidelity stereo sound
Press j / i to adjust the effect level while
Direct Stereo
Effect.Lvl MID
AUTO00dB
Listening to unprocessed input signals
Selecting input modes
10DDVDD
3 Press u / d to display the following
information about the input signal
Displaying information about the input
source
1A-AAM11440kkHz
TUNING
Automatic and manual tuning
Automatic tuning
1Press FM/AM to select the FM band
Presetting stations
Manual tuning
Automatically presetting FM stations
1A1 AM18630kkHzdB
Automatic preset tuning options
Manually presetting stations
1A1 FM187.5kMHzdB
x 1E1 FM187.5kMHzft
Selecting preset stations
When performing this operation with the remote
1C3 AM18630kkHzdB
Exchanging preset stations
1EEDIT18E1-A5HzdB
x 1A5 FM190.6kMHzft
2,4 1,3 1,3
PTY Program Type mode
PS Program Service name mode
Receiving RDS stations
Changing the RDS mode
To cancel this function
PTY SEEK function
POP M
Front panel or
EON function
To cancel this function
Remote control
4Start recording on the recording component
Special considerations when recording
RECORDING
DTS software
For movie/video sources
SOUND FIELD PROGRAM DESCRIPTIONS
DOLBY DIGITAL
For music sources
ADVANCED OPERATIONS
Using the sleep timer
Setting the sleep timer
Canceling the sleep timer
4Press j / i to adjust speaker volumes
Using the test tone
Manually adjusting speaker levels
3Press j / i to adjust the speaker output level
1 SOUND MENU
BASIC SETUP
MANUAL SETUP
SET MENU
8To exit, press SET MENU when finished
Using SET MENU
MANUAL SETUP
3Press u / d to display MANUAL SETUP
Front speakers FRONT
Subwoofer phase SWFR PHASE
1 SOUND MENU
Center speaker CENTER
Low-frequencyeffect level ELFE LEVEL
Speaker level BSP LEVEL
Speaker distance CSP DISTANCE
Center graphic equalizer DCENTER GEQ
Audio delay A.DELAY
2 INPUT MENU
Input/output assignment AI/O ASSIGN
Audio mute A.MUTE
Dimmer DIMMER
3 OPTION MENU
Parameter initialization CPARAM. INI
Speaker B set SP B
Controlling other components
REMOTE CONTROL FEATURES
Control area
Controlling this unit
Code
Setting manufacturer codes
Input
Component
B C D
Controlling other components
4Enter the code number “0000”
Clearing setup manufacturer codes
Elements of a sound field
What is a sound field
Changing parameter settings
EDITING SOUND FIELD PARAMETERS
Memory back-up
Resetting parameters to the factory presets
To reset a certain parameter
To reset all parameters
For 6ch Stereo
SOUND FIELD PARAMETER DESCRIPTIONS
DSP LEVEL
DELAY Delay
CT WIDTH Center width
DIMENSION
For PRO LOGIC IIx Music and PRO LOGIC II Music
PANORAMA
General
TROUBLESHOOTING
page
page
Tuner
Remote control
RESETTING THE FACTORY PRESETS
Be sure this unit is in standby mode
3Press STANDBY/ON to confirm your selection
Dolby Digital Surround EX
GLOSSARY
Audio formats
Dolby Digital
SILENT CINEMA
Sound field programs
Audio information
CINEMA DSP
S-Videosignal
Video signal information
Component video signal
Composite video signal
FM SECTION
SPECIFICATIONS
AUDIO SECTION
VIDEO SECTION
Page
KORTING
CABLE TV
SATELLITE TUNER
DVD PLAYER
DVD RECORDER
LD PLAYER
CD PLAYER
CD RECORDER
MD RECORDER
TAPE DECK
WD06160
2004
All rights reserved
Top
Page
Image
Contents